


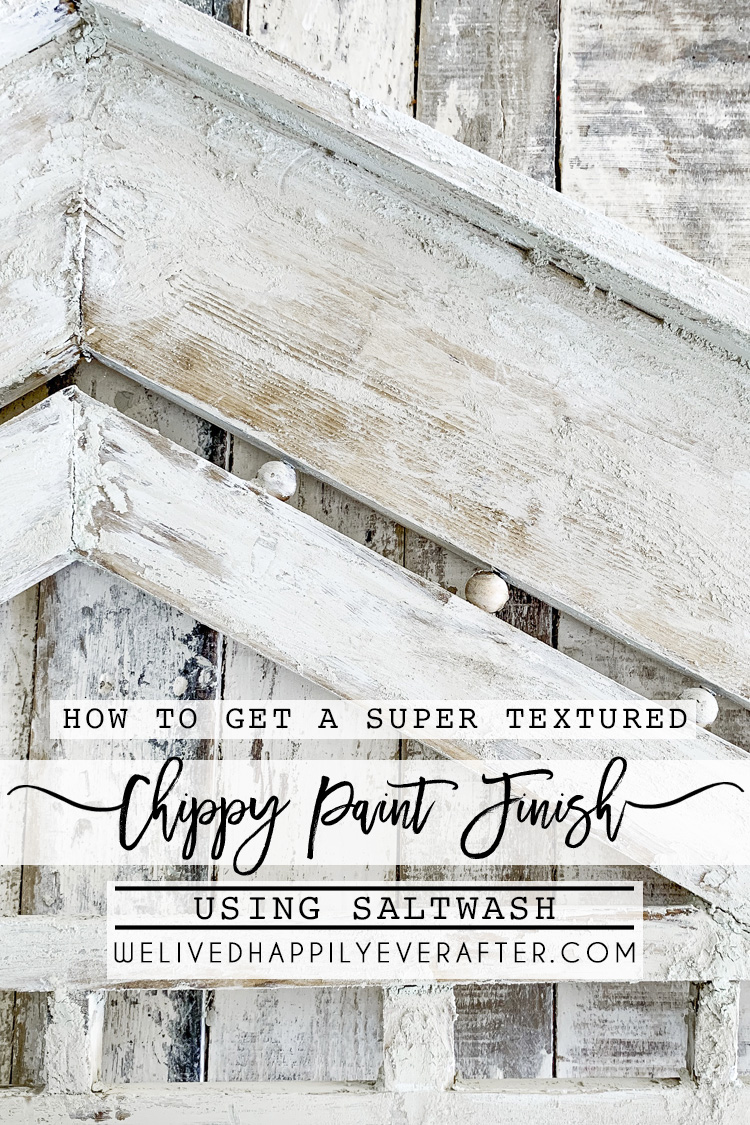
I am always on the lookout for ways to make new things old. I’ve mentioned this before, but I just don’t have the $$$ to spend on authentic old antiques- so unless I can find ones that aren’t pricey, I make my own. Of course I LOVE the real thing, but a girl’s got to do what a girl’s got to do. So today I wanted to share how to get a weather worn textured chippy paint finish using Saltwash!
Disclaimer: I received products to use in this project and there are affiliate links included in this post. But all opinions are my own, and I only share things I love & think you will too.
Saltwash is a product I’ve had my eye on for a while, so when they reached out to me to see if I would like to try out their product on one of my pieces, I responded with a huge YES!
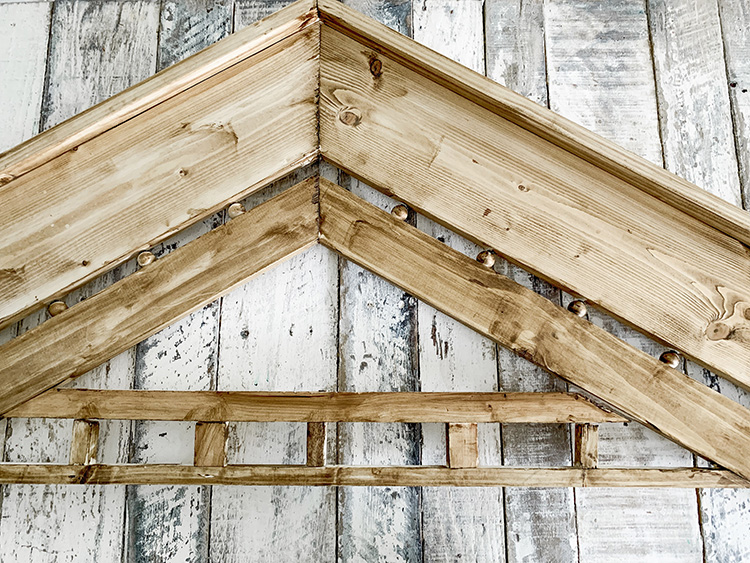
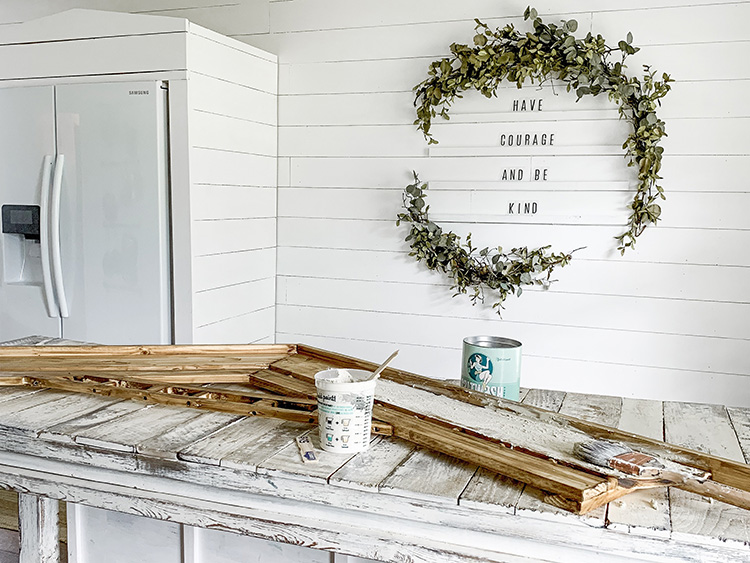
I started this project off by staining this architectural piece I built. Tutorial & building plans for this baby found HERE.
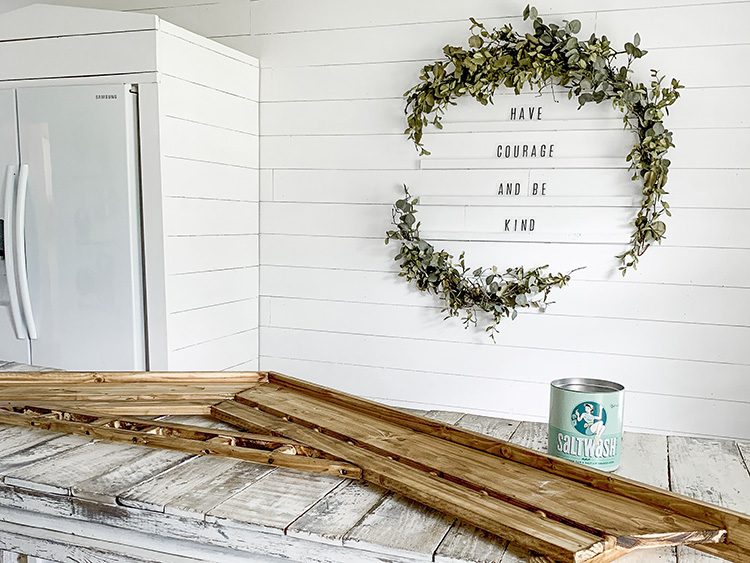
This piece is massive. I think it’s about 7 feet long. It takes up my whole dining room table. I wanted the undertones of this piece to be warm, so I went with Rust Oleum’s Golden Oak Gel Stain.
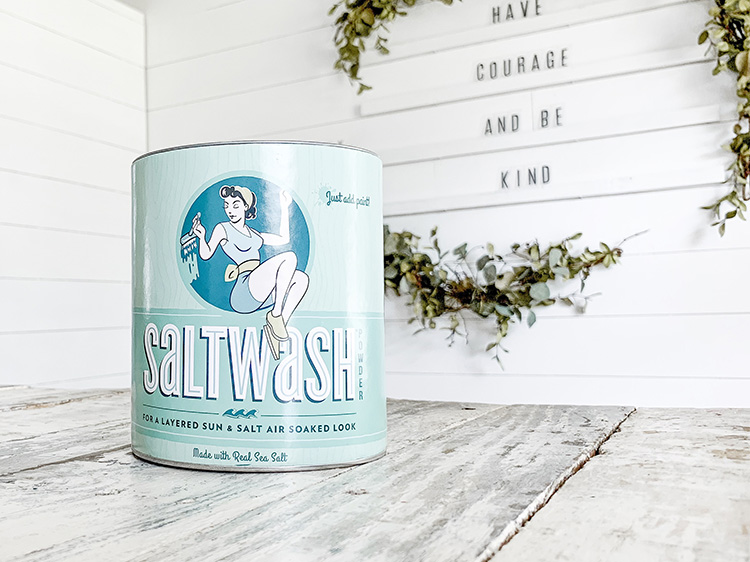
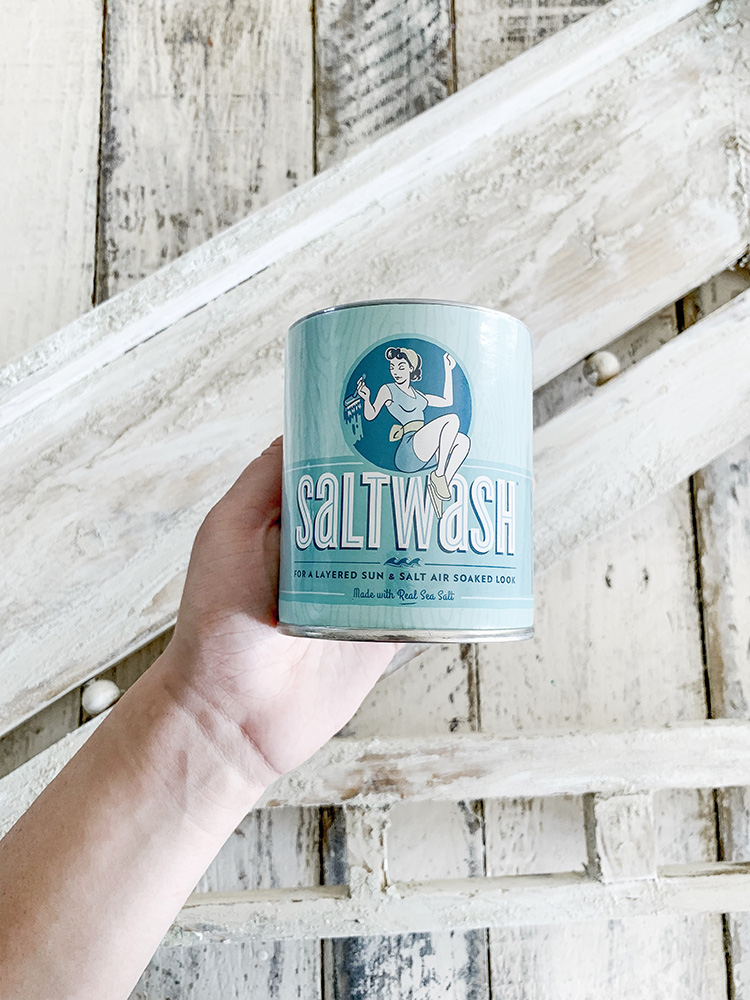
Can we just take a second to acknowledge how perfect Saltwash’s branding is? So super cute!
What I love about Saltwash is that it’s a paint additive. So you can add it to any color, and any type of paint. And the best part is that it’s going to give you that weather worn, saltwater air look.
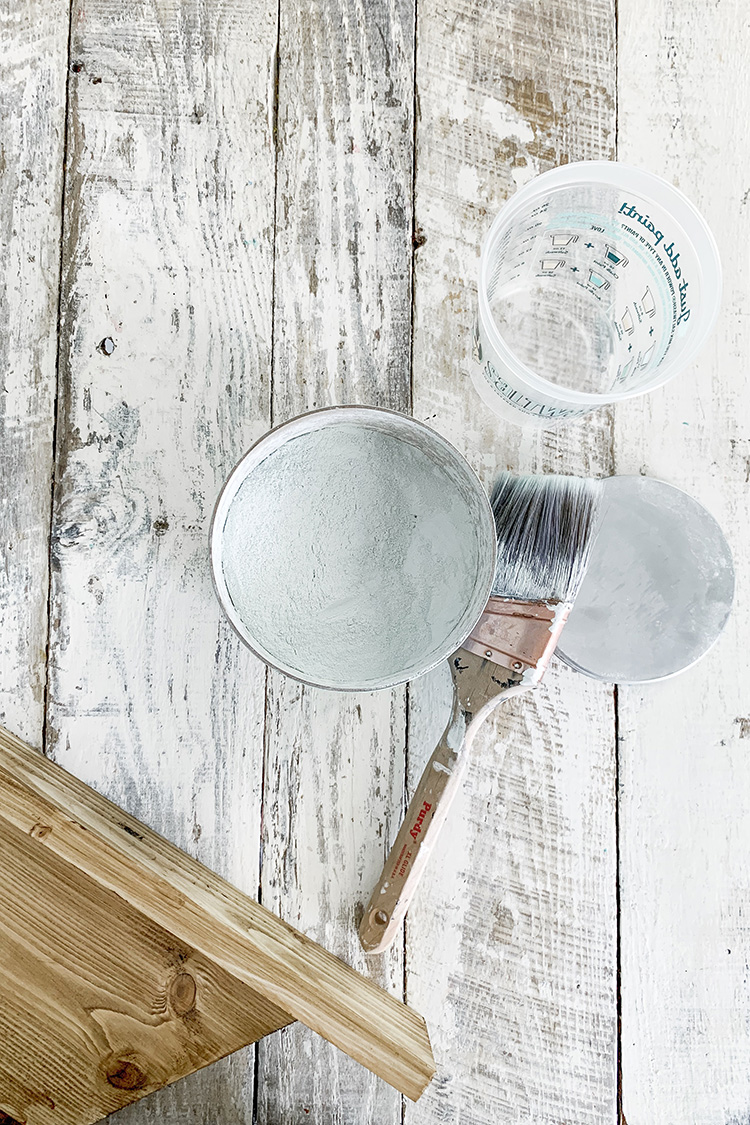
It’s super user friendly- they have a chart on the back to help you measure out the ratio of how much paint to Saltwash you need. For Latex you will need equal amounts of paint and powder. I used 8 oz of each for this piece and had a little left over.
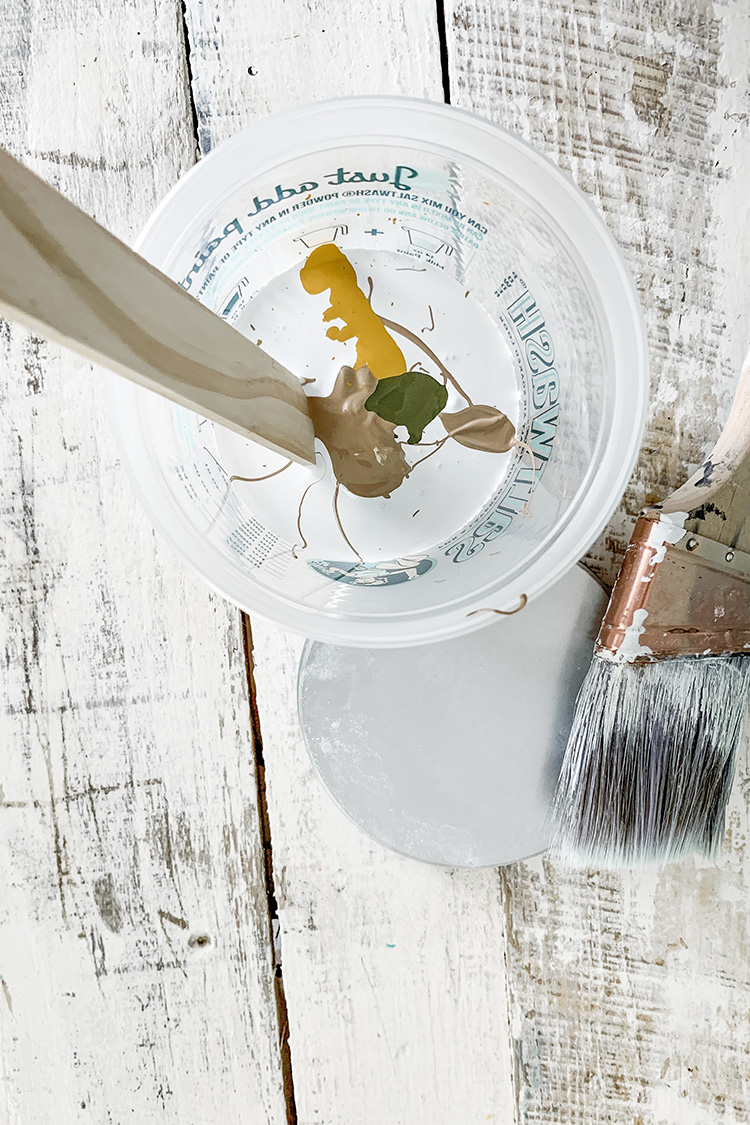
For my paint color I wanted a creamy undertone. I knew I wanted white for the top, so something a tad bit darker would give me that layered look. I mixed a few squirts of brown, gold, and green with some white latex paint.
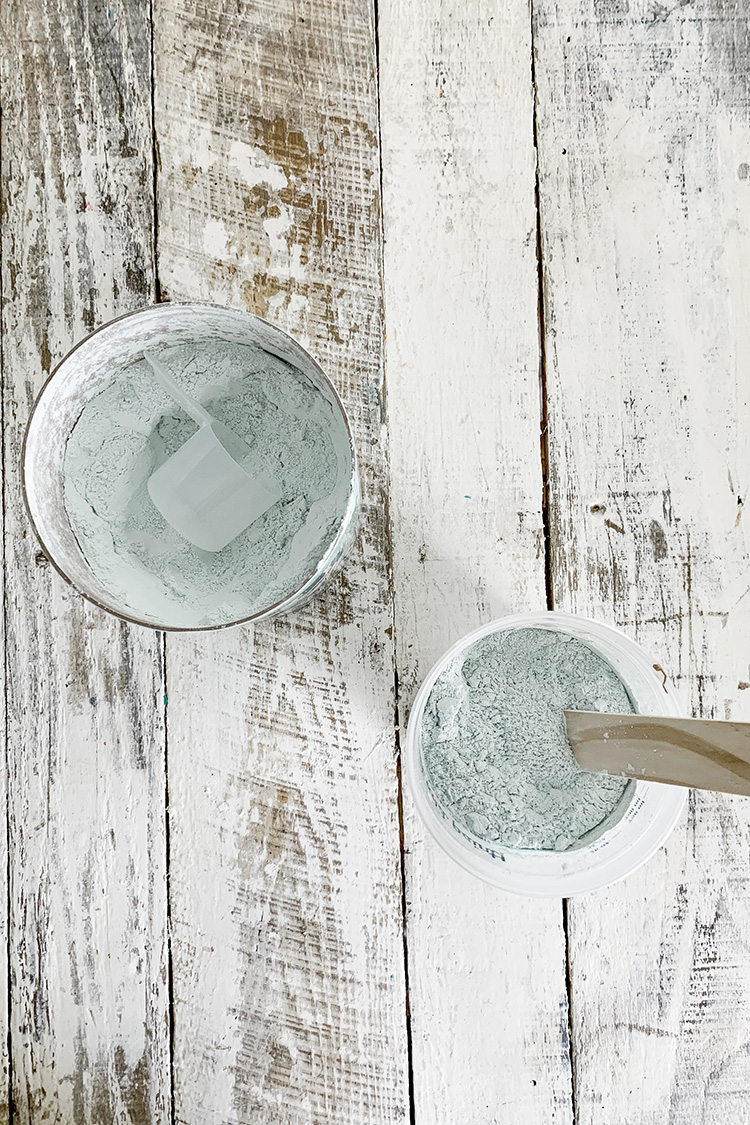
Next I added my Saltwash powder. I love the blue tone this stuff comes in! But FYI, it will tint your paint ever so slightly (but we are going for that ocean look anyways!)
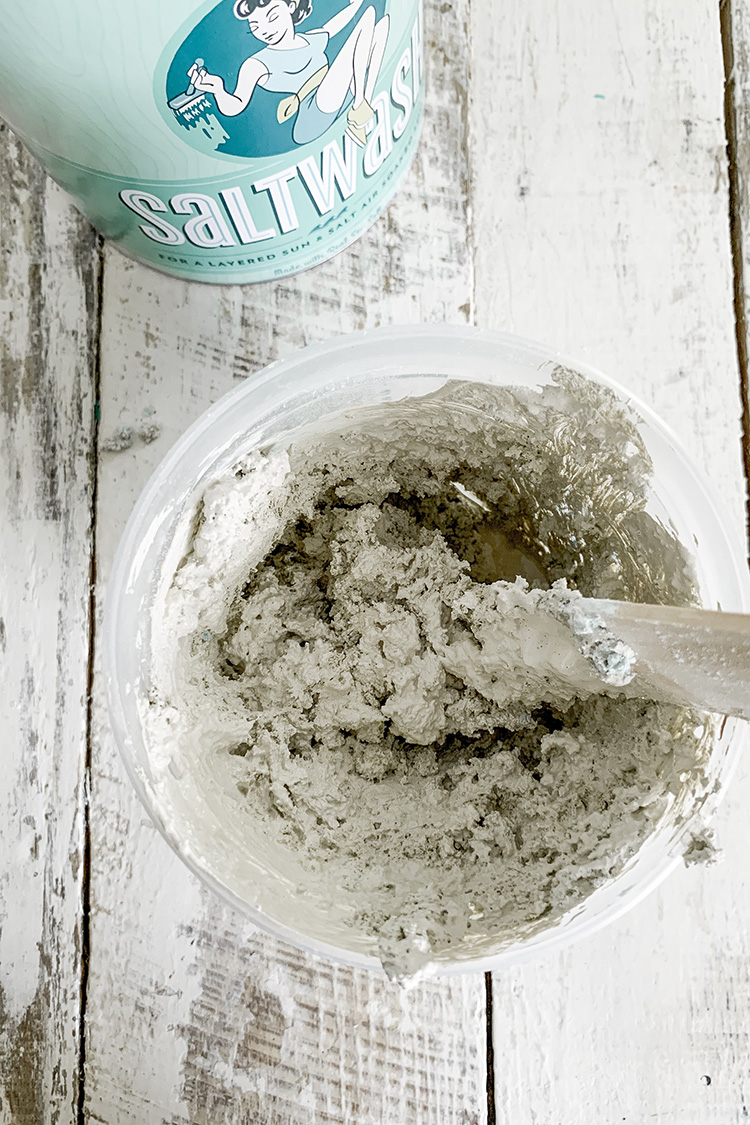
Next, mix up your paint and powder. You want it to be like frosting. Mine was a little bit on the dry side. I could have added a little more paint to make it more workable, but I wanted a super textured look, so I just went with it. After all, when things are weather worn, there is a whole lot of texture and chippy paint involved. So don’t be afraid to have it a bit lumpy. That’s how it will look like it’s been sitting outside, exposed to the salty ocean air.
Since mine was so thick, it actually applied better with a putty knife than with a paint brush. But you all know that’s how I prefer to paint my furniture.
Not going to lie, I caked this stuff on thickkkkkk. And I totally used my hands to finger paint. It’s super fun, and was kind of like working with clay.
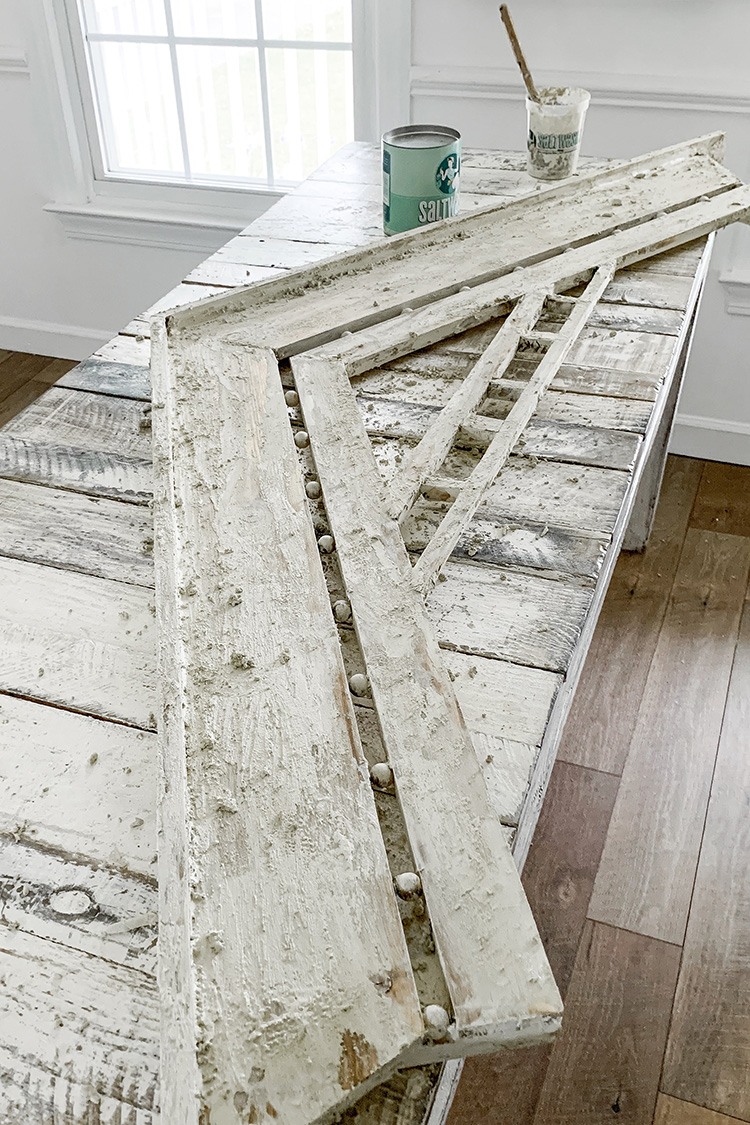
It made a HUGE mess on my table. But it was SO worth it!
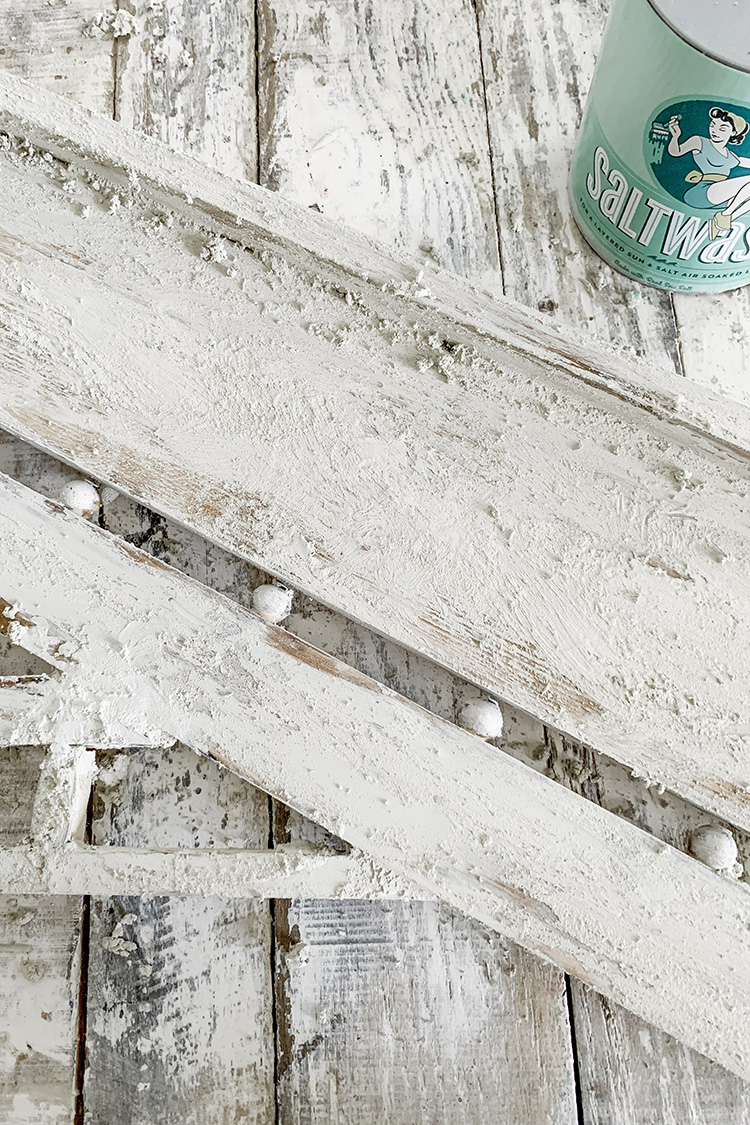
Once it half way dry, I hit it with some sand paper. I didn’t want to take away any of the texture, so this part was mainly to knock off any loose bits.
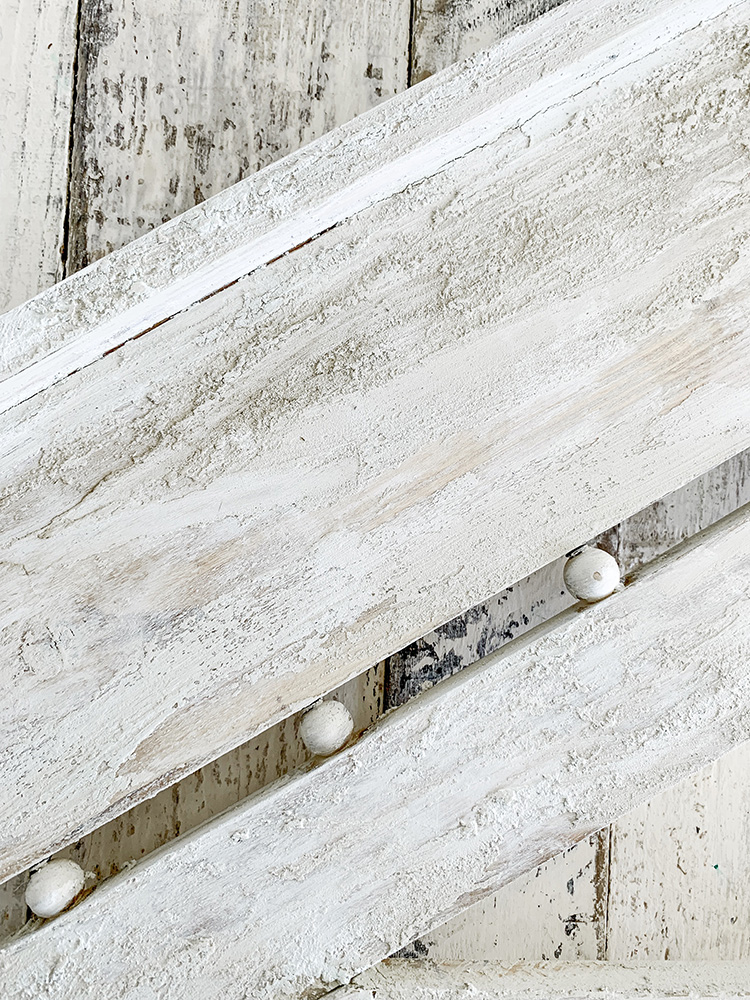
Look at that awesome cracking! When you apply it thick, it will crack while drying. Also, if you want that bumpy texture, just slap your mixture gently while applying.
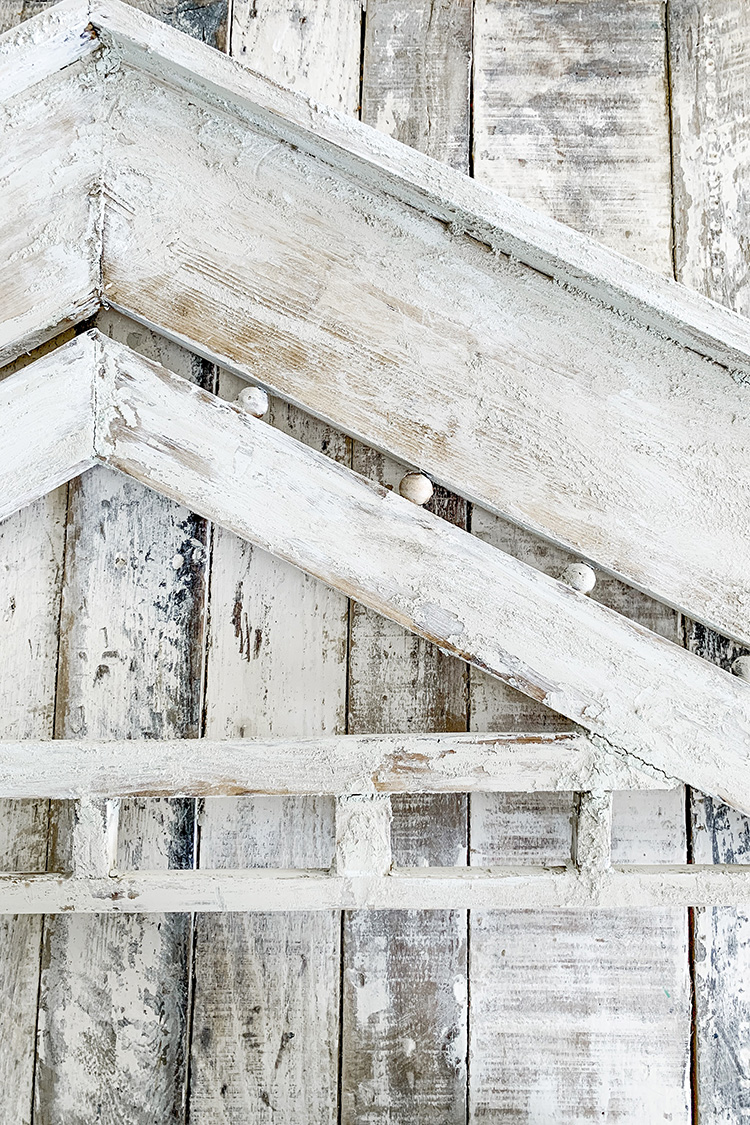
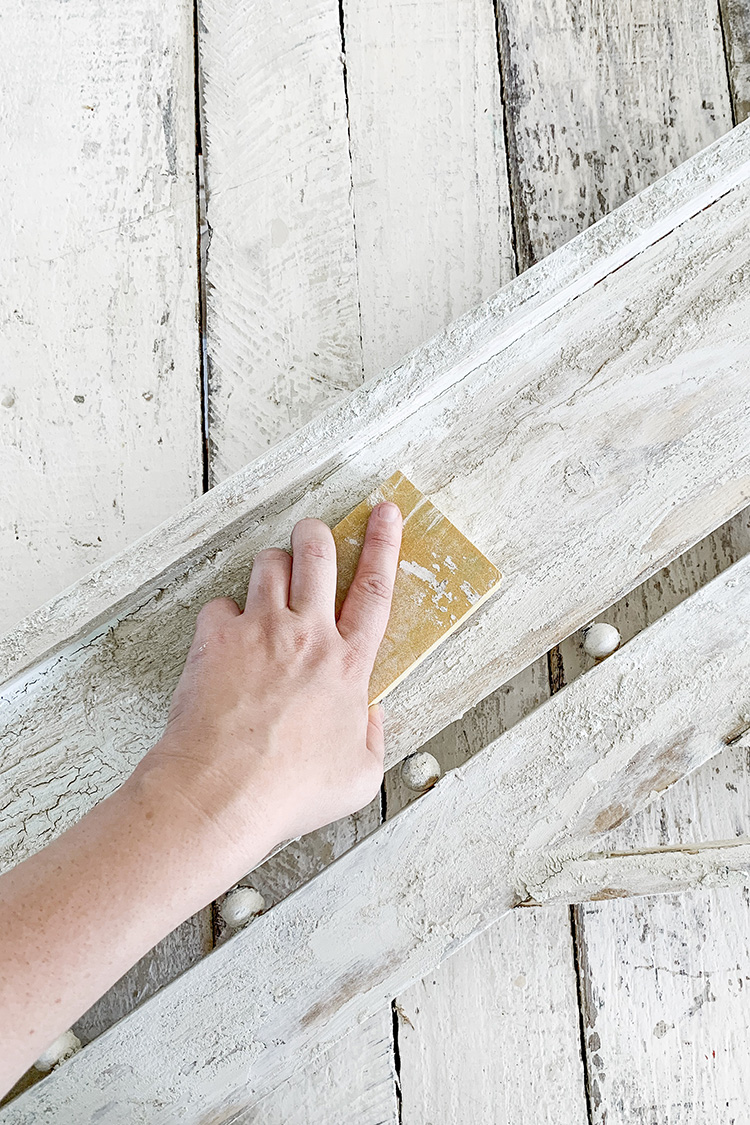
Lastly, when the Saltwash portion was completely dry, I brushed some white paint on top it here and there. And as soon as that layer of paint dried, I sanded it down one more time. Just enough to let all the layers peek though. When using this method, you want to plan out the areas you want the wood & different layers of colors to show. Instead of sanding everything down to reveal each layer, just leave patches blank here and there.
I am crushing hard on this stuff now. I love how it hardens up super strong. And it gives you so much more texture than using something like joint compound (see that method HERE).
And also- you can tint this with whatever kind of paint color you want. So you aren’t just stuck with white plaster (like with the other methods I’ve used before).

I have a different space planned for this piece, but until I can hang it up, I put it in our mudroom.
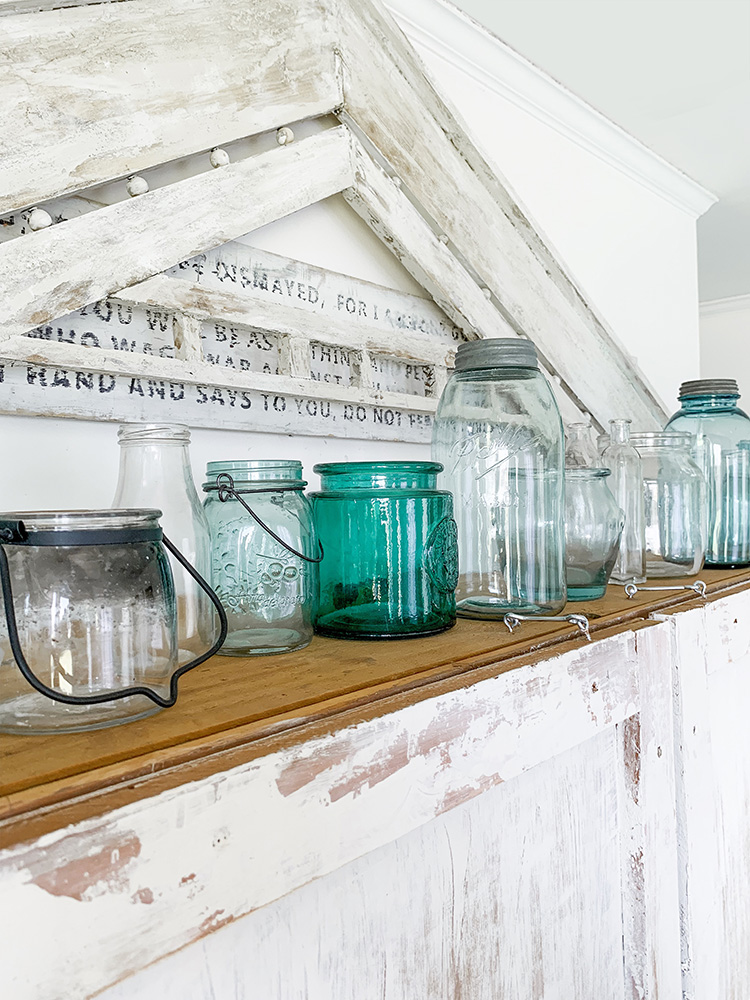
And I’m not hating how well the blue tones of the Saltwash match my vintage mason jar collection.
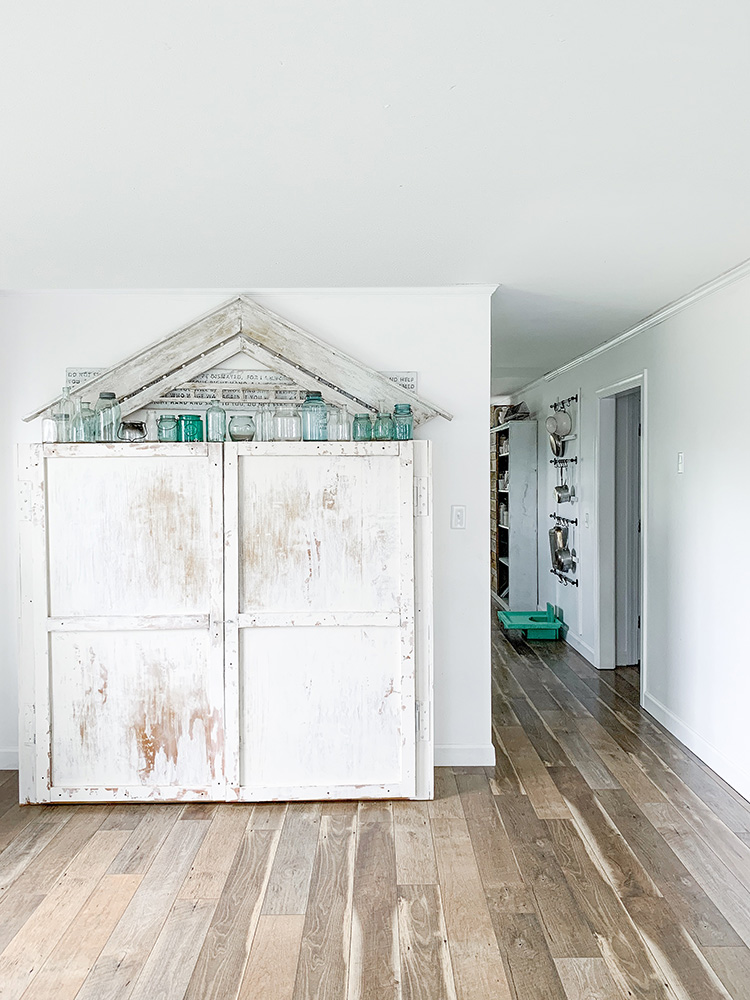
It’s pretty easy on the eyes. And that my friends, is how easy it is to get a weather worn textured chippy paint finish using Saltwash!
You can get your hands on Saltwash HERE, and make sure to go check them out on Instagram @ilovesaltwash for some inspiration & ideas on how to use this super neat paint additive.
For 10% off Saltwash, use code: HannahHathaway
Tutorial on how to build this arch, found HERE.
CHECK OUT THESE OTHER PAINTING TECHNIQUES:
White Washed Milk Paint Look Using Latex Paint | How To Paint A Metal Door To Look Like An Old Antique Door | Layering Chalk Paint Colors With Vaseline For A Chippy Look


Simply beautiful!
Next level awesomeness!
Love this
Did you ever create a post showing how you built this piece?
Yes! Here it is: https://welivedhappilyeverafter.com/diy-architectural-salvage-how-to-make-your-own-antiques-chippy-arch-plans-and-tutorial/