


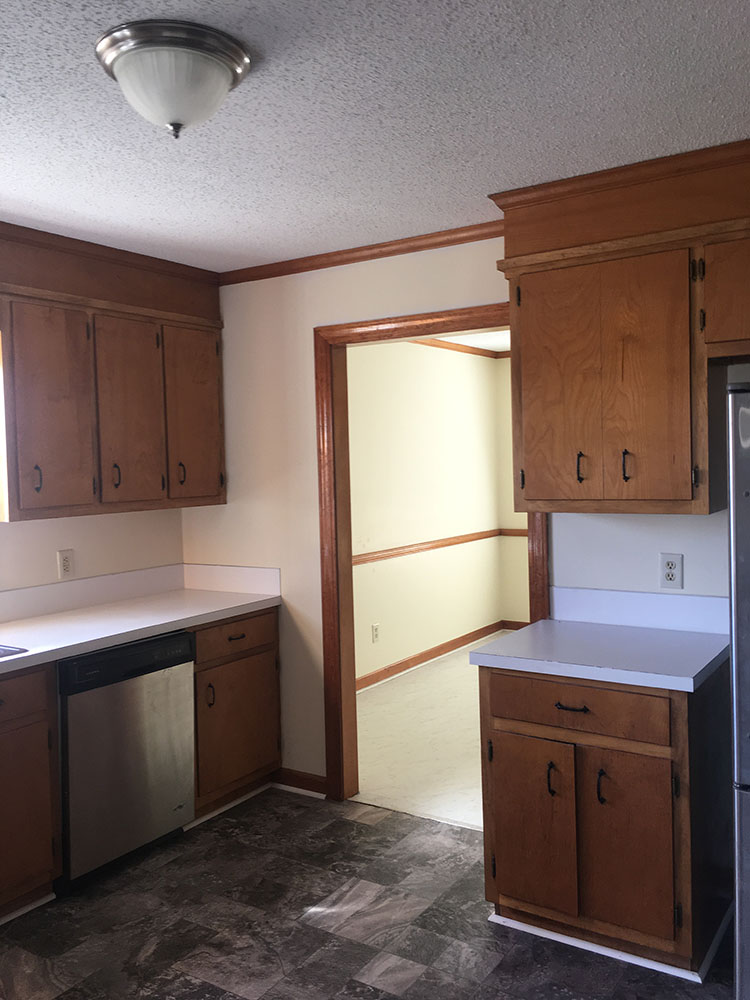
Hi Friends! I can’t believe that I finally get to share today’s project. I’ve been wanting to join the “DIY Concrete Counter Movement” for at least the past 5 years. When we moved into this house last March, (see how it looked when we moved in HERE) I knew I had nothing to lose by using this method. The counters couldn’t stay in their current condition, so it’s not like I could make anything worse… right? And the price tag on this project is super low. So I just had to try it out for myself!
I’m going to be sharing how they are holding up 10 months later & if I would still reccomend DIY Ardex Feather Finish Concrete Countertops soon… so stay tuned for that blog post!

This post includes affiliate links, but I only share things that I LOVE & think you will too!
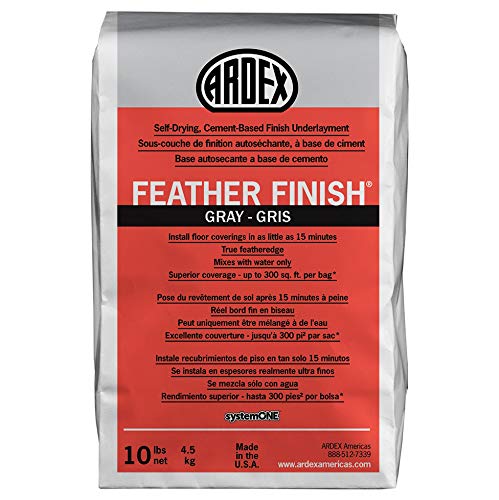
This project literally cost me $30 for the Ardex & $20 for the Polycrylic sealer. So $50 all together because I had the supplies on hand. Scroll down to the bottom of this post to see everything (complete with links) I used.
Since doing this to my kitchen, I’ve also used this process in my two downstairs bathrooms. So I put together a list of my tips on working with Ardex Feather Finish for concrete countertops:
- Make sure that your counters are not peeling or falling off. Screw or glue down any bouncing or peeling portions. Ours were laminate & since they were so old I did have to secure a couple areas here & there.
- Sand down your laminate countertops with a rough grit sandpaper (I used 80 Grit)
- Mix your Ardex Concrete according to the directions on the bag. Make sure to mix it really well- you don’t want lumps. Uneven mixing will make the Ardex color patchy.
- Apply the mixture smoothly, but generously using a Flex Broad Knife. Start application in the sections closer to the wall and corners & try to apply it as evenly as possible.
- Allow each layer to dry before adding another layer, and smooth out each layer with 200 grit sandpaper between each application.
- Have a vacuum on hand & some dry paper towels to contain the dusty mess.
- Once cured (24 hours is good) you can seal it. I applied three coats of Polycrylic.
Okay, now here is a video step by step of my whole process. I feel like most tutorials out there only show a few photos, or a super sped up video of the application. Don’t get me wrong, I love seeing finished photos of spaces, but I often find that seeing is believing. So I decided to take you along and show you the WHOLE process of applying Ardex to your kitchen countertops. I had no idea what I was doing at first, so you will see me start to get more comfortable working with it as I went. I really hated showing all the “real life” nitty gritty, but looking back I’m so glad I documented all this. It shows how far we’ve come!
You’ll notice there’s a lot of “little people voices” in the background of the video- that’s why I try to work/film projects at night. But when you are living in a fixer upper you work every free minute you’ve got. So my kids playing in the background is just a normal every day part of my projects.
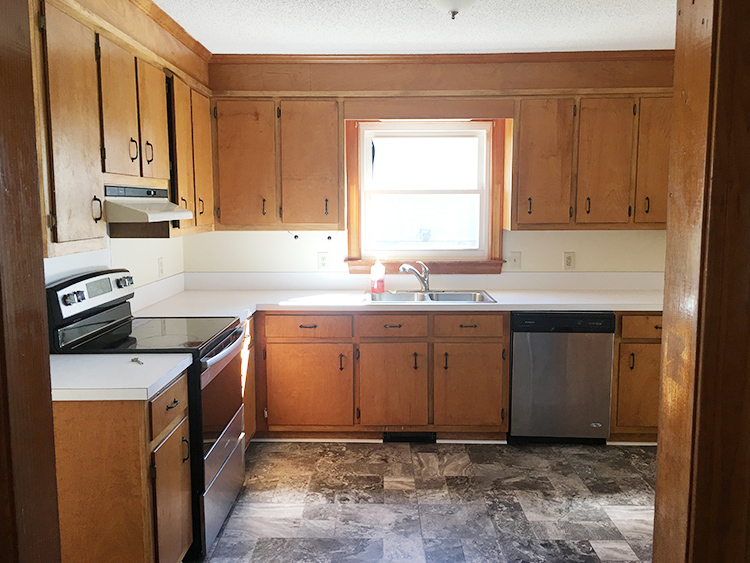
You can see what this kitchen looked like when we moved in HERE.
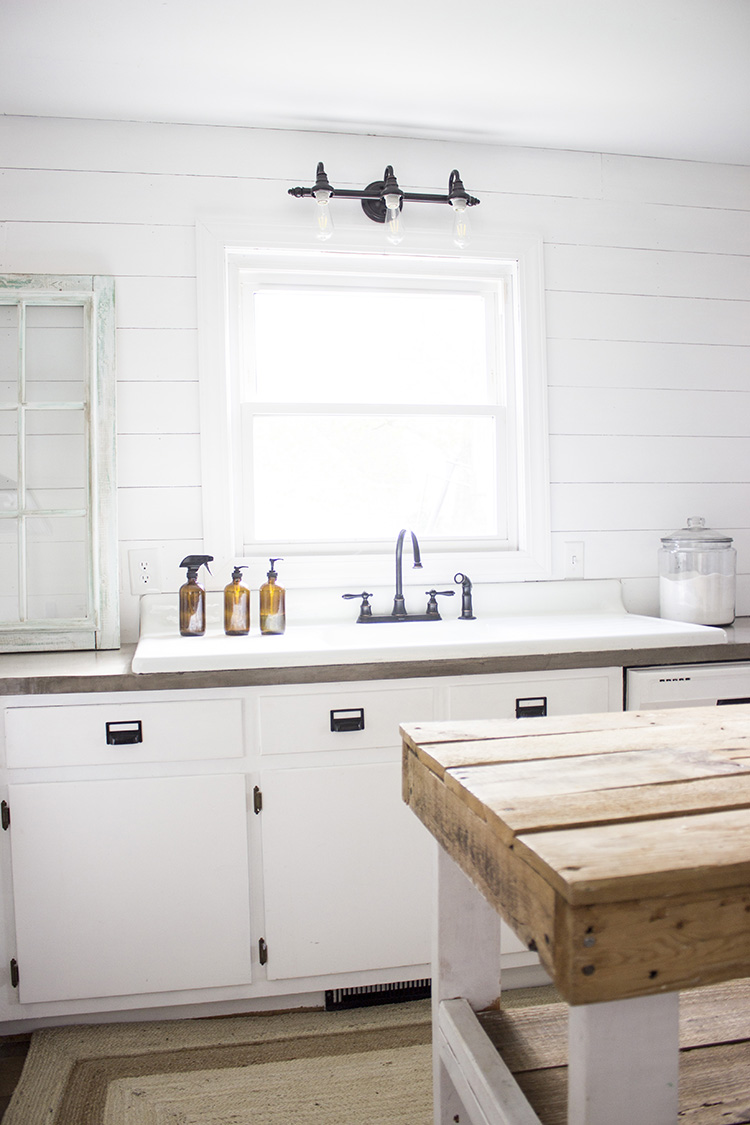
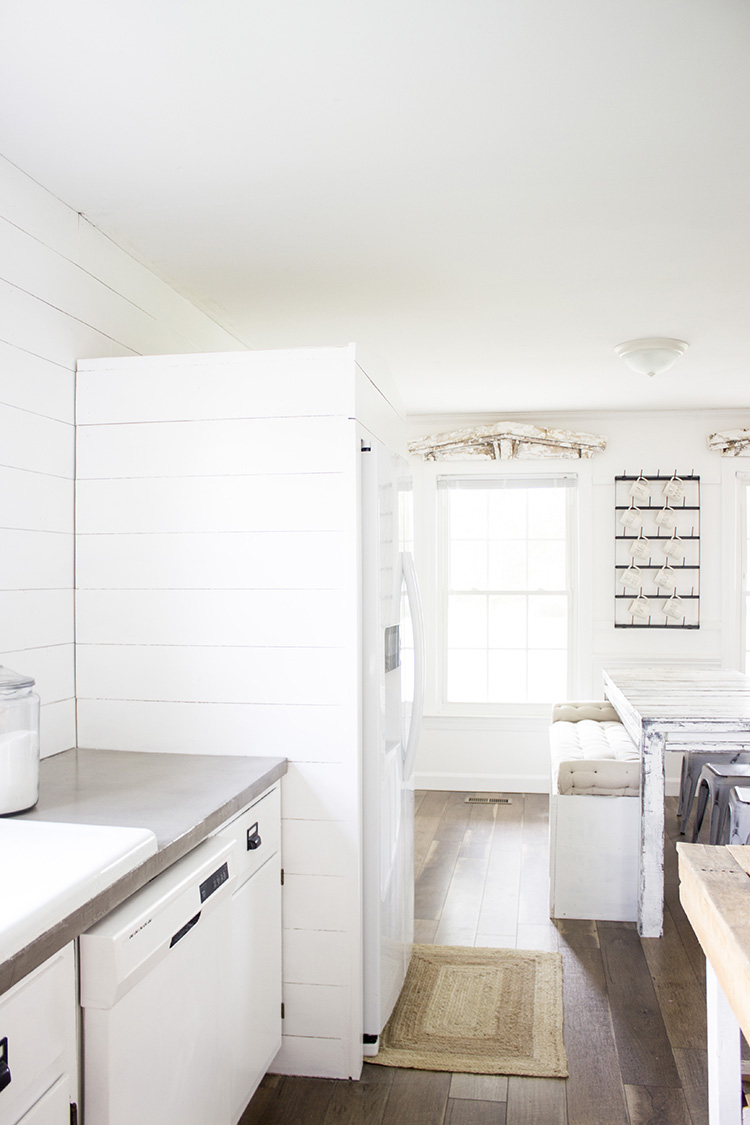
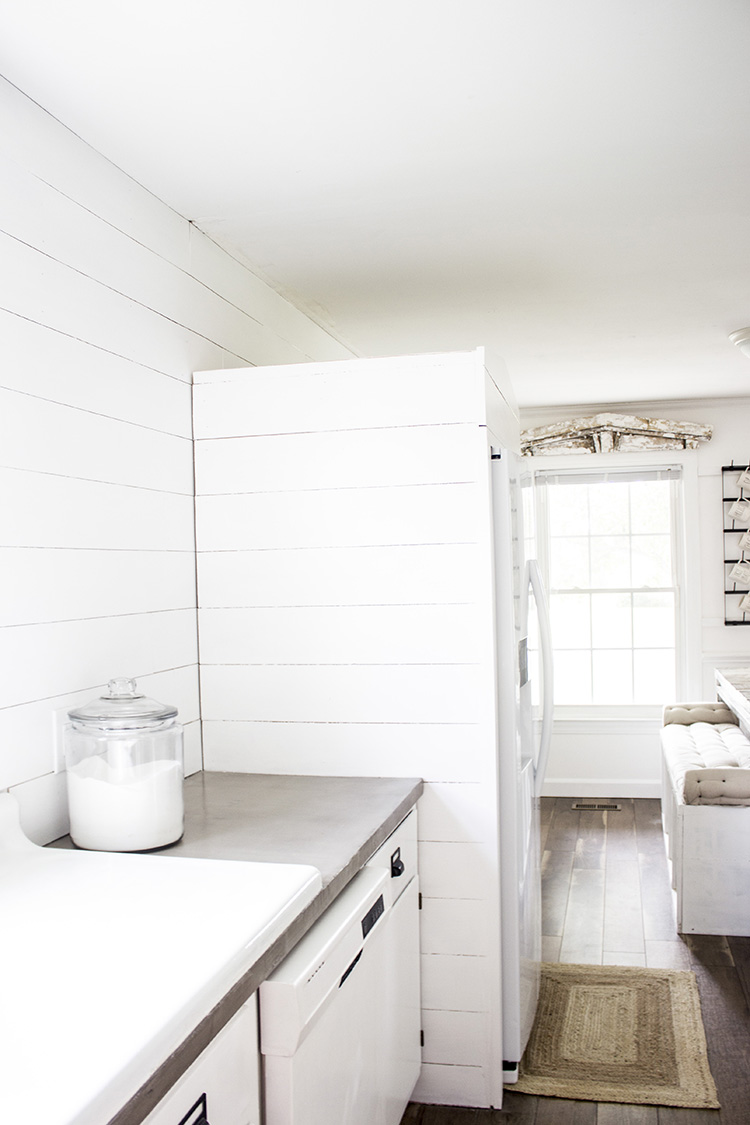
It’s crazy that this is the same space.. even the same dishwasher (paint job!) and that we did all the work ourselves. That makes me super proud.

Same view, no wall!
I feel like I got better at applying the Ardex as I went. It was really nerve wracking in the beginning, but I think you can really see the progression of how comfortable I got with this process with each new layer I applied.
I think what made applying Ardex Feather Finish less intimidating was that even though the counters were fine structurally, they were so ugly that I wasn’t going to feel bad about potentially “ruining” them if this didn’t work out.

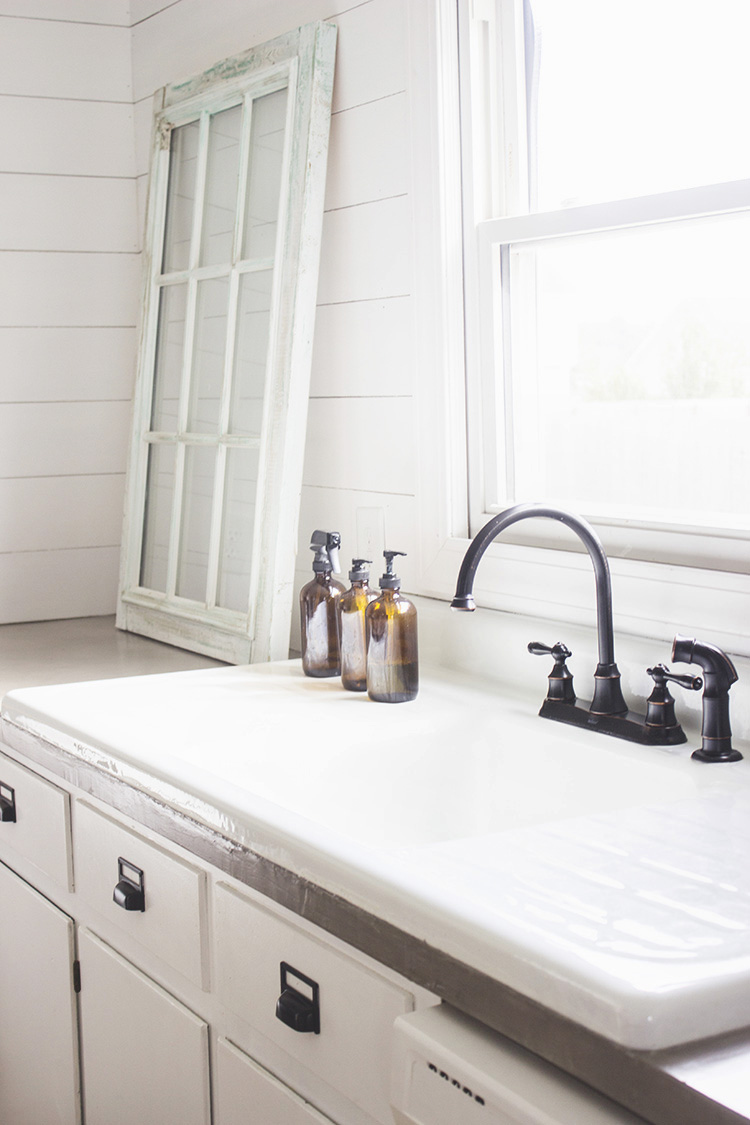
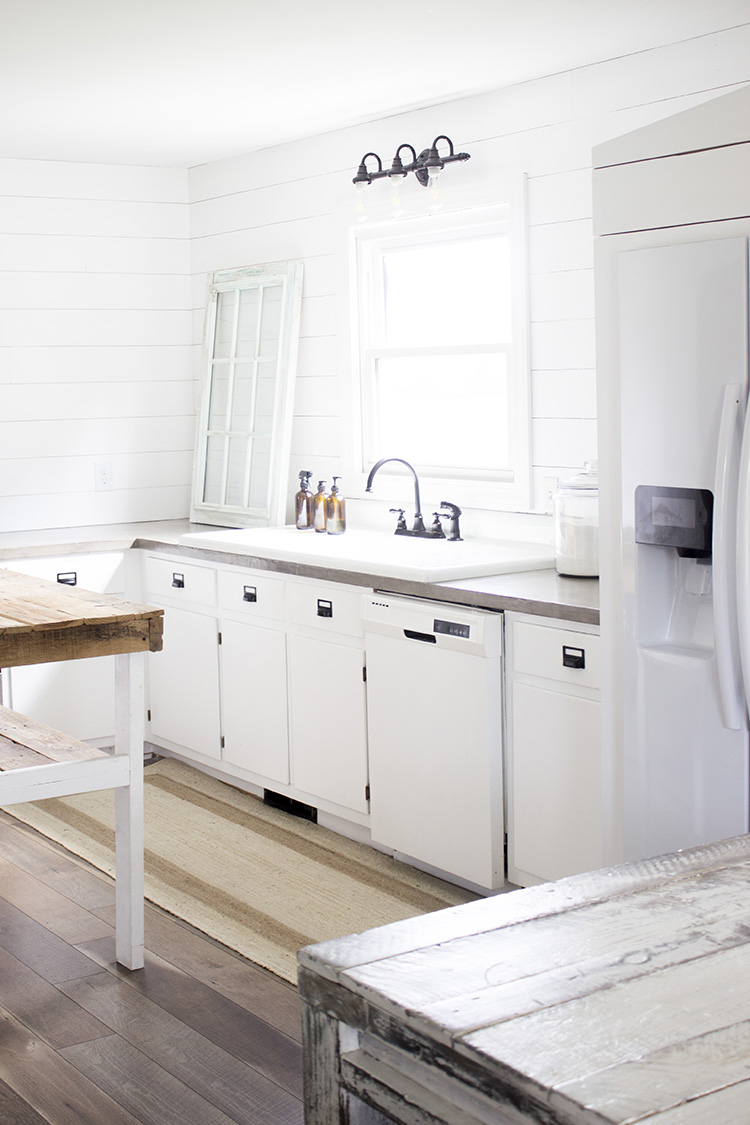
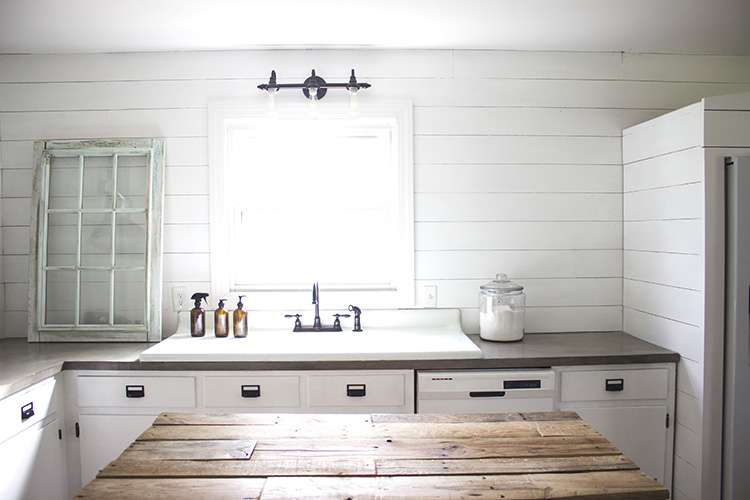
I seriously couldn’t be any happier with how this stuff turned out.
I’m going to be posting a review about how well these DIY Ardex concrete counters have held up so far. But I will write that my biggest piece of advice is how you seal them. I would advise a good 6-8 layers of sealer. And make sure to silicone the edges of your sinks. This wasn’t a big issue in our kitchen, as our sink is so large that no water gets over the edge. But when I did the DIY Ardex Feather Finish countertops in our bathrooms, they got really wet due to our little ones washing their hands & splashing. The water was soaking through the sealer, taking a whole night to dry up, and it left a slight watermark. That problem stopped once I sealed them several more times, while making sure to go over any little pinholes the water was getting through with my Polycrylic sealer!
We are pretty gentle on these counters in general. I don’t put anything hot on them. I also don’t put anything wet or oily on them either. But honestly, I always treated our laminate counters the same. So it wasn’t too big of a change for me.

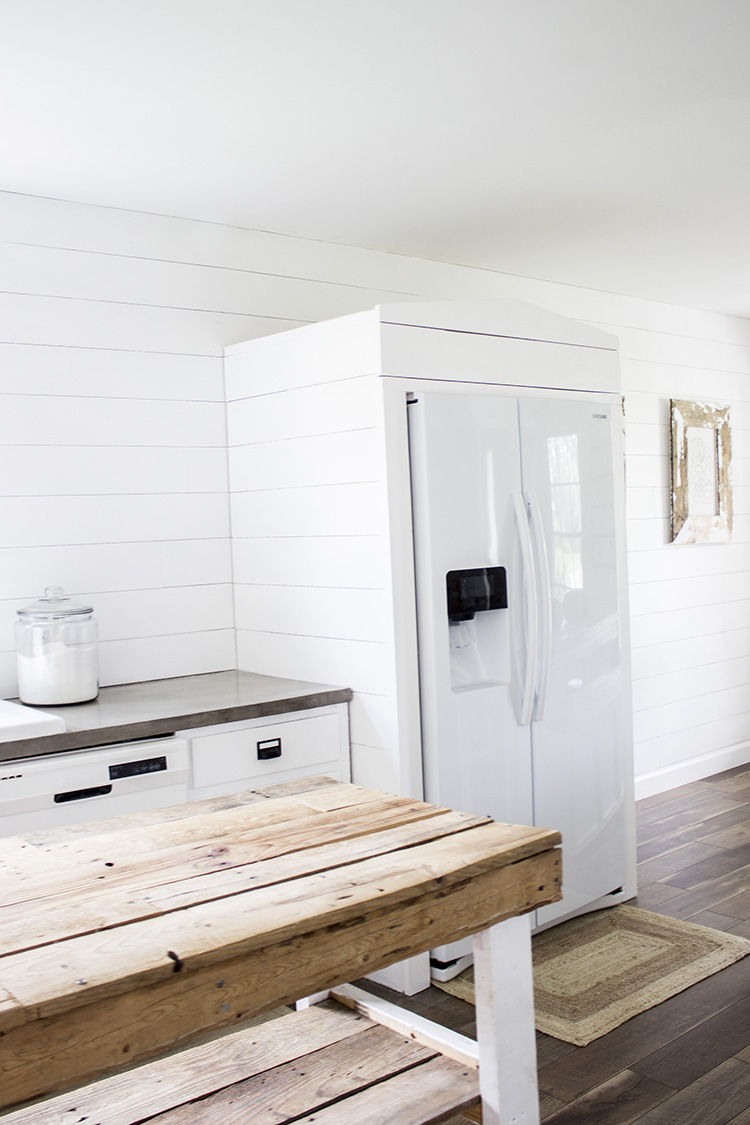
While I do love this kitchen island piece we built (see the tutorial & building plans HERE), I don’t trust the reclaimed wood enough to use it for food prep. So eventually I am going to build a massive kitchen island that will have a butcher block for all my cooking and baking.
It’s crazy to watch the video of me applying these Ardex counters, because the kitchen looks SO different now. If you click HERE, you will see a tour of our house from the day we moved in.
Also, I only needed one bag for three layers on our counters.
Here’s a full supply list of everything I used for this project:


I’m sorry but I am trying to find the video where you did the countertops. I did not see the link.
Love your blog! <3
Hey! It’s towards the beginning of the post. It’s embedded, so it might look more like a photo to you. Hope that helps!
hi there, this is beautiful! Where did you buy your sink?
Thank you so much! You are so sweet. The sink is actually a vintage find! I wish they made them like this now days.
Hi it looks beautiful. Do you have tips of how you cut the back splash off? Was it part of the countertop?
Our backsplash wasn’t connected to the countertop- so I scored the seam with a knife, and peeled it off (we put up a shiplap backsplash, so I wasn’t concerned about any wall damage) Hope that helps!
How long did you let the sealer dry between each coat? And how long did you let them set after you were done sealing before using?
Yes! We let the sealer dry. There are more specific details in the tutorial video in this post, but also follow the manufacturer’s instructions on the package. Hope that helps!