


This post included affiliate links, but I only share things that I LOVE & think you will too.
June’s Toddler Bed is the most practical thing in her room (see all the colorful cuteness HERE)… I mean, you need a bed in a bedroom, right? My husband, Silas, and I built it together because I didn’t want to put a full twin size bed in her room so she could have more room to play.
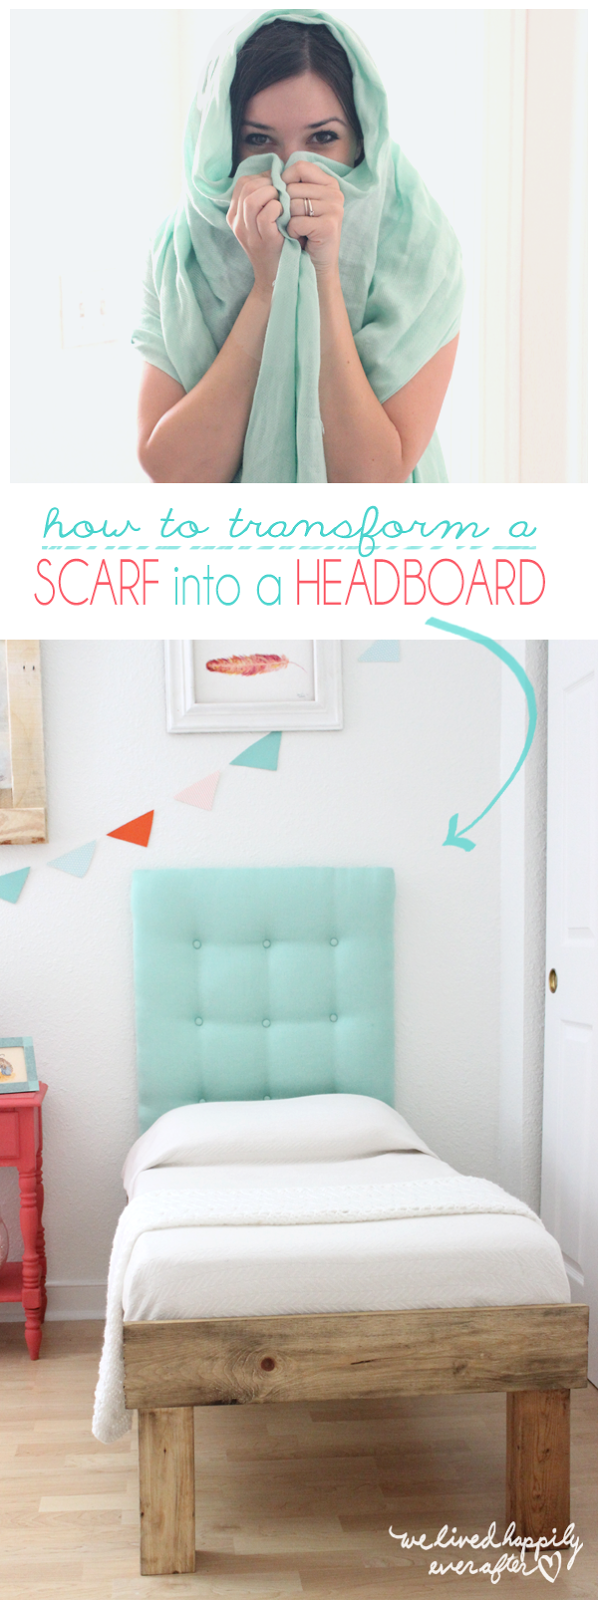
I’ll be putting up a tutorial and plans on how we made her bed soon, but today I’m going to show you the eye candy part of this DIY Toddler Bed: The Headboard!
Believe it or not, I made this headboard with 2 scarfs from Walmart. And it’s awesome!
This scarf method works perfectly for toddler beds, and if you turn it on it’s side horizontally, it will work for a twin, and maybe a full. It all depends on how large your scarf is. I purposefully made her’s “tall” so that I could turn it on it’s side and use it on a twin in the future.
Here is a full list of materials used for this project:
-2 scarfs (I used two because they were see-through thin, so I layered them on top of each other)
-Plywood the width of your bed (and whatever height you need it to be)
-Thick Batting Foam (you can buy yours, or if you’re like me, steal it off of old furniture)
-Super 77 Adhesive Spray (THIS is the stuff I used)
-Stapler
-Upholstery Buttons (THESE are the ones I used)
-A Drill and Screws
– A Big Strong Needle, thick Thread & Pliers for attaching the upholstery buttons

So first, we started with a lovely piece of plywood. We got ours on the side of the road.
Cut it down to your specifications (and make sure that your scarf will cover it with st least 4″ overlap on each side, which acts as an allowance for your scarf size and the thickness of your foam)

Next, cover it with your foam. The thicker the foam, the deeper the button pleats will be.
Make sure there is a slight overhang of batting over the edge of the plywood.
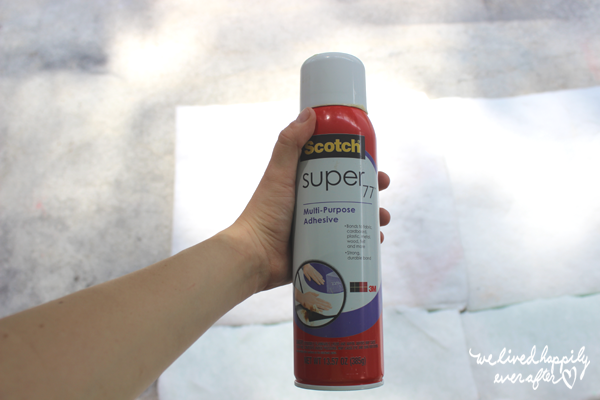
Here is the stuff I used to “glue” the foam onto the plywood. This glue is really sticky.

Follow the directions on the can & spray it as directed onto your plywood and foam/batting.

Now for the Scarf part. Staple the overhang of the foam in place, and then tightly staple the scarf(s) onto the back.

Assuming you want buttons, you will need to measure out their placement and drill holes into your wood. This is, by far, the most annoying part of the process. You need to get the measurements and spacing just right or it will look funky. Truth told, I redid my buttons twice before I got them all perfect.

Using a strong needle and thread (or pink yarn ^^^) sew and attach your upholstered buttons onto your headboard. I used a very short screw right beside the hole to anchor the thread and pull the buttons in. It may not be the most normal way to do it, but I tried other ways, and this one was the one that worked for me. If your foam is super thick (like the yellow kind) you may need to push something sharp to into the foam to allow the needle to go through.

Here is a view of the back. Lovely, right? Haha!

And here is a view of the full front.

Here is a close up of the fabric covered upholstery buttons I used on the headboard. I love the way they look!

In the end, you will have a cute DIY headboard that you made with a SCARF!
Considering most of the materials I used were either all ready on hand, or free, my headboard ended up costing $14 for the two scarfs, and about $3 for the buttons= $17. Not bad.
I didn’t want my headboard to look “homemade” or tacky, and I think it turned out great! It was super simple to build too. And as you can see, it’s my favorite color!
Have a great day everyone!


Love this, Hannah! And it really does look easy enough for a non-sewer like me to use! Now all I need is for me and Husband to get our hands on a hand-drill (oh, and a child–but not yet! ;)). 😀
Thanks Linda! Yes, there are minimal sewing skills needed for this one, lol! I thought of you when I came up with the idea to use a scarf, because you always had such pretty ones from India. XO
I love this! That scarf color is so lovely, too!
Thanks Amy! I know, it was almost too pretty to use! Haha! 🙂
OMG!!! simply amazing!!!
Thanks! 🙂
Super cute! you are drilling the button holes just into the wood, correct? Is there any reason why it can't be done before it is put together? thanks for sharing!! ~ Angela
Correct, just the wood. You totally can do that before. I was originally going to try something different, which is why I had to drill them after being upholstered. It was tricky not to snag the fabric with the drill, so you probably are better off drilling first.
wow!!! excellent job! love this!
Thanks so much! 🙂
really nice job…I may have to try this one….
Thanks! It works great! 🙂
I LOVE this idea. Can't wait to try. I have some old scarves that have just been useless but beautiful for too long. Yay for beautiful ideas!
I know! It can be so hard to find pretty fabric for these types of projects, but scarves are the perfect solution! 🙂
!!