


Today I thought I would share how I made this DIY homemade Vanilla Extract. It’s so easy, and you will never want to go back to the store bought version.
Disclaimer: There are also affiliate links in this post. But I only share things I love, and think you will too.
All you need is:
- Vanilla Beans: Grade A Vanilla Beans; or Grade B Vanilla Beans
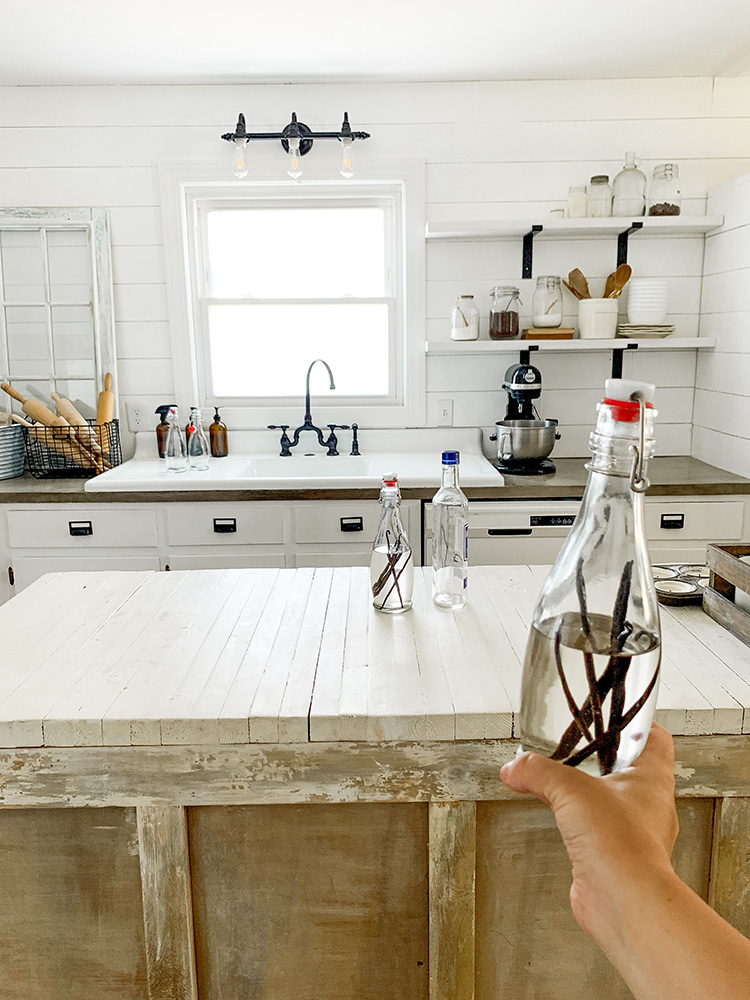
- Bottles: Swing Top Bottles
- Alcohol: We used Vodka, but you can use Rum or Bourbon instead.
When I decided to make my own vanilla, I had a hard time finding all the steps- which is kind of silly because it’s SUPER simple.
So I wanted to break down for anyone else who wants to try their hand at homemade vanilla.
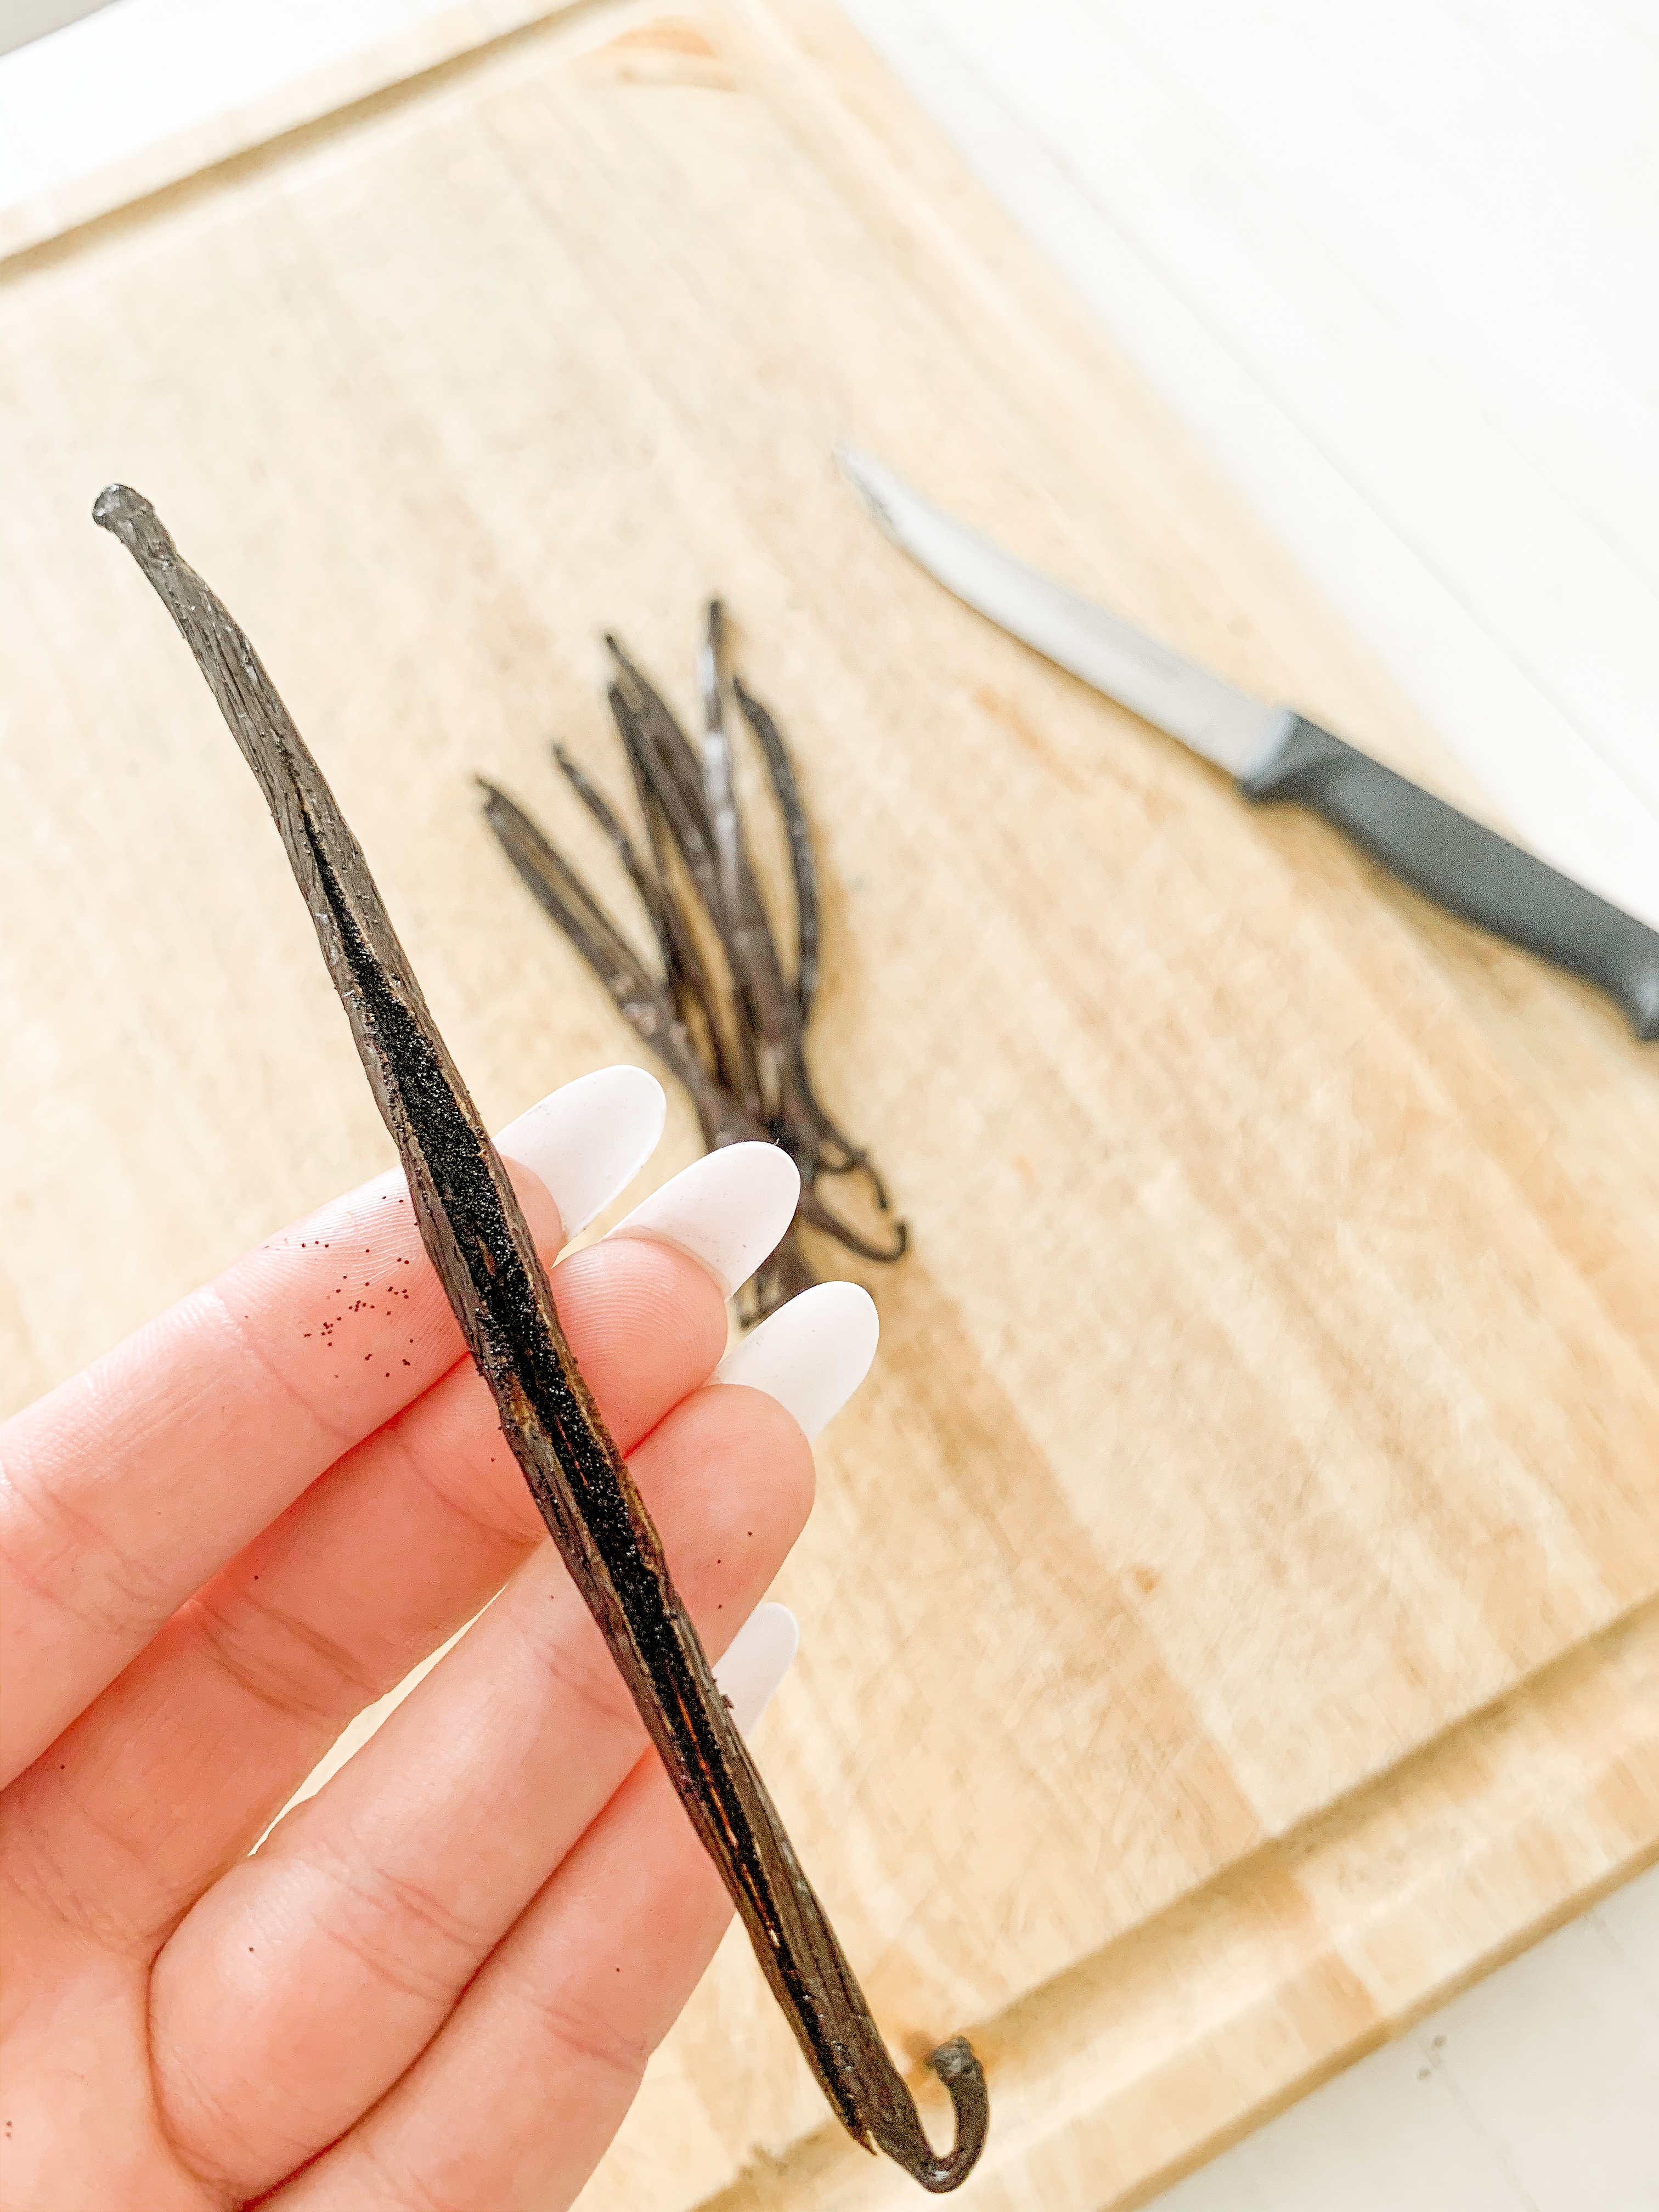
The first step is to slit the vanilla beans down the middle, exposing the inside of the stem.
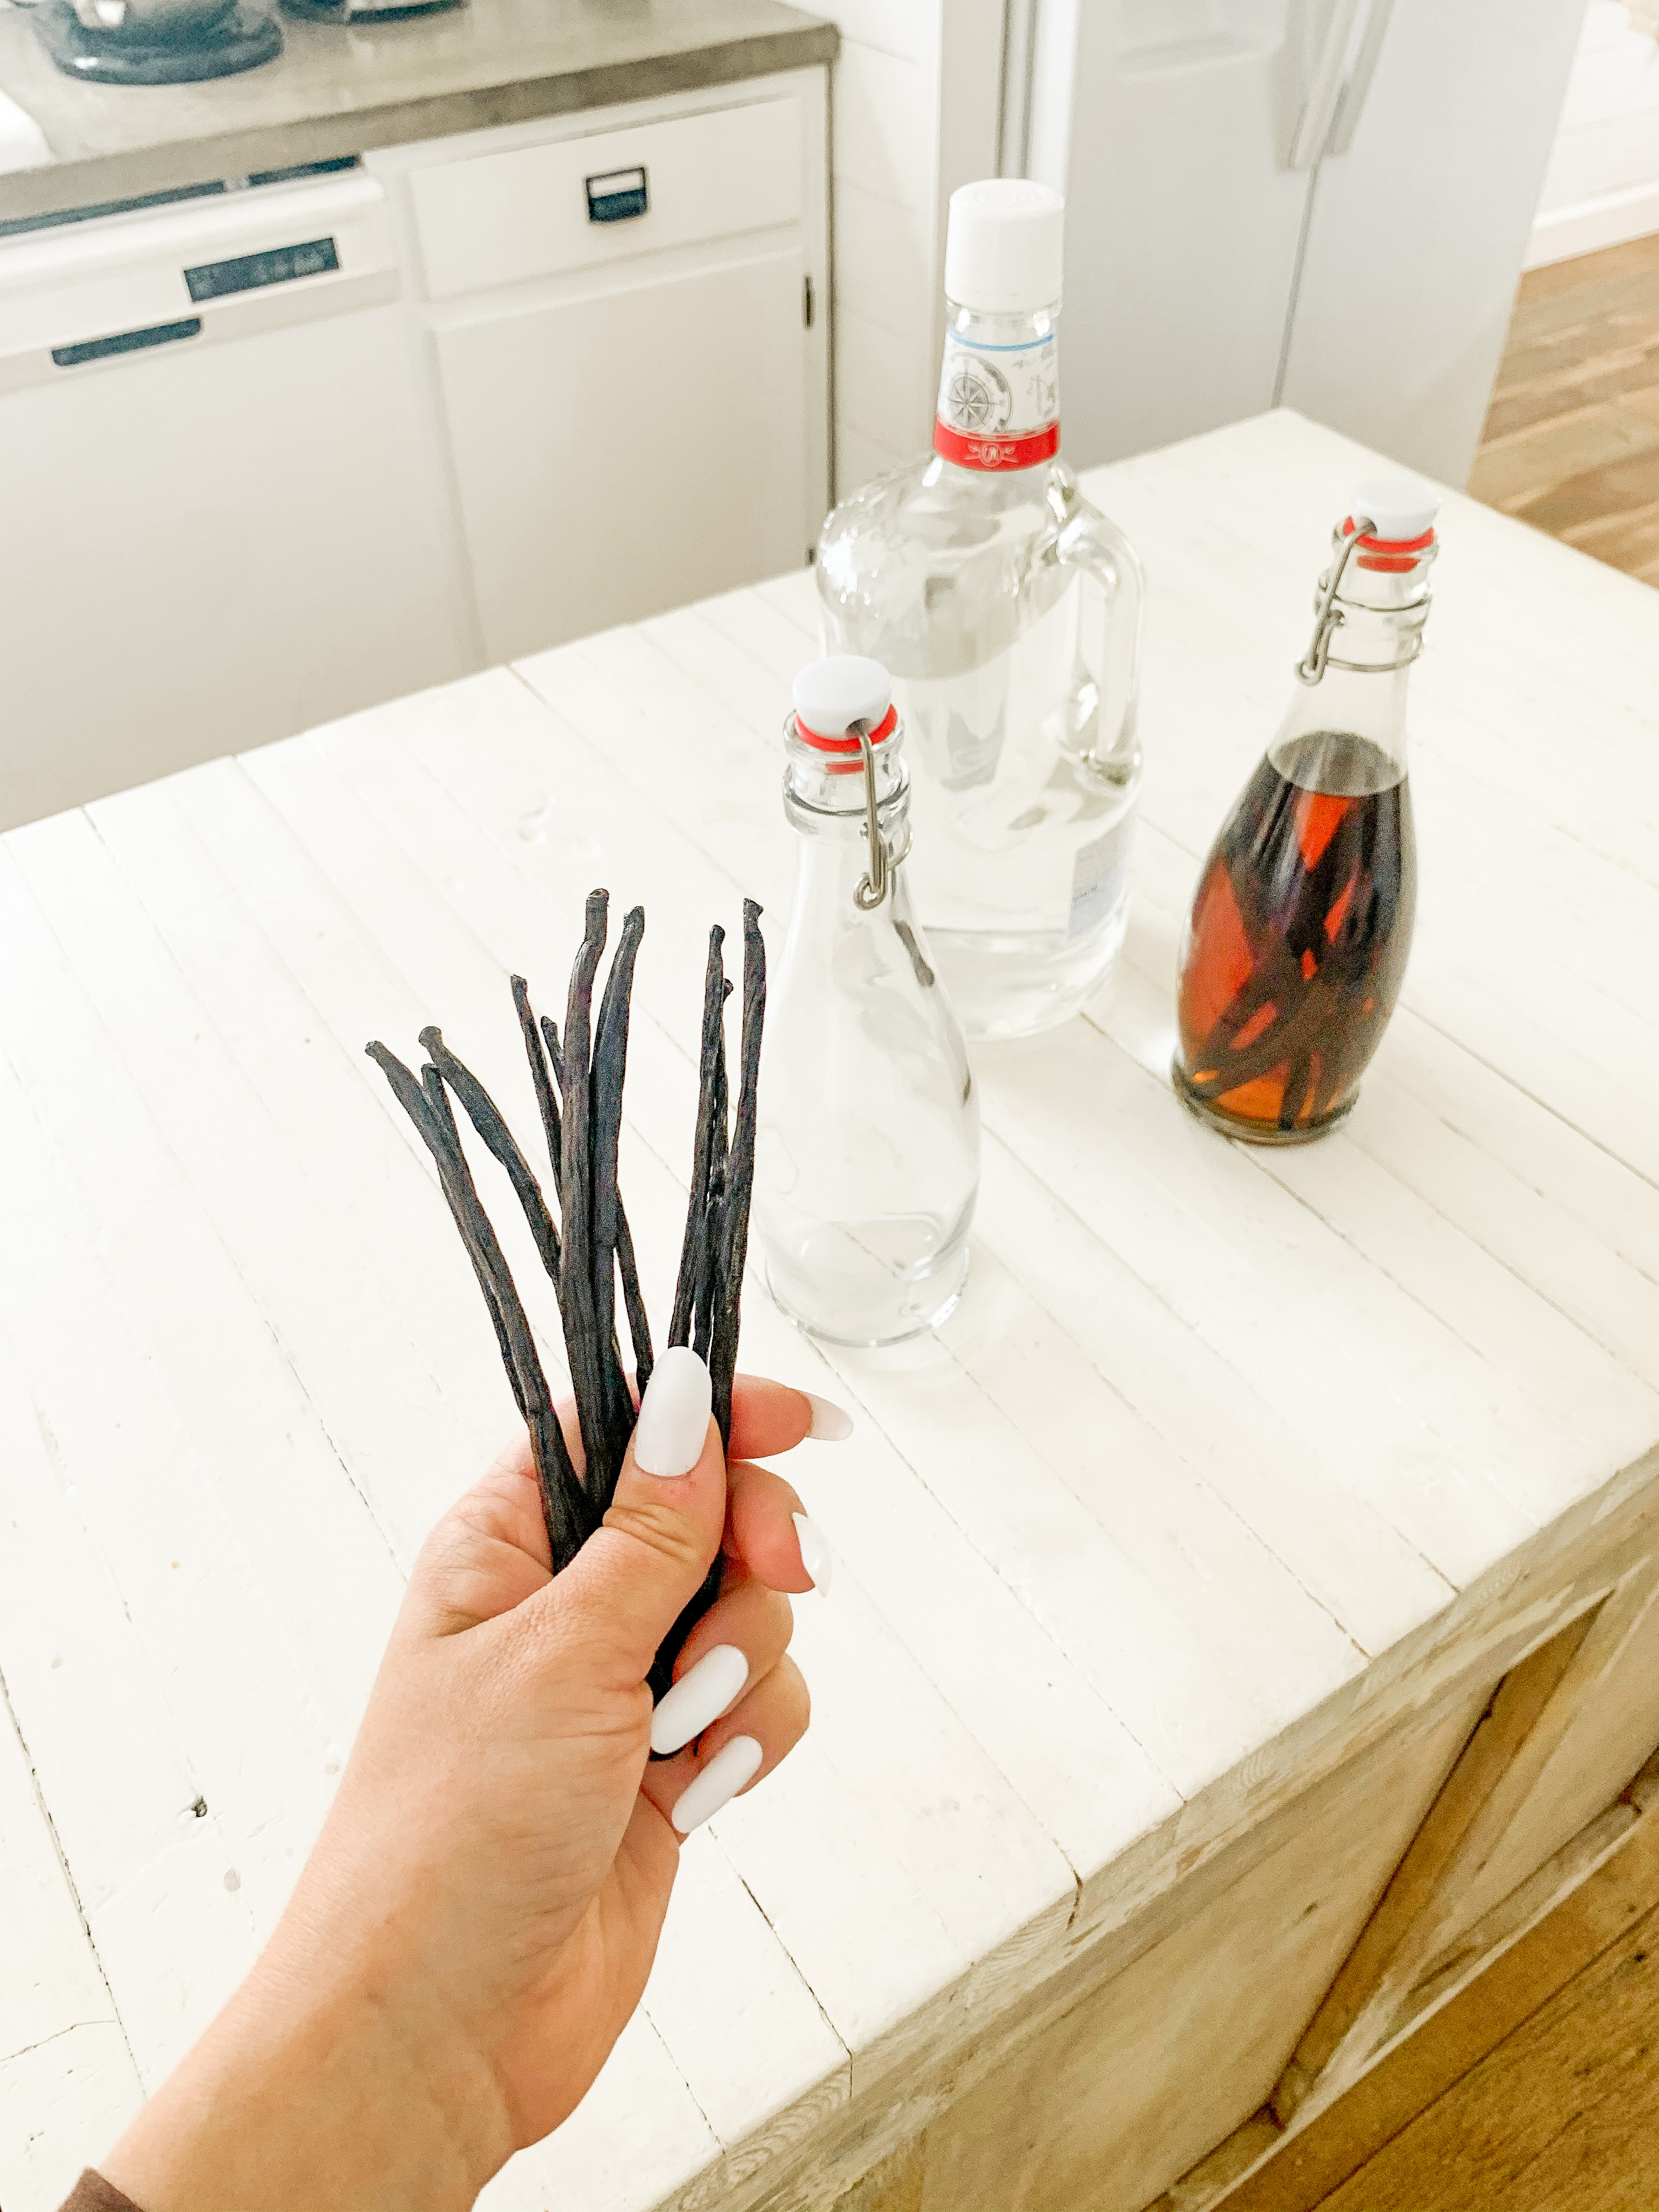
Insert them into the jar (I ended up doing 10 beans in each of my 17 oz jars) and fill it to the brim with vodka (or the alcohol of your choice)
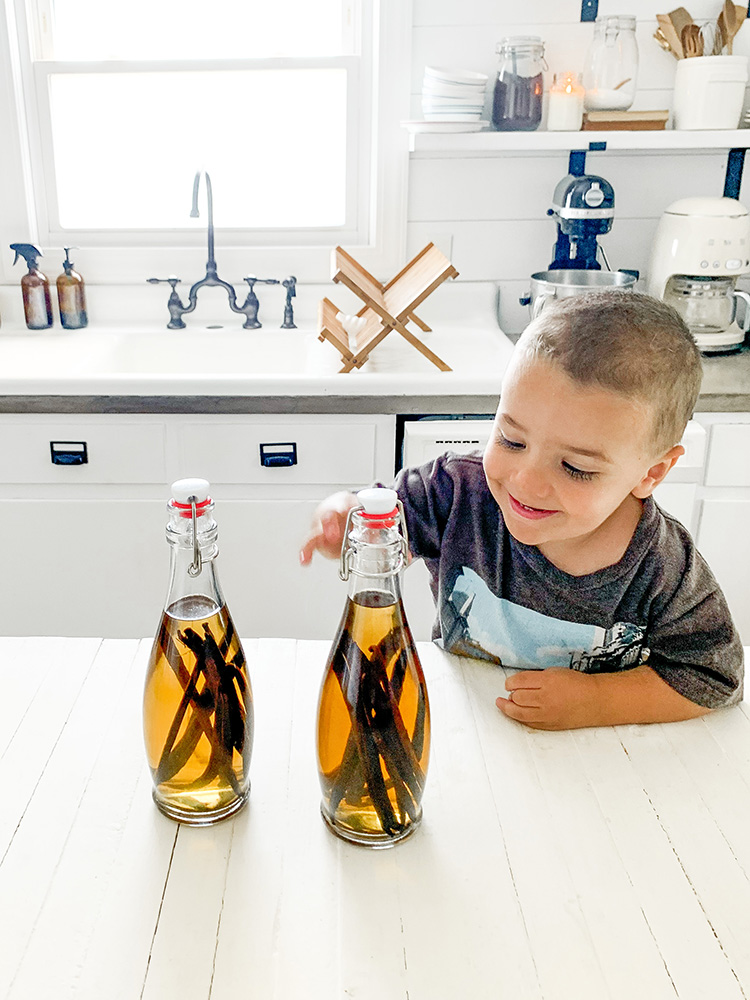
Make sure the liquid covers the top of the vanilla beans. You don’t want them to rot, and the alcohol prevents that from happening.
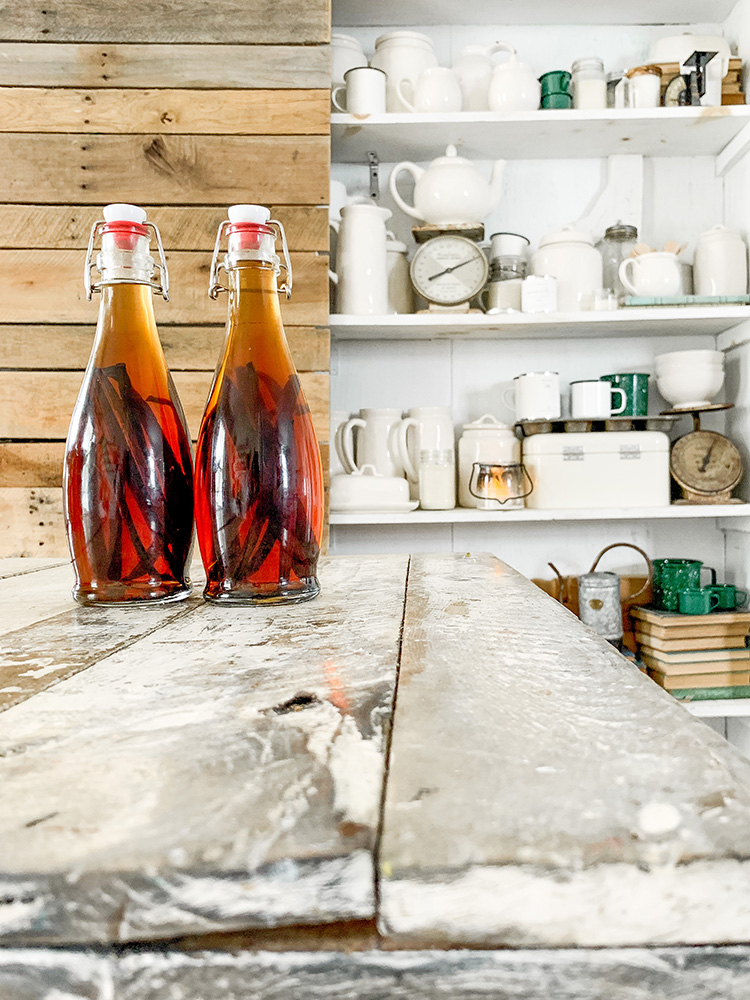
Let it age for several months before using. I did my best to shake it once or twice a day for the first few weeks.
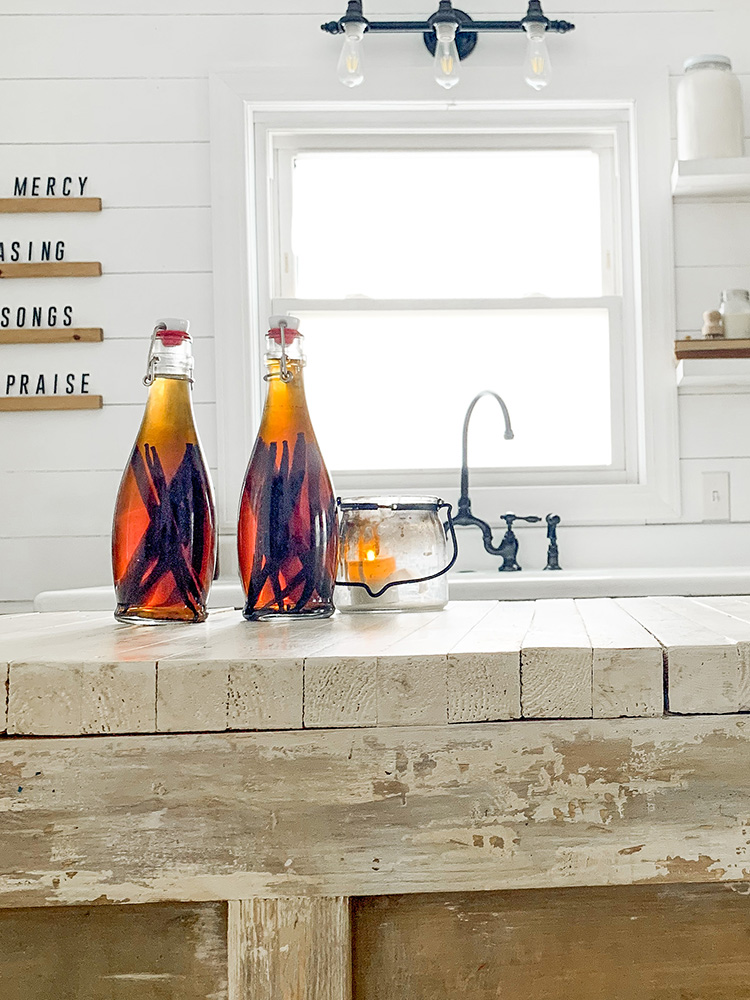
Once it’s aged, you will have a rich, dreamy batch of homemade vanilla. Any time the liquid level goes down below the beans, add more vodka and shake.
Repeat as needed. You can always add more beans down the road. I plan to use until the flavor shows it’s getting weak. We’ve had this batch for over a year, it’s still going strong, which is awesome, because we bake A TON.
Let me know if you try your hand at this technique! It’s super fun to do with the kids.


How many months did you let it sit?
At least 3 months- some people let it sit up to a year though. I suggest doing it to taste. If it doesn’t taste strong enough, wait longer (or add more beans)