


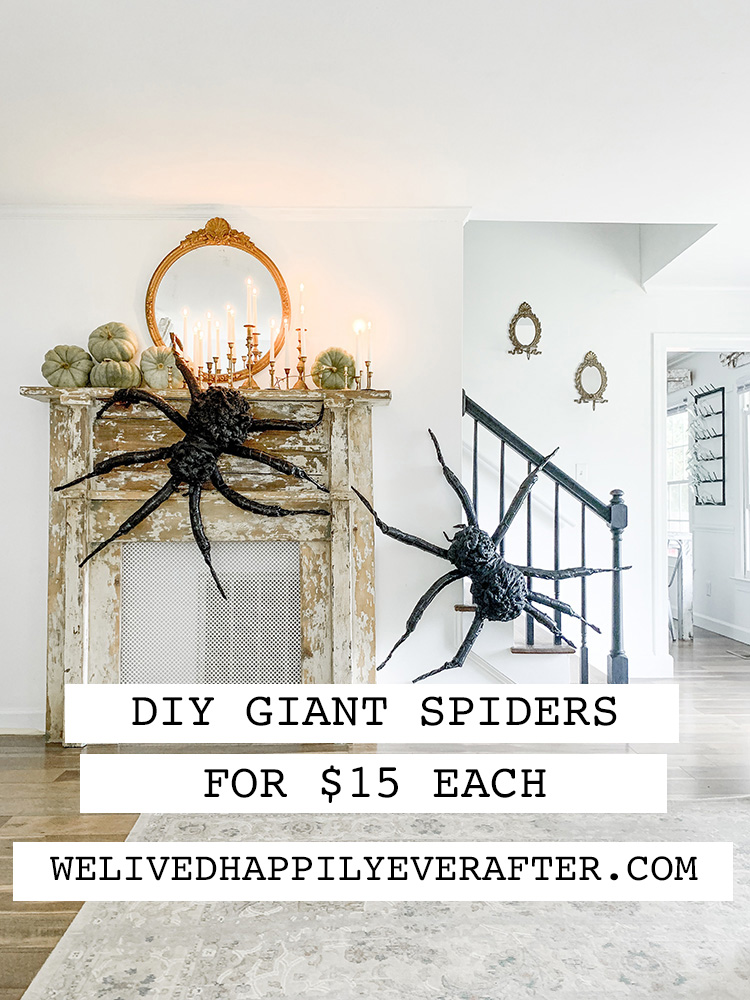
So I am normally not one to decorate for Halloween. I don’t like gross stuff, I don’t like spooky things, and I don’t like any thing disturbing… But… my son has been super into bugs this year. He has little plastic ones that he carries around in his pockets at all times. So I thought I would surprise him with some Giant DIY Spiders this October!
I am always up for a good DIY, but sometimes it’s nice to just spend money and save all the hard work for another project. So when I say that I looked pretty much everywhere for giant spiders this size (at an affordable price), I’m not kidding when I tell you I couldn’t find anything. For the three of these spiders, I probably spent like $45 total in materials. At $15 for a 4 foot long spider, I’d say that’s a win. Definitely better than anything I saw at Target!
Here’s how we made them:
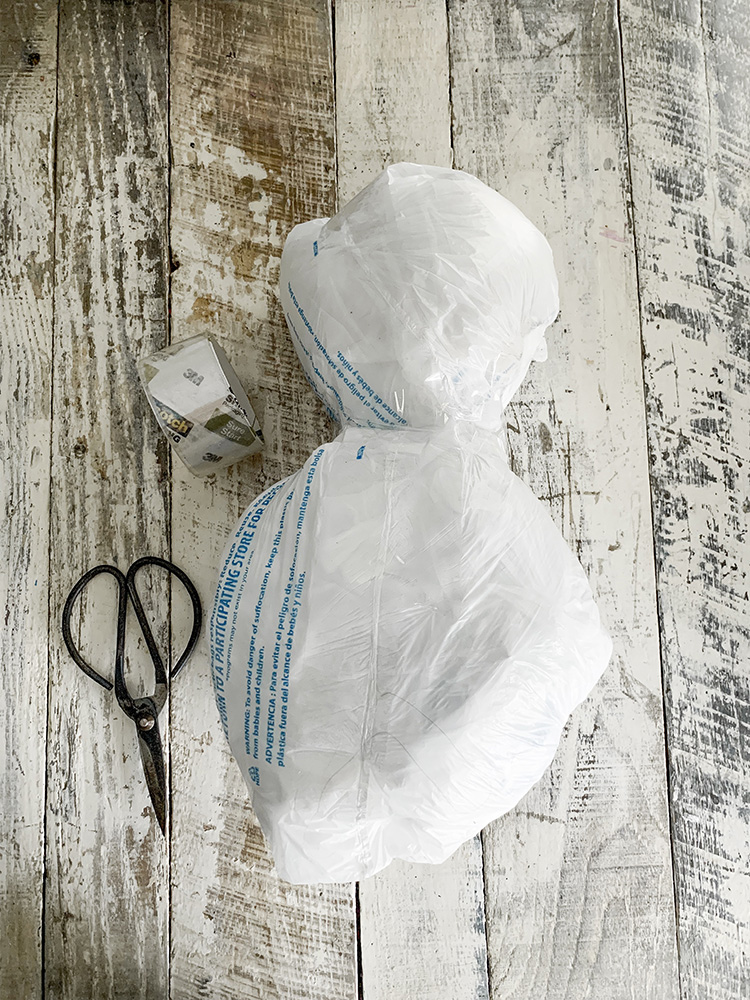
STEP ONE: First off, I decided to forgo expensive foam balls and made the body forms with layers of walmart bags, filled with polyfiber and packing peanuts. I taped two tied up bags together to create the spider body.
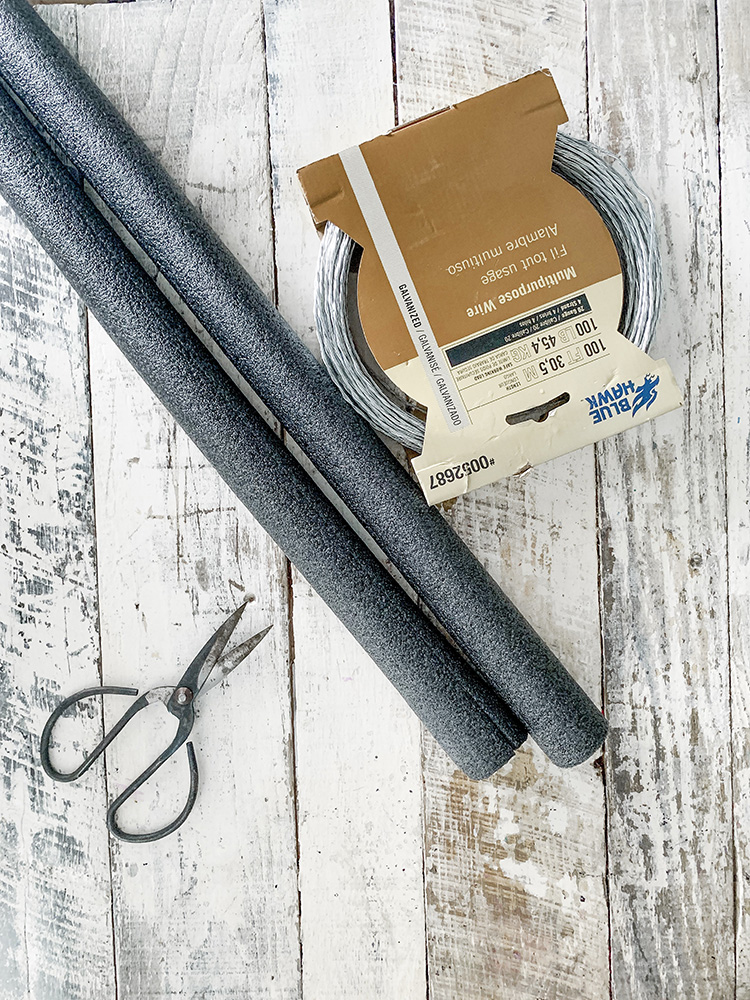
STEP 2: I bought 6 six foot long plumbers pipe insulation ($2 each) and a big spool of wire (I made sure it would be strong enough to bend the piping)
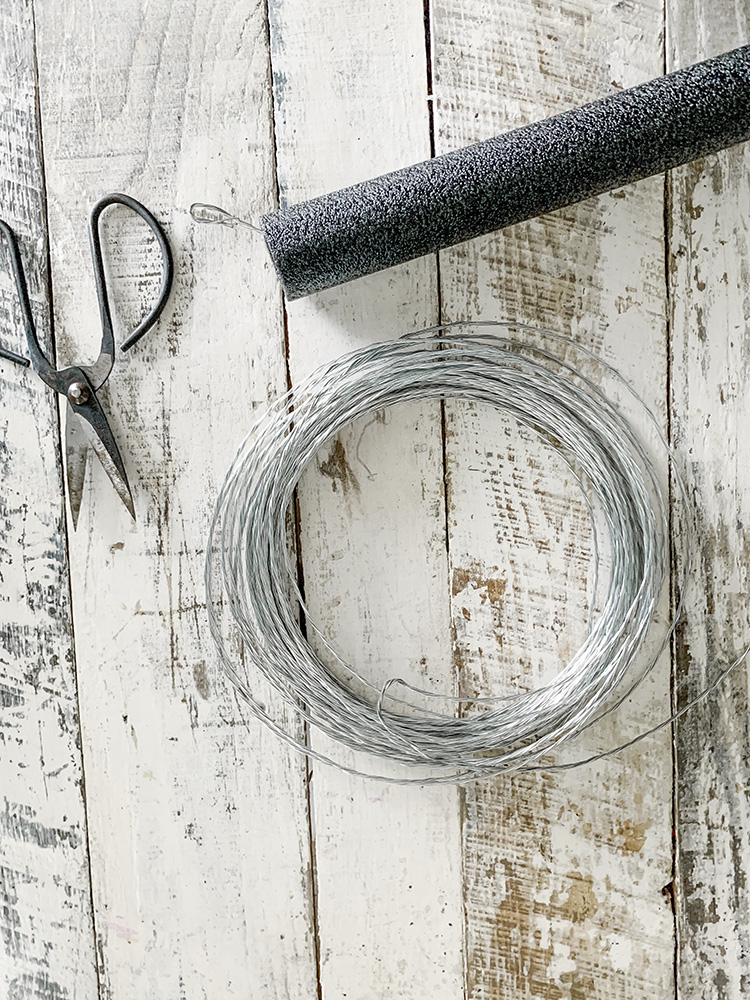
I cut each pipe in half, and used four sections for each spider. I doubled up my wire, and slid it into the pipe so I could bend them.
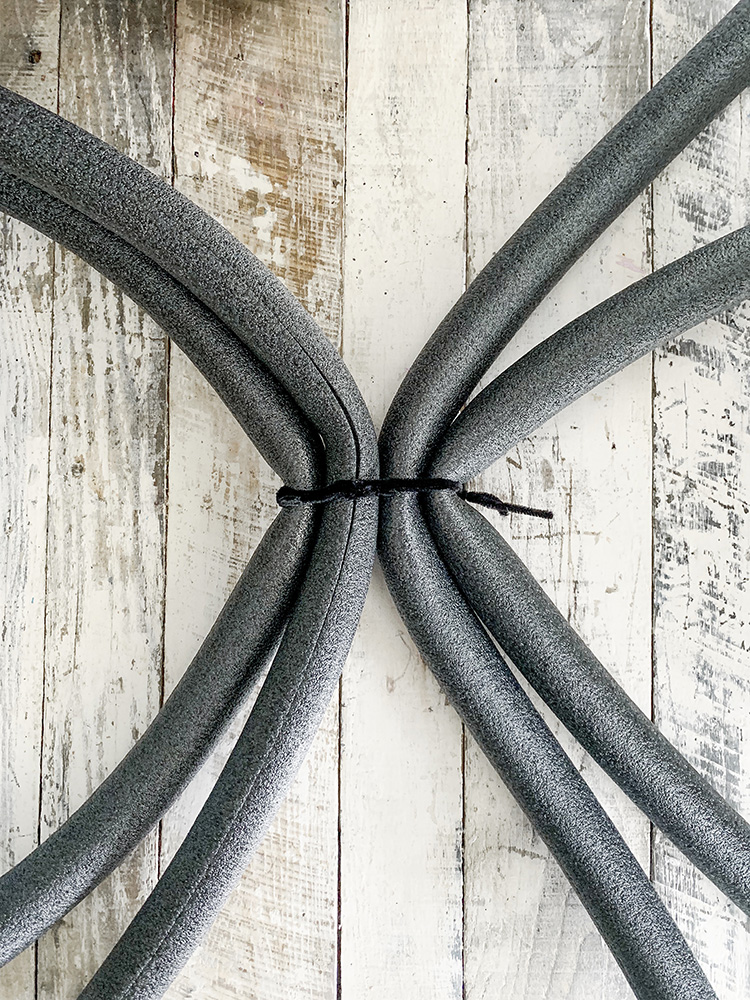
STEP 3: Next I tied all four sections together and secured them with pipe cleaners.
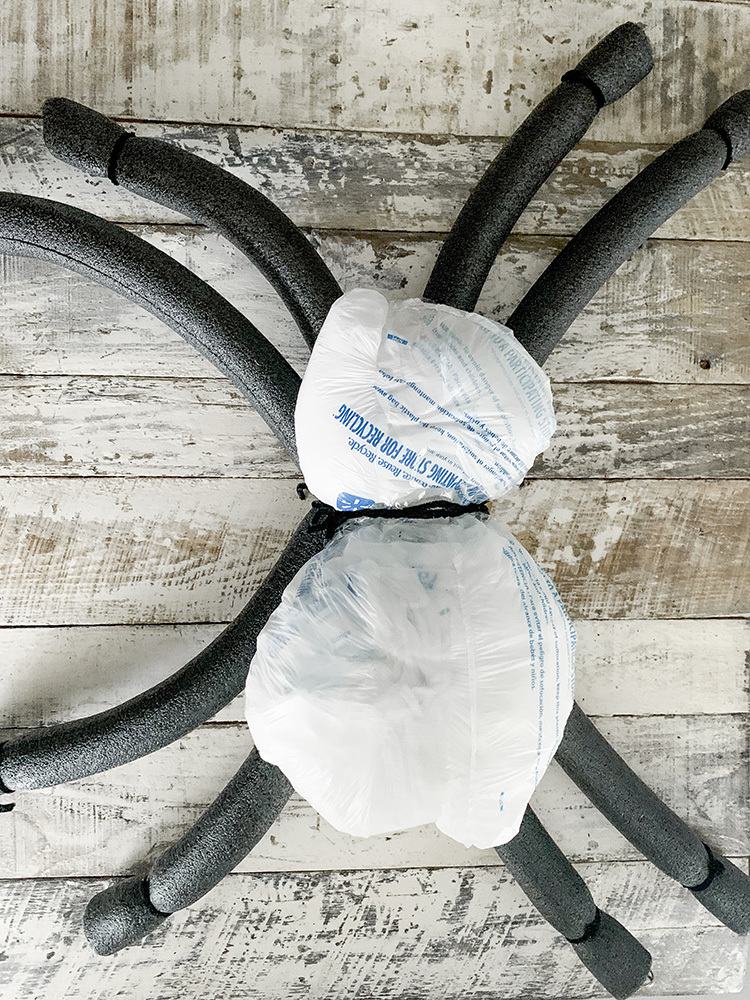
Then I wired the body onto the legs. If I could do it again, I would have duck taped over this section during this step as well (I later added it in a step further down)
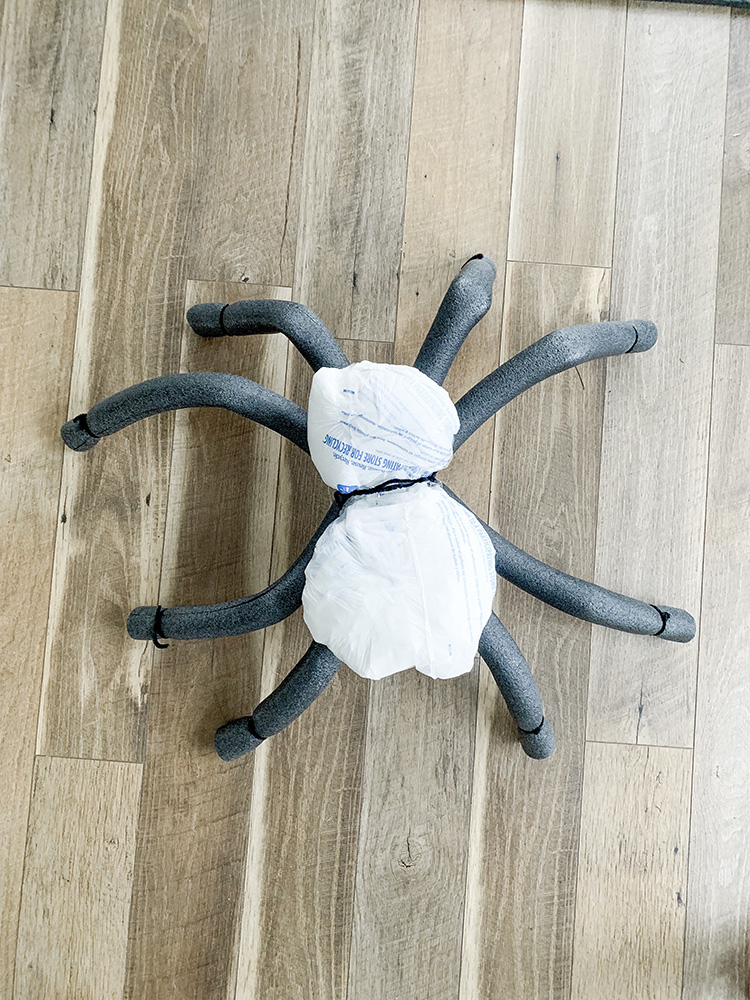
I bent each leg into place to see how it looked.
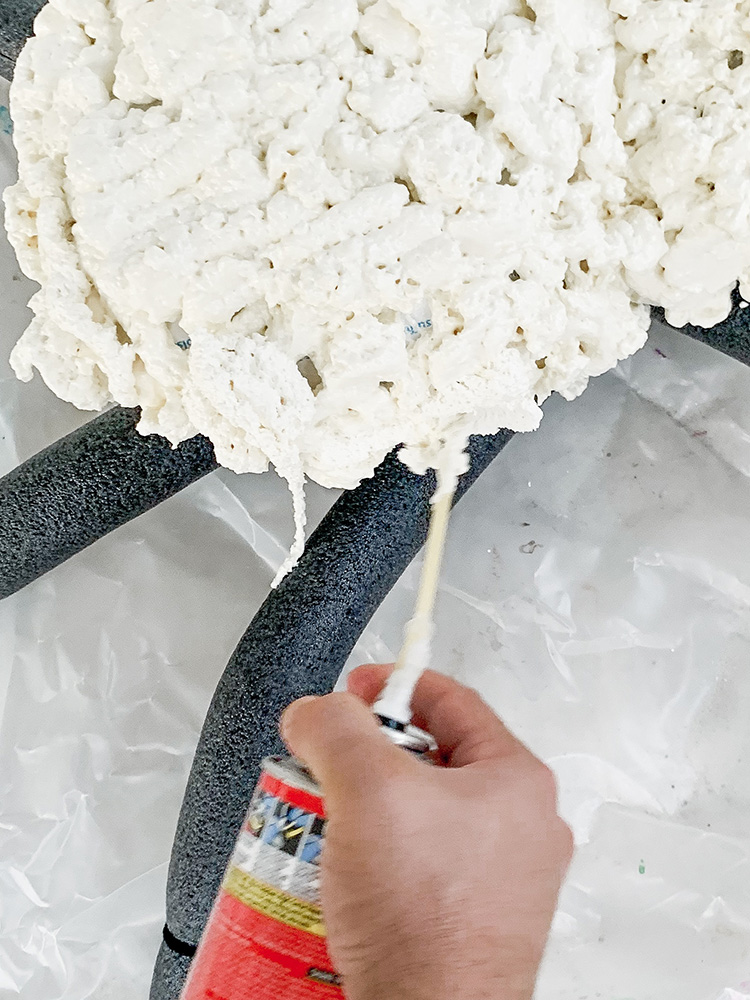
STEP 4: Then we broke out the spray foam. you will need a bottle for each body, However, we barely made it work with two total.
Word to the wise, DO NOT get this on your skin… some unnamed person (me) got it all over her hands and had to spend three hours scrubbing it off. Stupid, stupid, stupid.
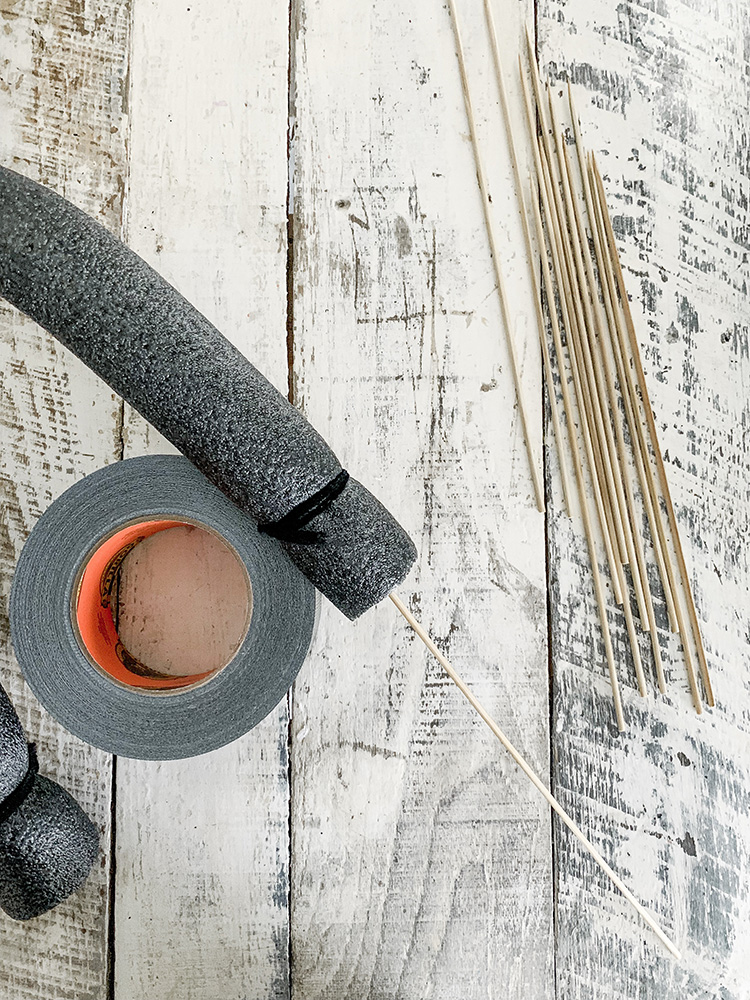
STEP 5: Next I put some skewers into the foam legs to add tapered length.
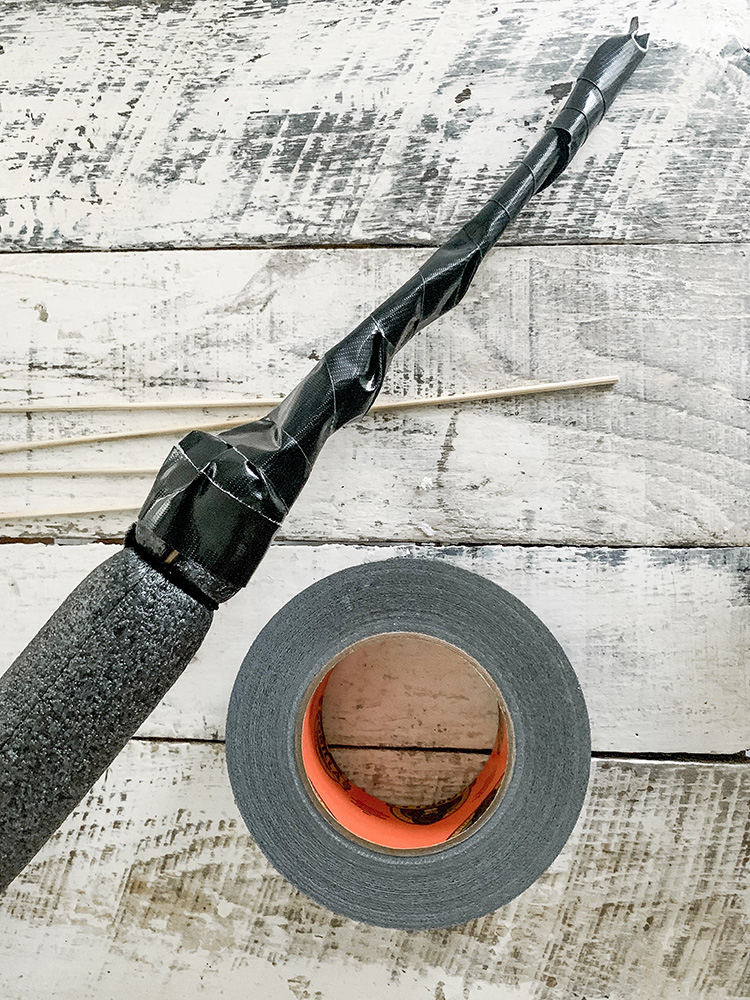
Then I duck taped the bottom leg portion with black gorilla glue duck tape.
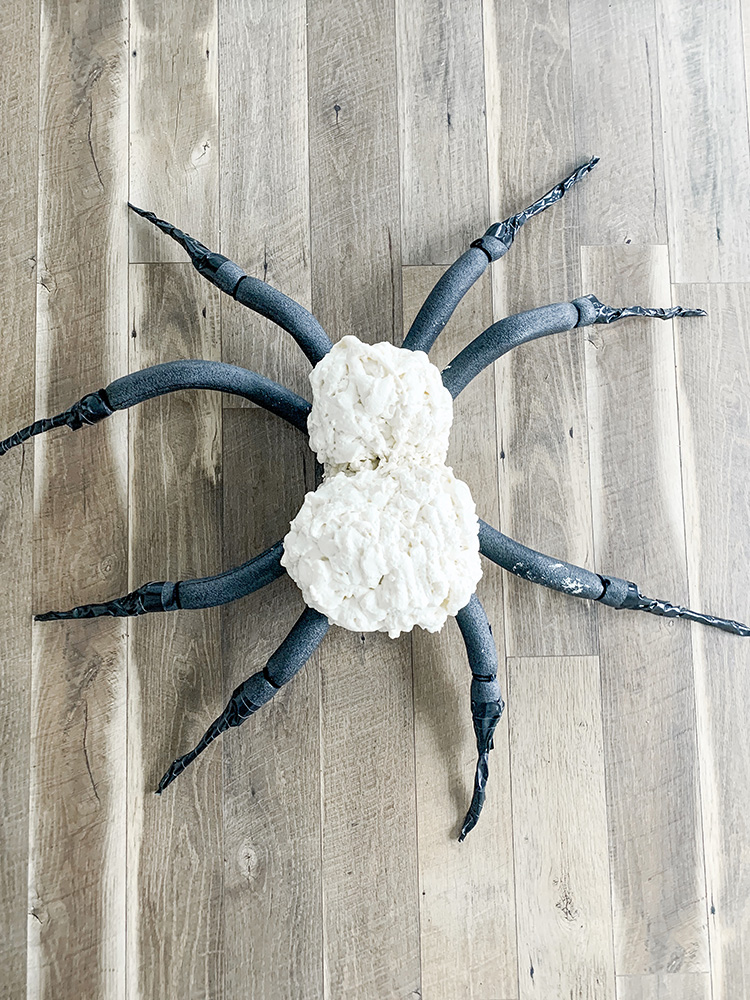
Here’s how the spray foam body and extended legs looked.
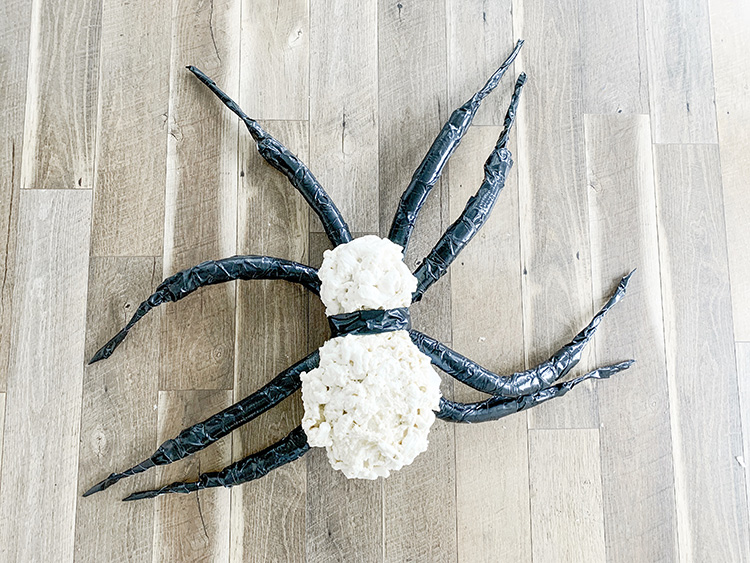
STEP 6:. Next I wrapped the rest of the legs with duck tape, and added an extra piece down the middle for security. I ended up using two rolls of the gorilla glue duck tape for all three spiders, but one for each spider would have been easier.

STEP 7: Then I added some fangs. I taped these on.
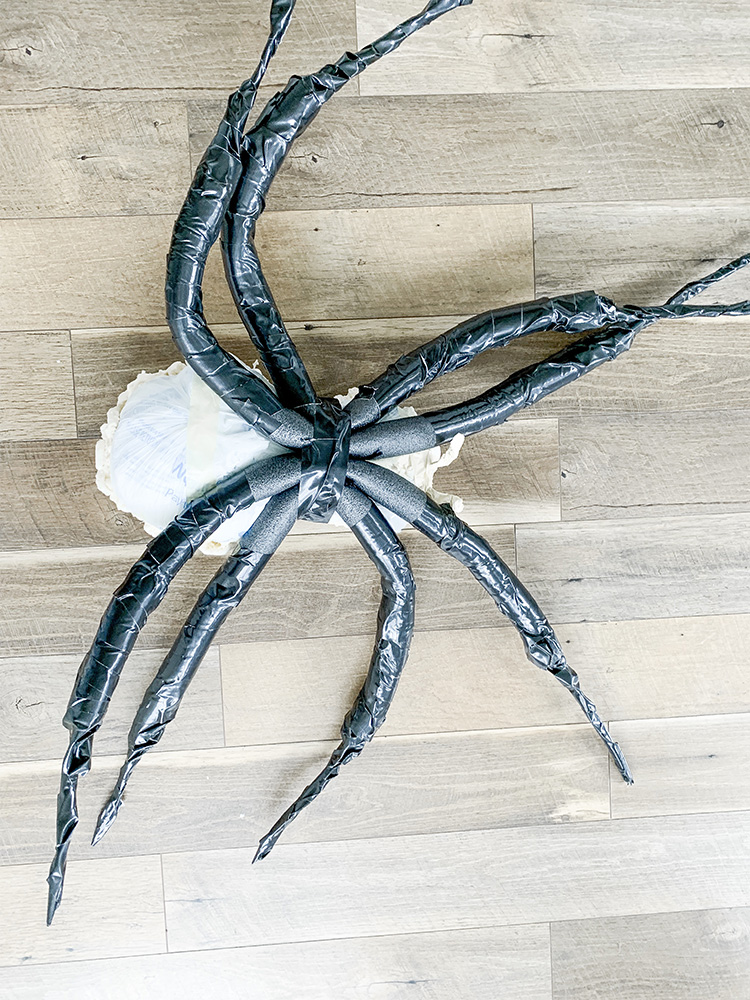
Here’s a quick view of the underbelly portion.
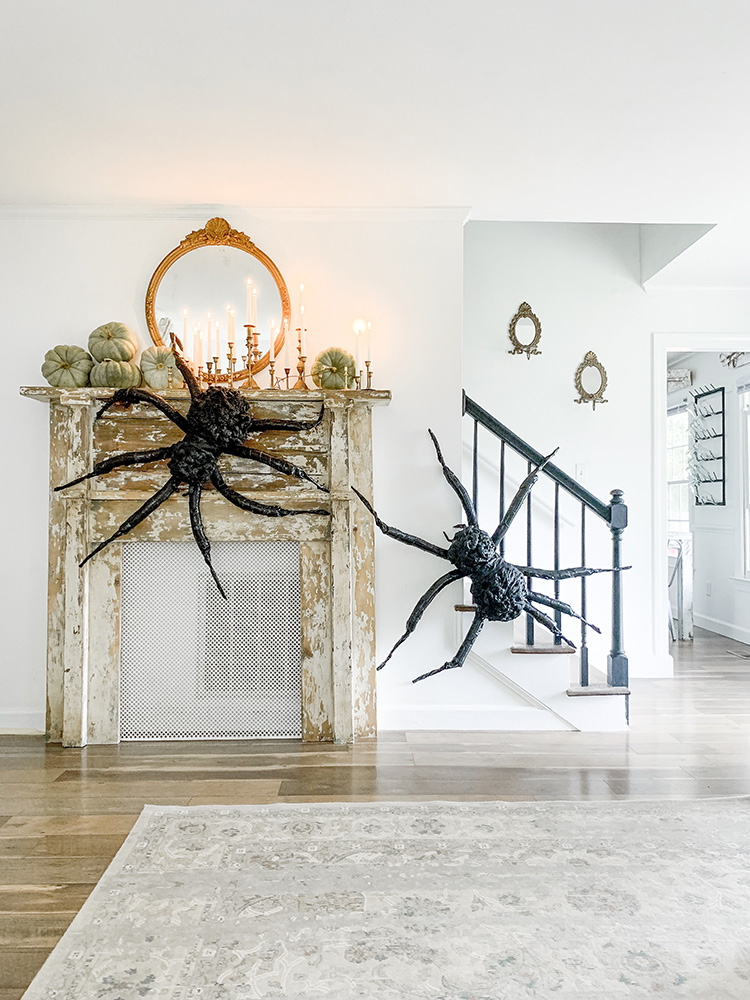
Silas took them outside and spray painted them matte black for me. Ahhhh! I am so excited that they turned out so cool.
The kids helped with the whole process, and we made it a party with some halloween candy and everything.
I hope they remember this project when they get older.

I originally intended these spiders to go outside, but before I put them outside, I think I want to spray them with a waterproof protectant to make sure the paint stays on.
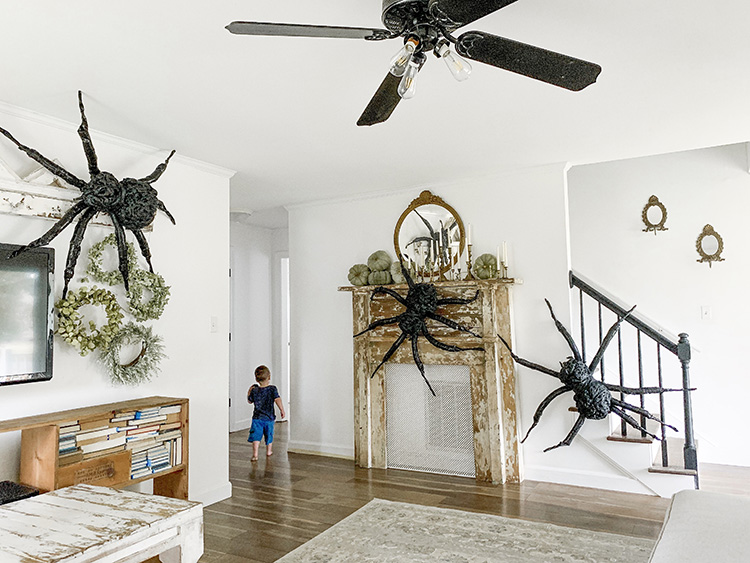
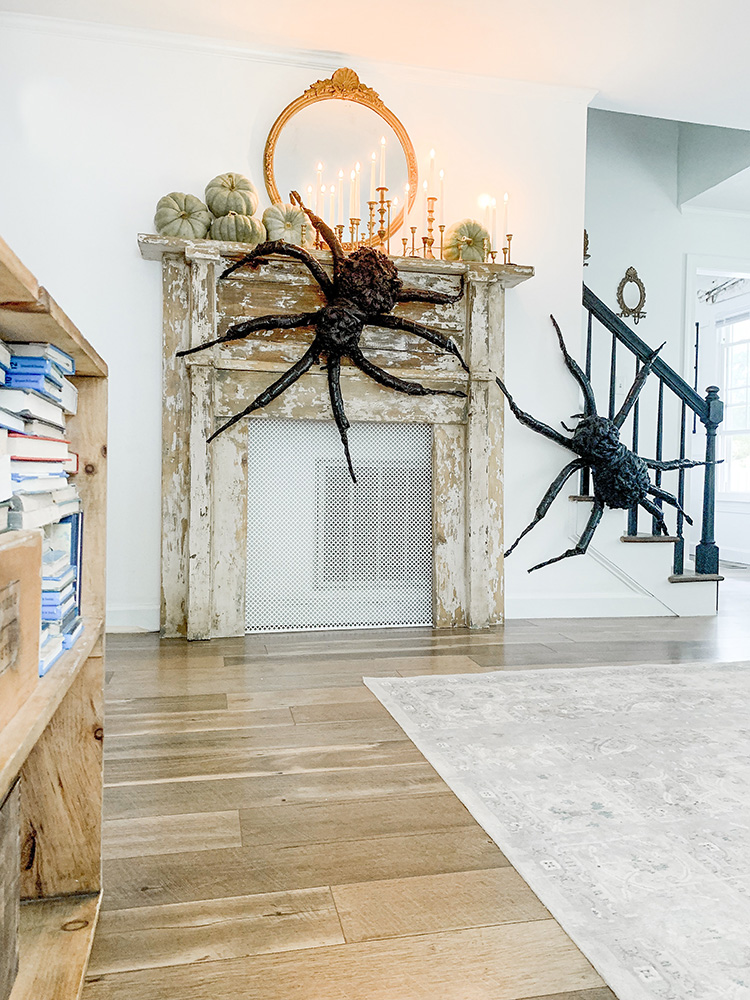
Or they could just stay in the house… as long as they stay nice.
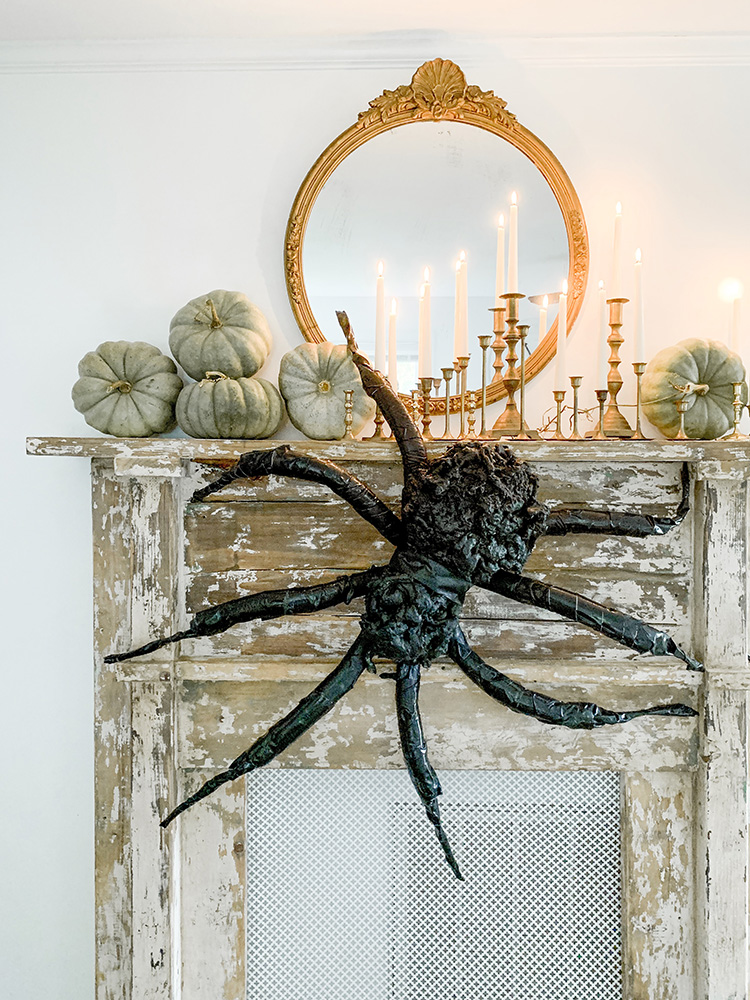
So far they haven’t made any webs… they are turning out to be the best behaved pets we have!
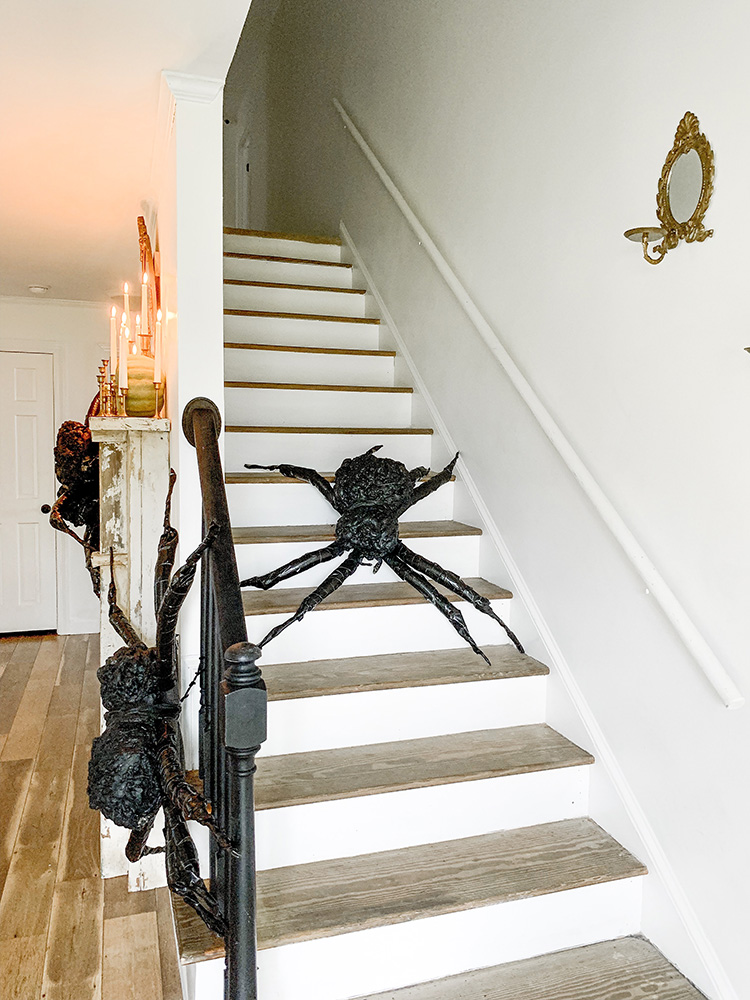
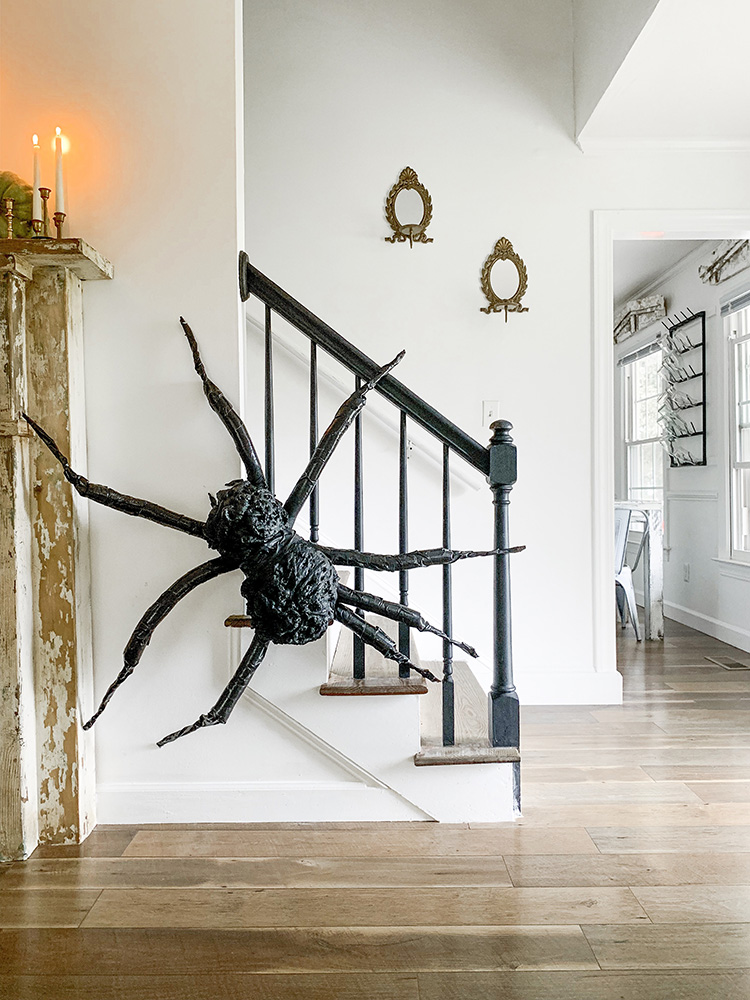
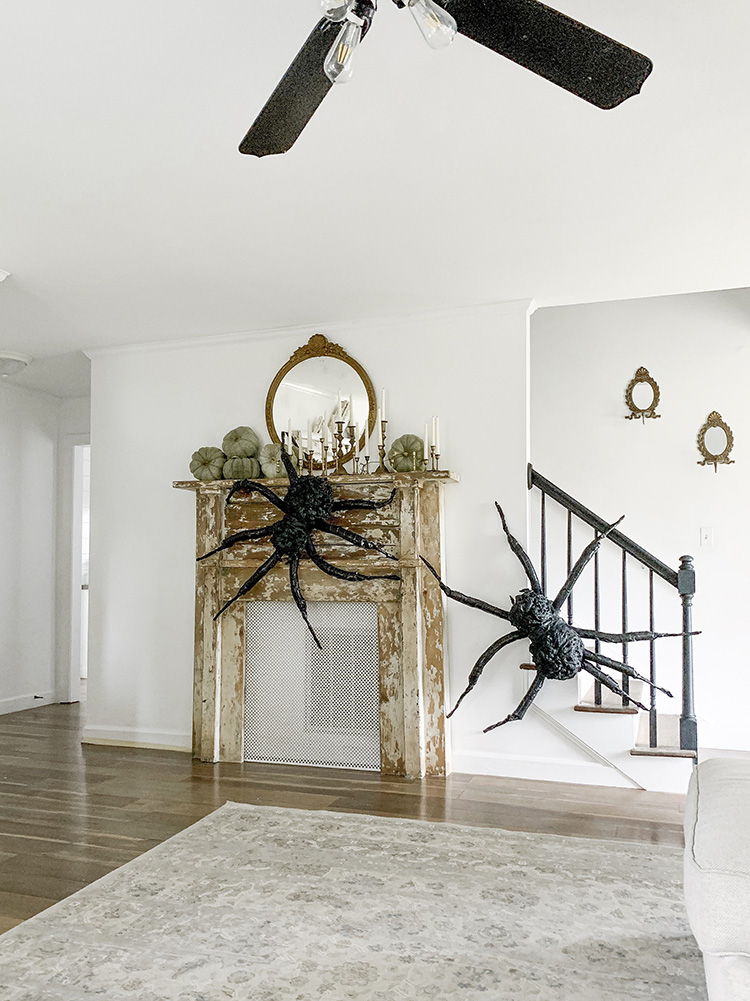
But they have totally freaked out the dog… especially this one guarding the stairs. Haha!
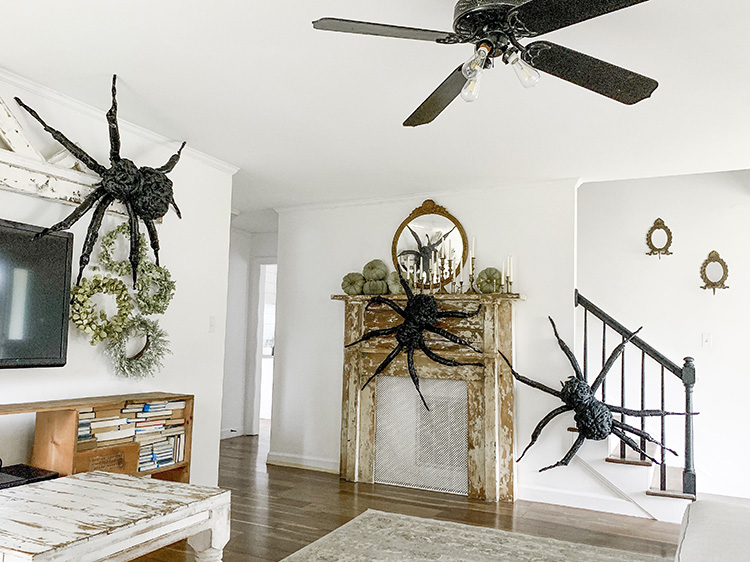
Again, not into spooky, but these guys sure are fun! It brings me back to my days as a kid, reading Lord of the Rings… and imagining giant spiders crawling around. I am so excited to use these for years to come!
And one last thing- they are made of materials that should be fine getting wet, but plan on spraying the painted portions down with a sealer if they will be outside.


I can’t say enough about how much I love these. I’m definitely saving this idea. I did gigantic spiders on our home last year and like you, I had trouble finding big ones that didn’t cost me my marriage, lol. Thanks for sharing
WOW! The best I’ve seen so far, I am definitely going to make these!! Thanks so much for the tutorial!
OMG, I am so afraid of a dust spider but when I saw these I can’t wait to go out and buy the stuff to make them. I was outside during the summer and we saw this GOD outfull spider that I never in my lifetime ever seen anything so ugly and when you take a picture of it and smoom in you will never believe it. It’s called a called a WOLF spider. OMG I could not believe what was on top of the body. But I just can’t believe how these spiders are so beautiful and I mean that that they will scare the life out of your neighbors,haHa
Love ❤️ that spider
You did good