


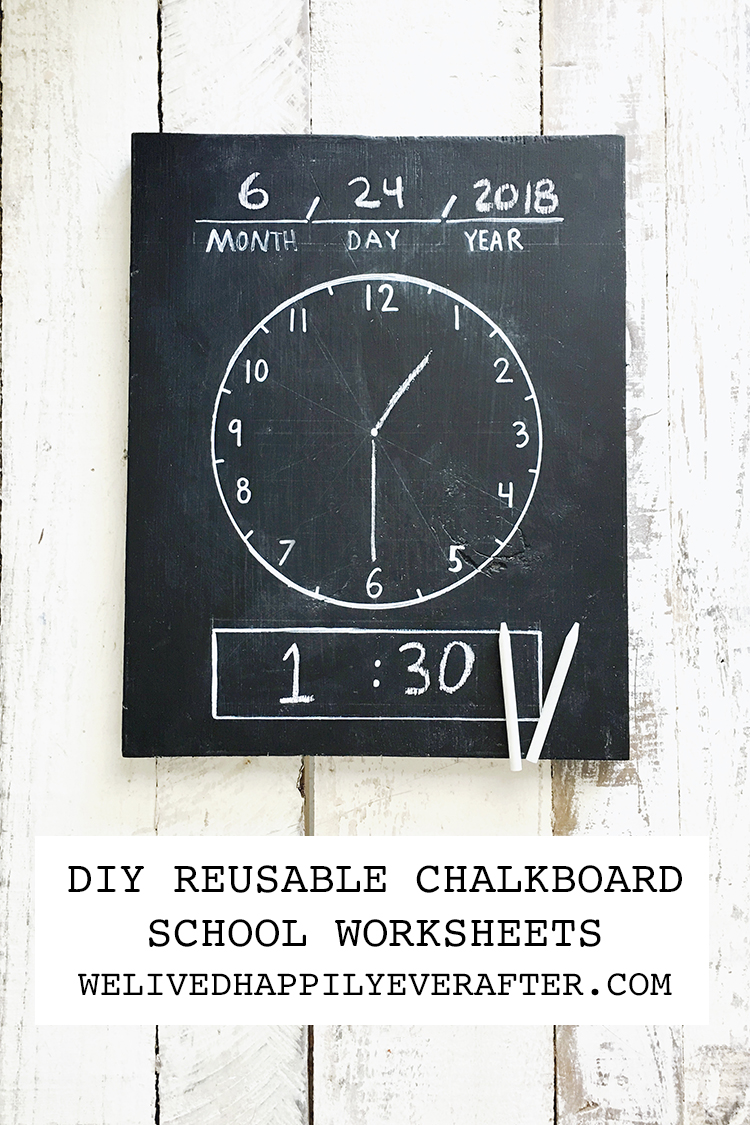
You guys! Today I have some super fun DIY erasable/reusable chalkboard worksheets to share with you all. We are homeschooling this summer as we have one child going into first grade, and one just starting preschool. It’s been quiet here on my blog only becuase it’s been crazy over here at the Hathaway household. The past couple weeks have consisted of my kids participating in our library’s summer reading program (so many books!) and lots of summer school. We are mainly focusing on reading, writing, geography and math for June. And for Jason we are focusing on him learning his abc’s, colors, shapes, counting and numbers… My kids are still so young, so I’ve just been trying to make it fun for them. They are both using various workbooks, but this age most learning should be organic & creative, so I wanted to create some hands on chalkboard worksheets for them.
This post includes affiliate links, but I only share things that I LOVE & think you will too!
These were super simple to make. I used an old shelving board that we had in our scrap wood pile. I thought four boards (front and back) would be perfect for the amount of subjects I want to cover with the kids. I ended up having just one blank side left over, which I think is actually great since I can have them just draw on that side.
We ended up doing the following:
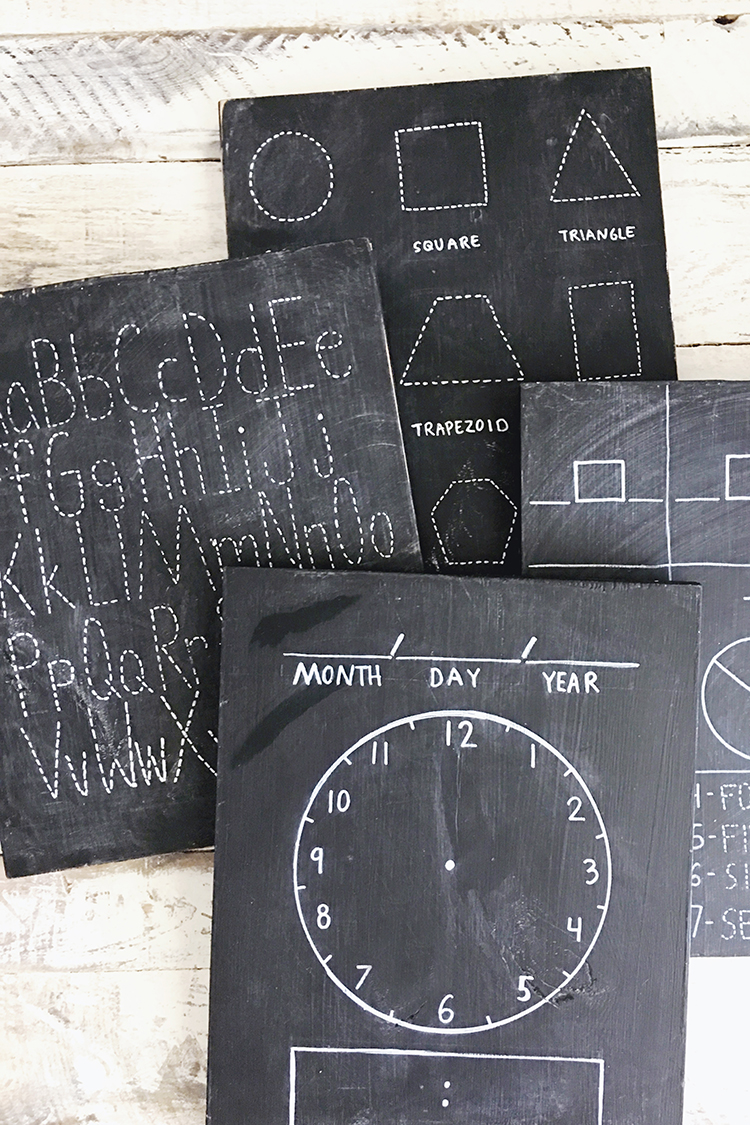
Board 1: Date/Clock- Blank
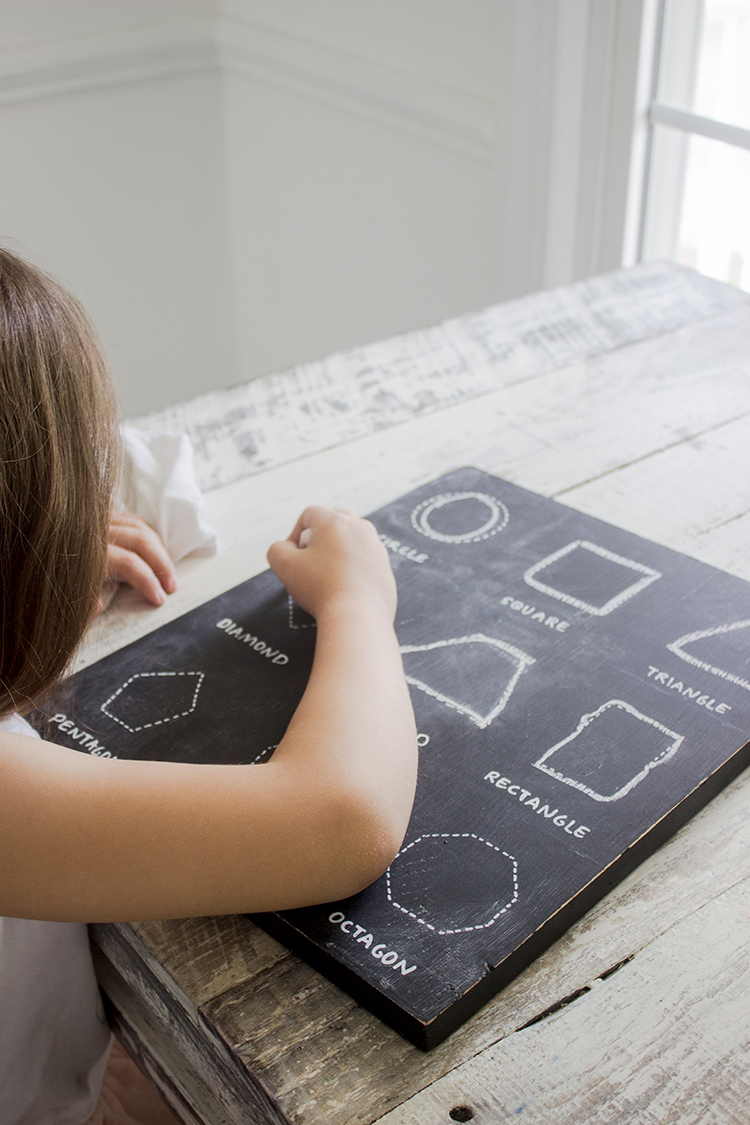
Board 2: Traceable Shapes – Blank Pots and Vases for them to draw Plants in.
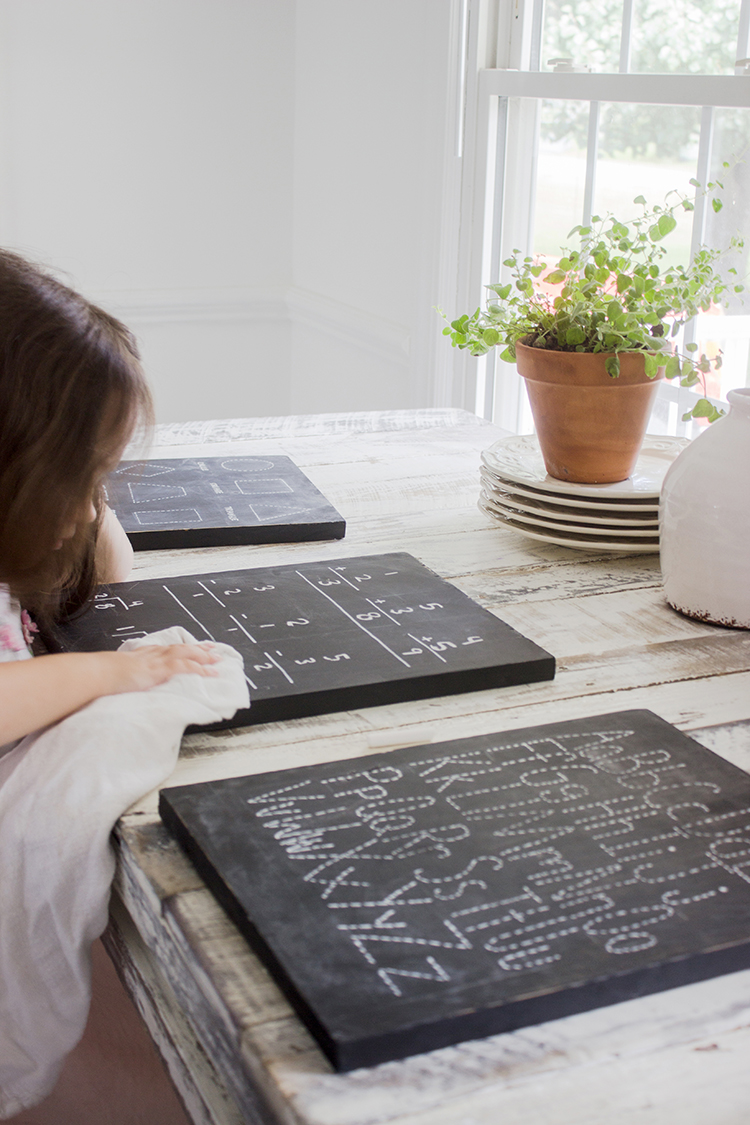
Board 3: Traceable ABC’s – Traceable Numbers 1-20
Board 4: Math Problems (Addition, Subtraction, and Division) – Math Problems (</>, Fractions, and Traceable Number Names 1-10)
I want to eventually do some cursive & map ones, but I’m going to see how they like these ones first.
To make your own worksheets is soooo super easy. I promise. And it’s a super fun project to have the kids help with as well.
- We started by cutting four boards the same length.
- Next the kids and I painted them with three coats of Chalkboard Paint (here’s the brand I used in BLACK and in GREEN). I made sure to sand with 200 grit sandpaper in between layers for a super smooth surface. I also ended up sanding the edges to let a little wood show through. I think it looks super unique & antique that way.
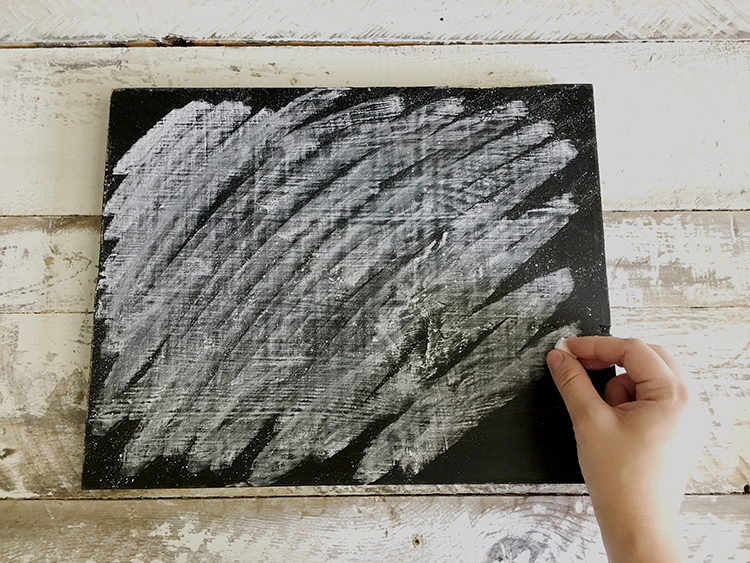
- This next step is probably the most important one when creating chalkboards. You need to prime your board with a full dusty coat of chalk before using. Here’s the chalk I recommend for this step. But any dusty chalk will work. If you don’t do this step, whatever you write on your chalkboard with chalk will never wash off.
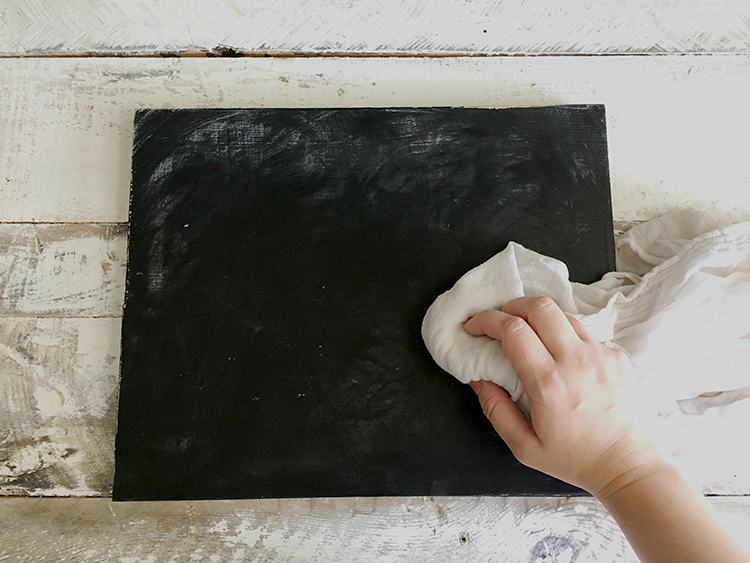
- Next take a damp cloth and rub that chalk in there really good.
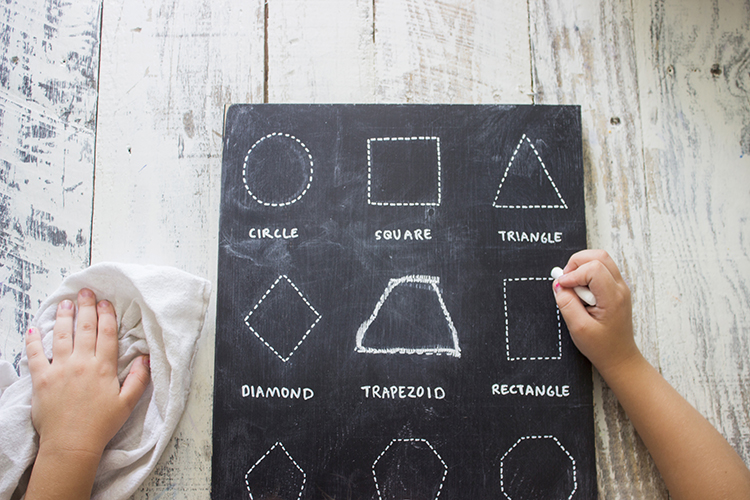
- Lastly, I used a ruler and created all the fun work sheets using THIS white permanent marker sharpie. I outlined each drawing with THIS dustless chalk before penning everything in permanently. That way I could adjustments.
This method gives you a fun way to do the same lessons over and over again, while keeping the basics fresh in your little one’s mind. And the minimalist in me also loves that there will be less paper waste floating around my house (my kids are notorious for ripping out pages from their lesson books!)
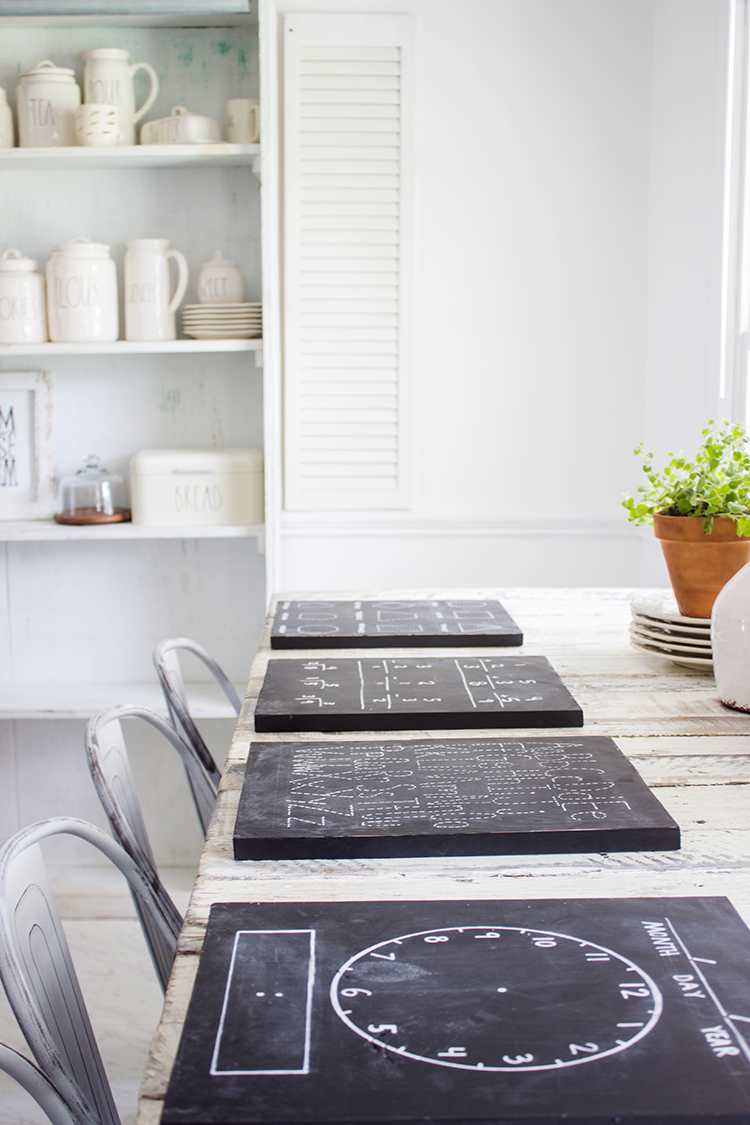
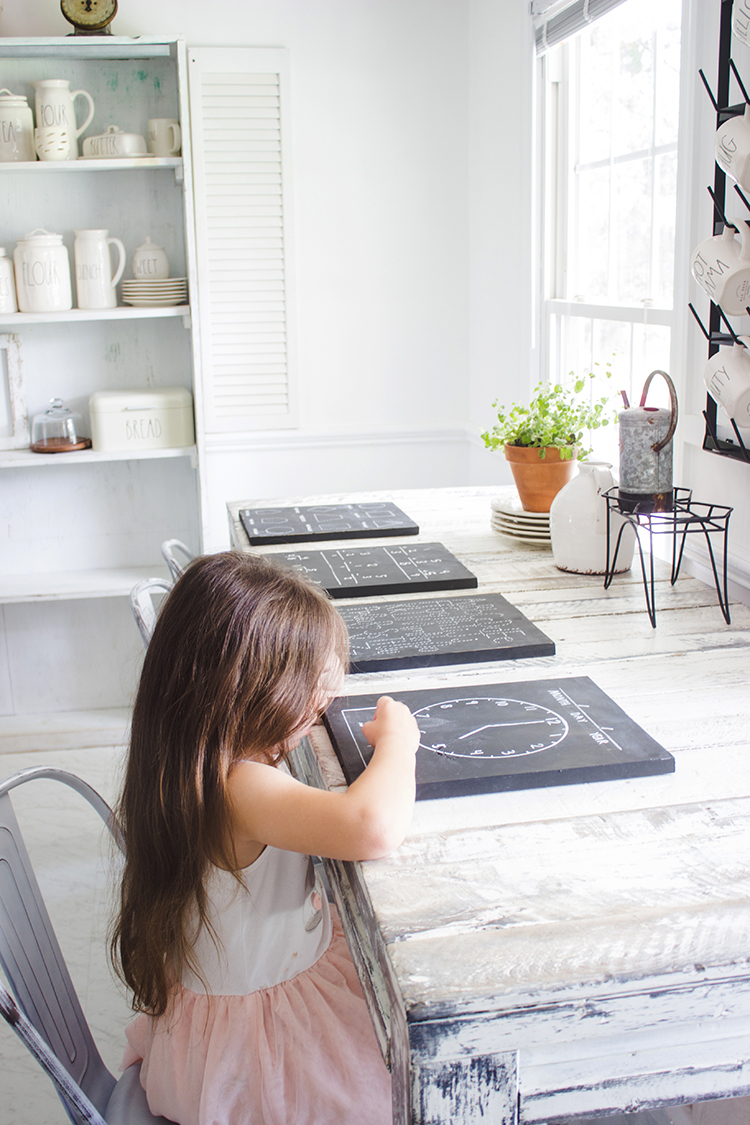
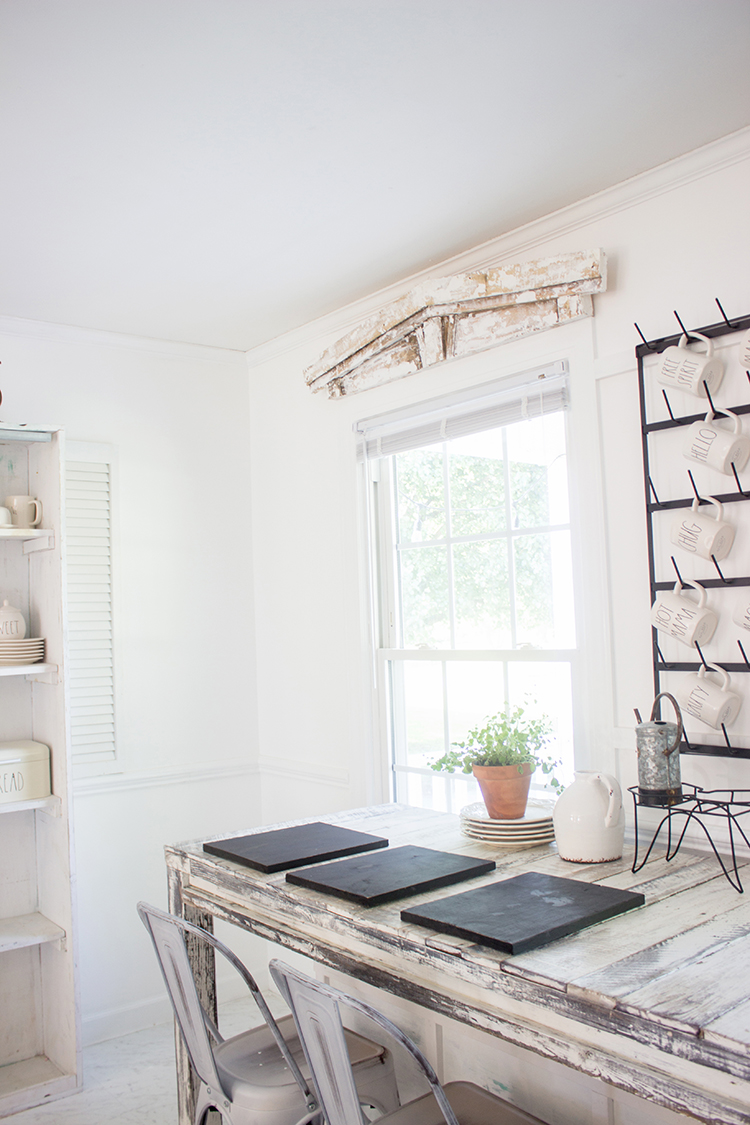
And the home decor stylist in me loves how cute their school stations at my table look now.
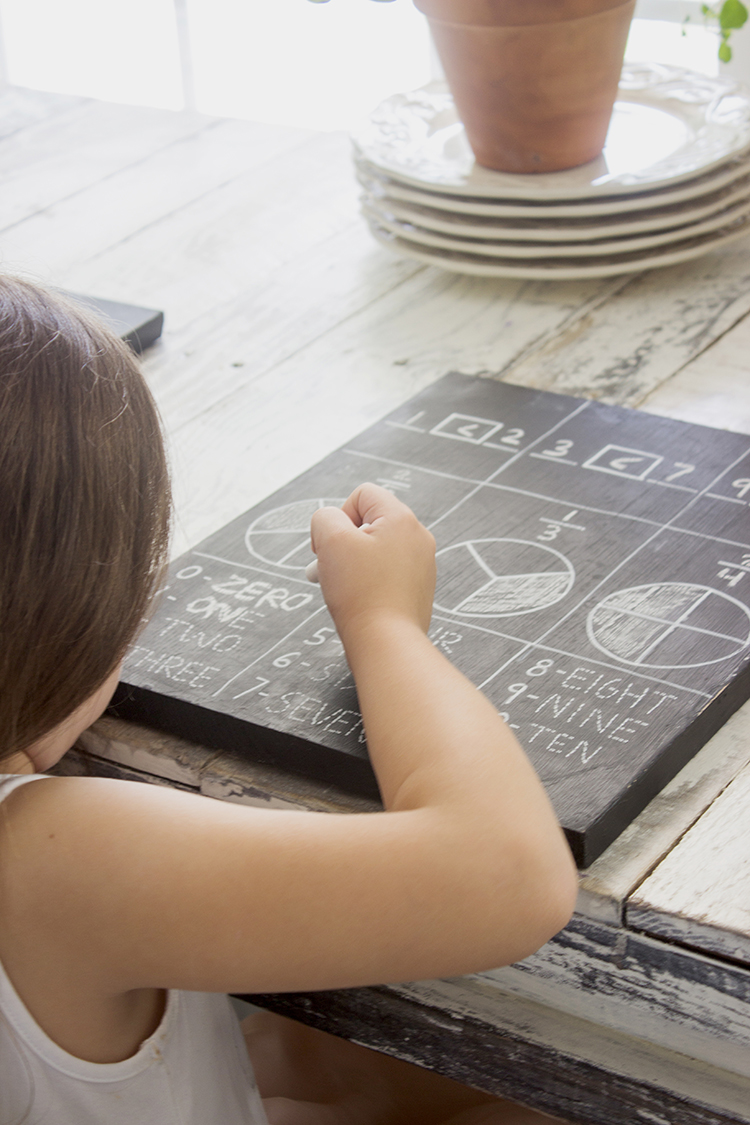
June has already done each worksheet numerous times.
I also got her THIS adorable mini abacus to help her with math. It’s been so helpful! And its a lot smaller than the ones I had growing up, which makes it easier to store.
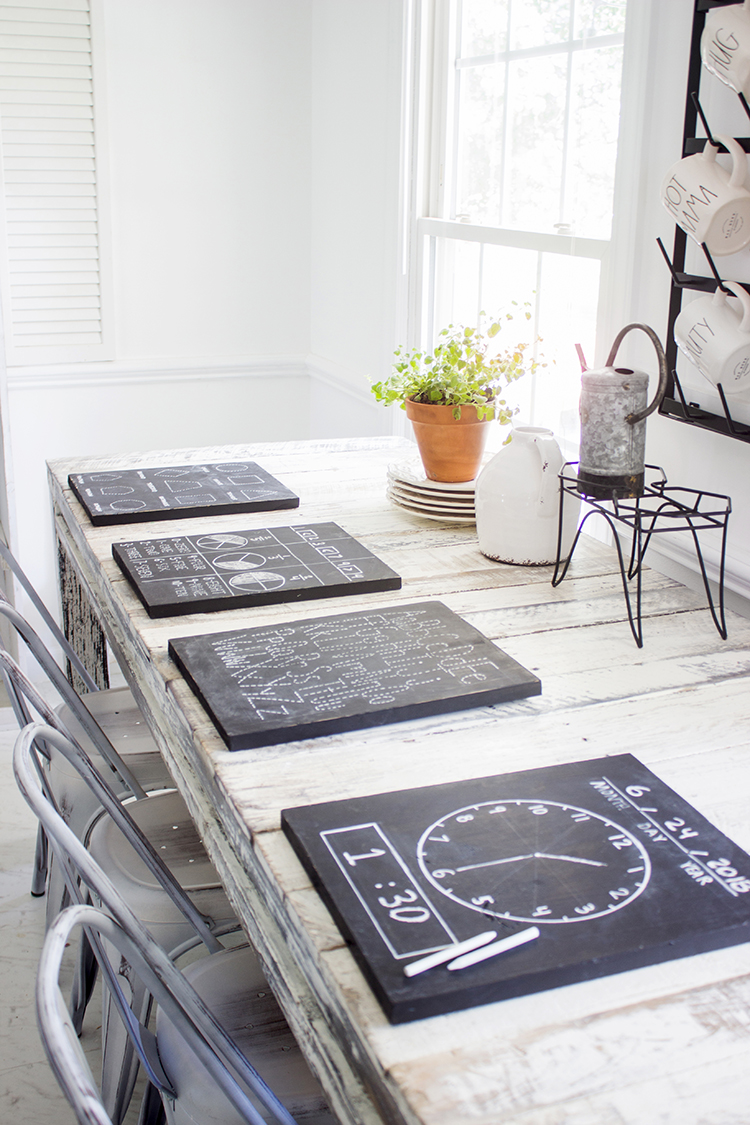
I think my all time favorite chalkboard worksheet is this clock. It’s so cute! Is there a better way to teach your kids how to tell time? Now that I think of it, I may devote the blank back of this board to learning the names of the months and week days.
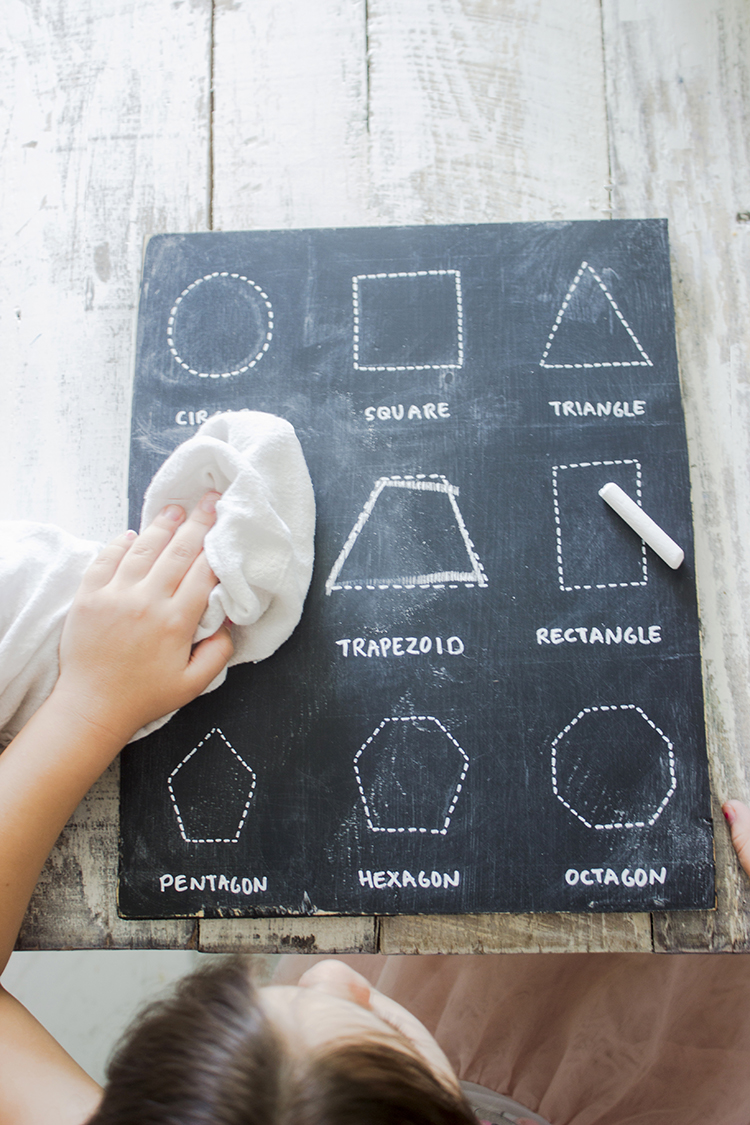
The one with all the shapes is also super cute. The artist in me is so happy right now. Haha!
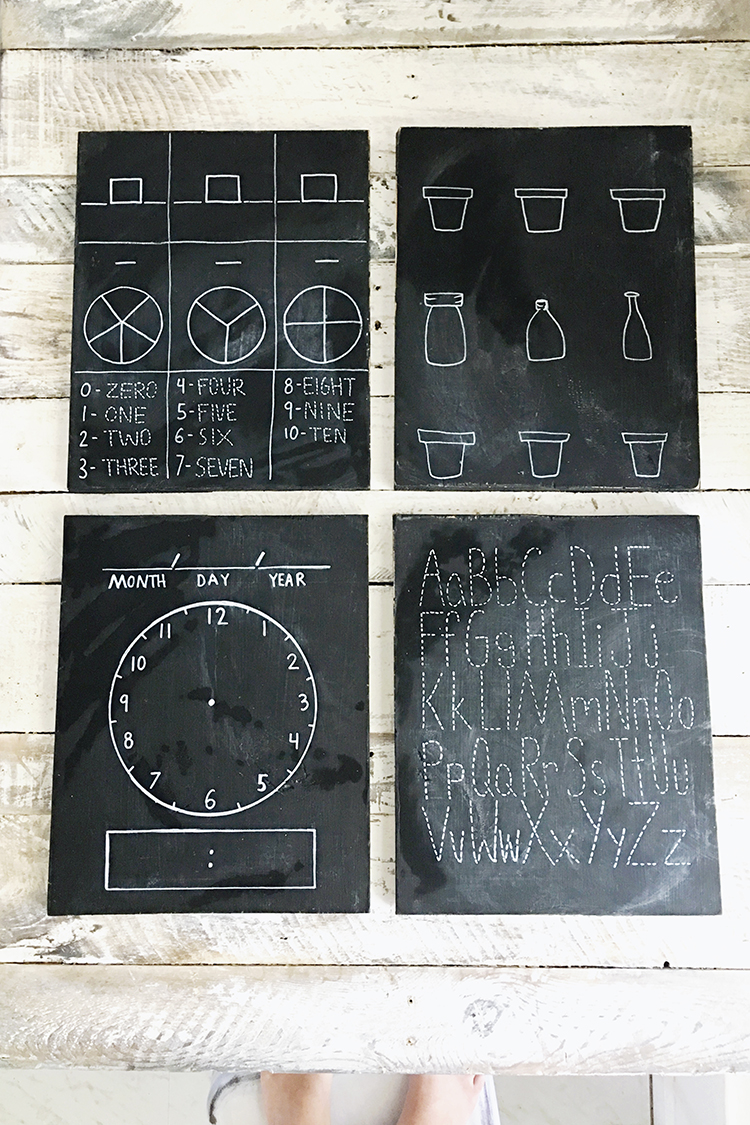
Here’s a bird’s eye of four of the sheets, freshly wiped down clean with a rag and a little water.
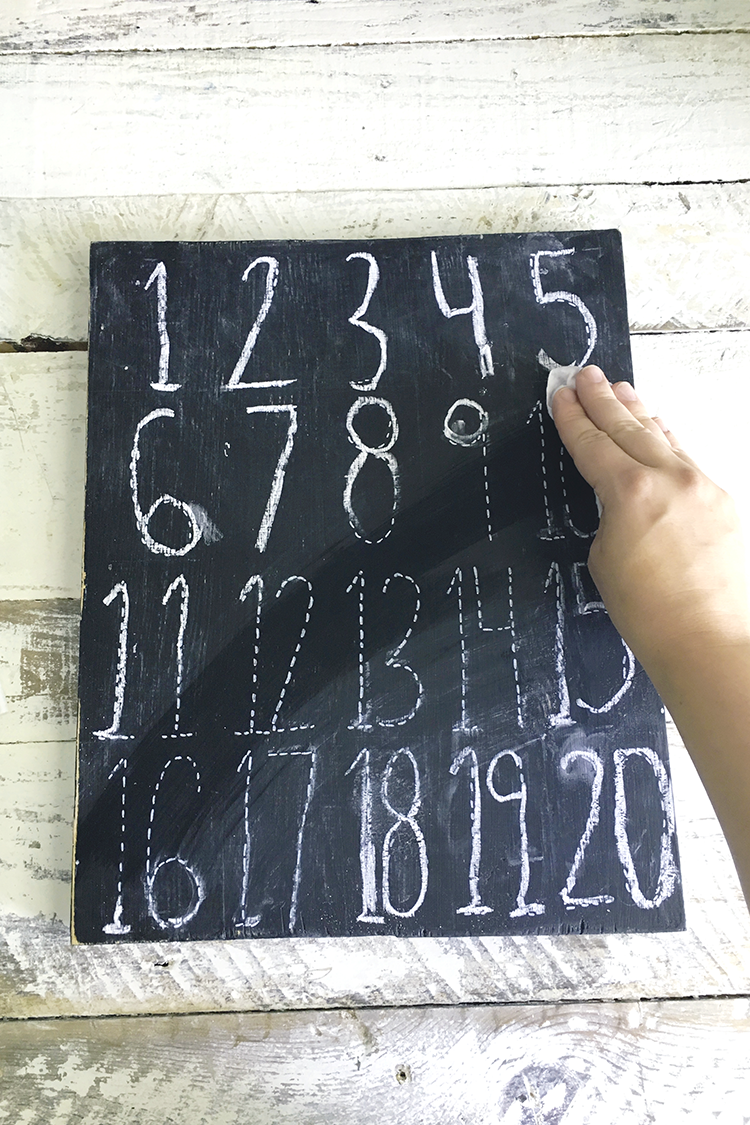
Speaking of how to clean and care for your chalkboards: if it’s really dusty you can use water, but that may make your white marker fade faster. So if it’s just lightly drawn on, I suggest rubbing it down with a dry towel. I got THESE Dustless Chalk Pencils to hopefully keep the powder down. They work great, but I found that they draw pretty light compared to traditional chalk.
Ahhh! I am seriously obsessed with how cute these activities look on a chalkboard. Is that weird?
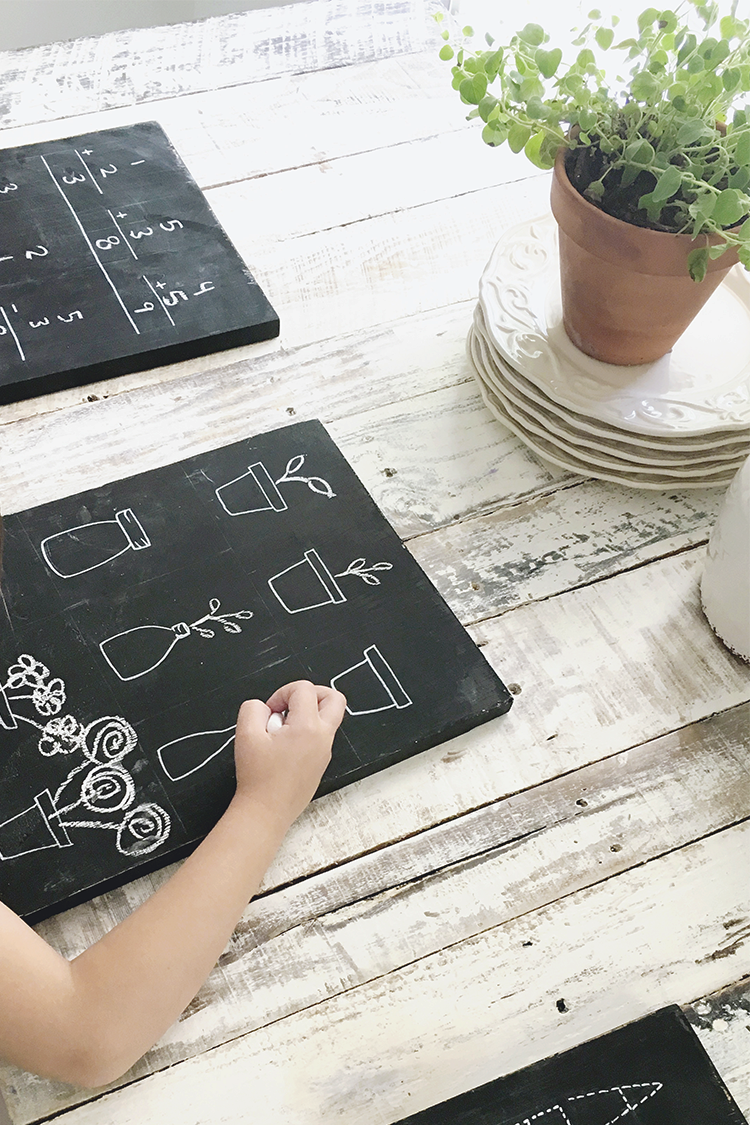
The artist in me especially loves the one with the pots. I’ve become quite the plant mommy this year, and I want to share the love of all things that grow with my little ones.
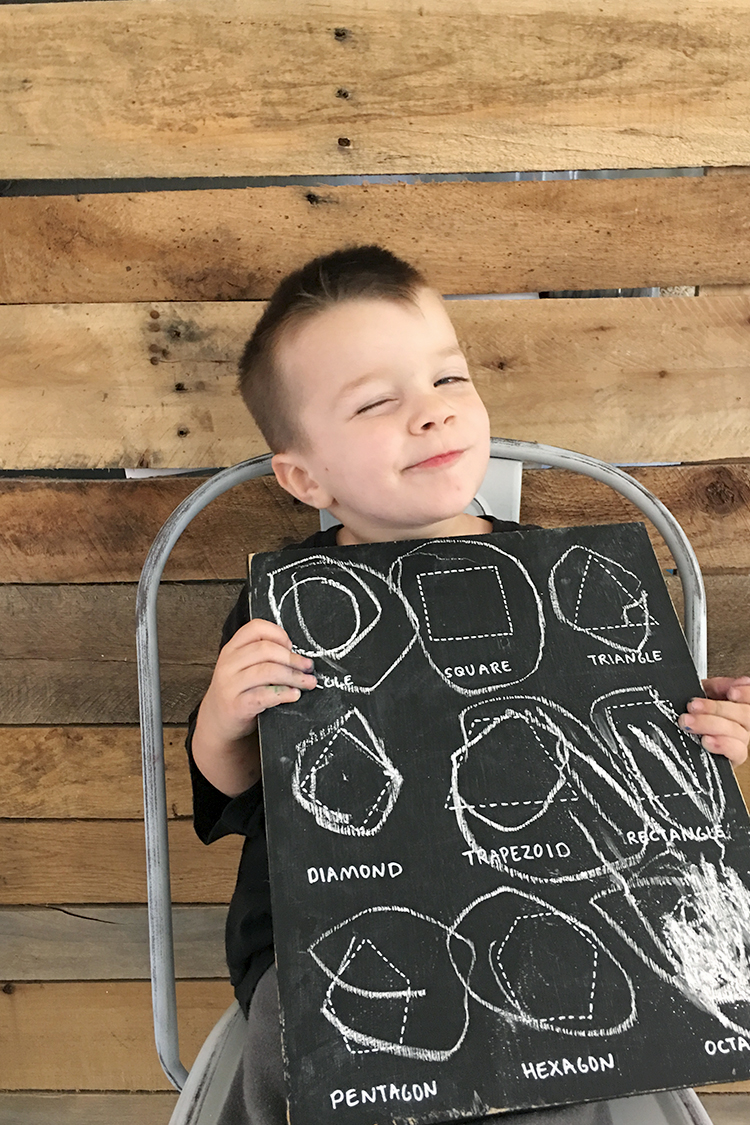
So far my kids are loving these reusable chalkboards. Don’t mind the marker stained hands- haha! We are getting creative over here! And I think it’s safe to say that we are nailing it when it comes to learning how to draw our shapes. Haha!
SHOP THE PRODUCTS I USED:


Be the first to comment