


Today is a fun post about how to make a DIY Bear out of a knit sweater! I wanted to use a soft natural fabric for this stuffed animal because I thought the texture would go great with The Nursery.

SO I went to a local thrift store and picked up like 5 sweaters for various projects & picked this one out for the bear. I have to admit, maybe I got TOO inspired by these anthropologie sweater polar bears... they were totally the inspiration behind this DIY!

To make your own bear, you will need a close knit sweater. Make sure it doesn’t have large gaps, as you want to make sure the poly fill won’t come out.

First lay out your cut out pattern pieces. You should have two body pieces, two tail pieces, one forehead piece, two under leg pieces, and two long strips for the ears.

Lay one leg piece on top of one of your body pieces. The two fronts should be facing each other.
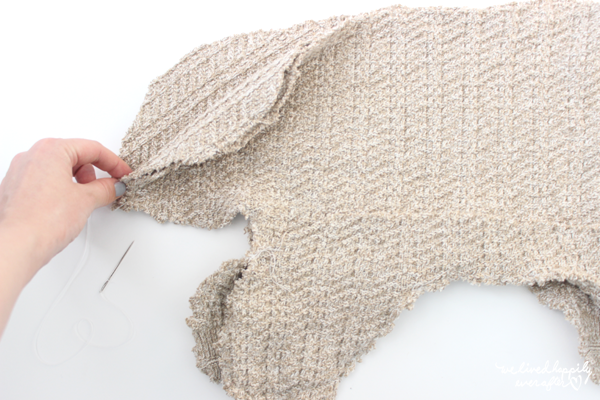
Sew the edges together, as so, leaving the top section unsewn. Repeat with other body piece and legs. & then place the two body pieces on top of each other with the sewn on leg pieces (and the fronts) facing inward.
Pull the face parts away from each other and place the “forehead” piece going down the middle.
Sew the edges together.

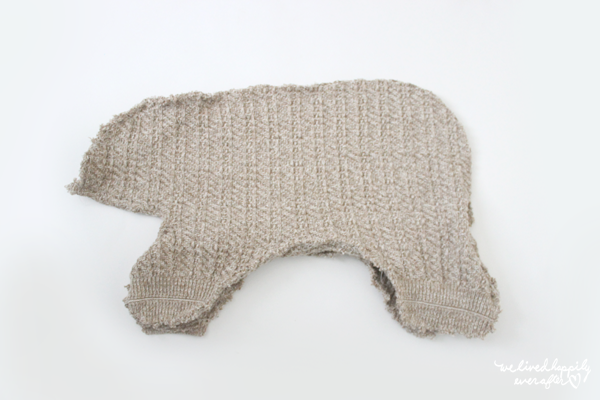
Sew the rest of the coordinating openings along the bear body closed, leaving an opening on the belly.

Turn rightside out by pulling through the hold in the belly and stuff with ply fill. You are going to need A LOT of polly fill for this guy. I stuffed him until he wouldn’t fit anymore because I wanted him to be a sturdy as possible, considering he is meant for rough play & for toddlers to ride on. 🙂
Sew the opening closed.

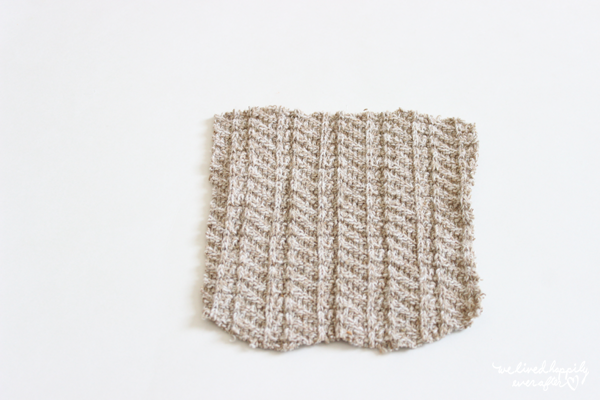
For the ears use a large rectangle of fabric.

Fold it over

Stitch up the edges, making a tube.

Tuck the unhemmed edges inward.
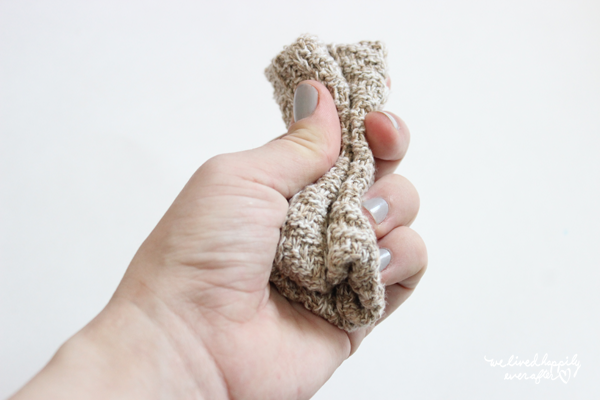
Curl it so there is a crease down the middle.
Scrunch it together as shown.

Sew it on like an arched rainbow, making sure all unhemmed edges are tucked in, and securing the back.
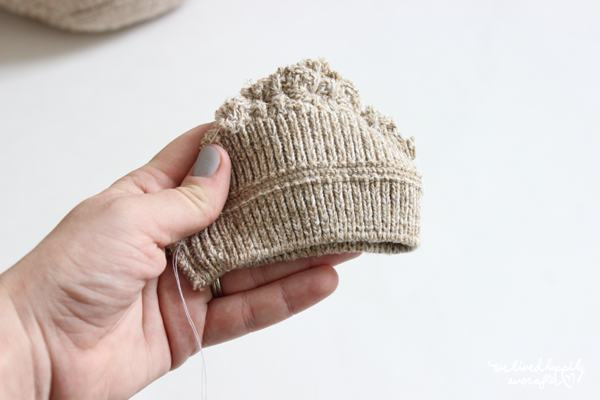
For the tail, make a “pouch.”
I used the cuff of the sleeve for this part, and sewed together the outer part as the “bottom” of the pouch.
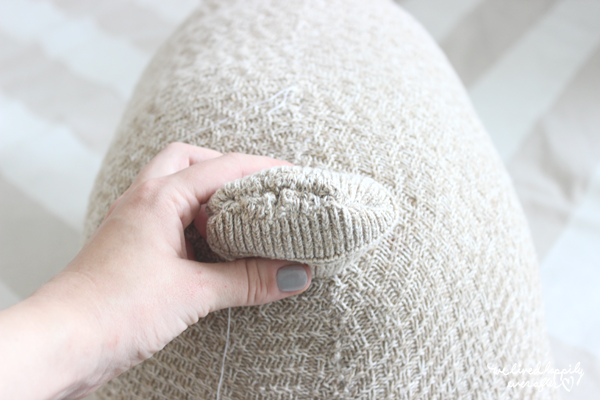
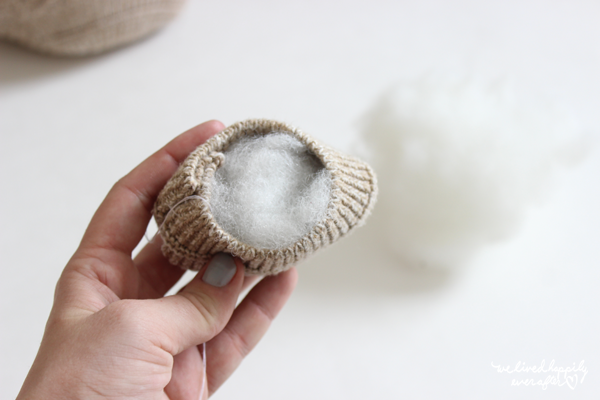
Stuff with fluff. Attach to the back of the bear for the tail.

I made round balls of felt for the eyes and stitched them on separately.

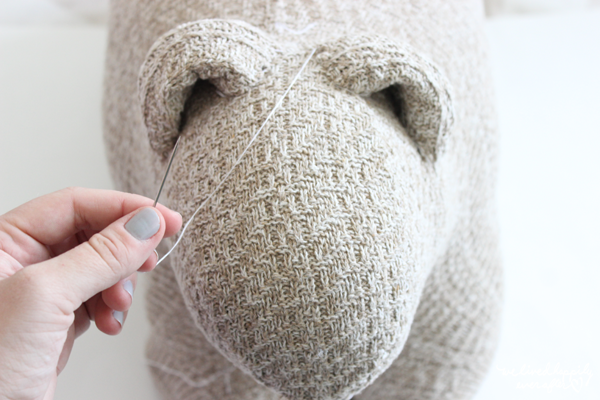
For the nose I used black felt as well & just hand stitched it on to his cute little face.

Pretty adorable, right? June thought so! I’m sure he will go on may adventures with my kids as they grow up, and hopefully he will last long enough to become a family heirloom. Here’s to hoping my stitching is strong enough to withhold two toddlers!!!
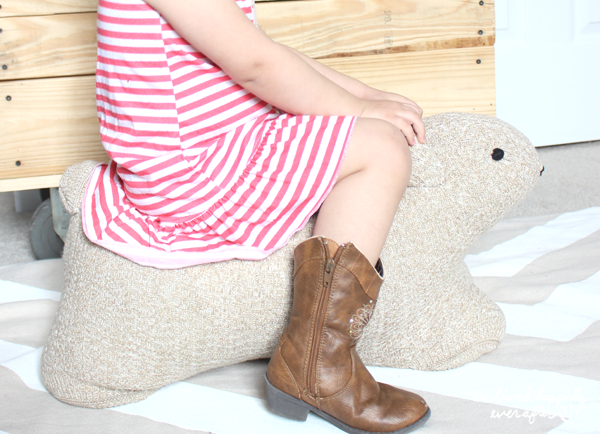
And why yes, thanks for asking. My daughter does love to dress herself.. thus the shoes on the wrong feet. LOL!

June din’t miss a beat and tried ridding him right away!
Nothing like a cuddly teddy bear!


You are so talented! Love it!
Wow! Definitely making this!
He is so cute!! I was wondering if there was a pattern to print out for him? Thanks! 🙂
I didn't do one for this tutorial- sorry! I was so overwhelmed with just having a baby that I just didn't get around to it. It's pretty straight forward though. XO