My lovely blogger friend, Lucy, over at Craftberry Bush, and I are teaming up to bring you guys some super fun Watercolor Freebies, and a super cool tutorial on how to use them in Photoshop.
Head over to her post HERE to grab the watercolor freebies, and read the post below to see how you can use them to create “Super Awesome Watercolor Word Art” for your home in Photoshop!
Start by opening up a blank canvas in photoshop. Make sure you are working with a file that is much larger in resolution than what you intend to print. by doing this, your prints won’t come out pixelated. I like making my files at least double the size, so if I’m making a print that will go on a 8.5×11″ then I will make it 17×22″.
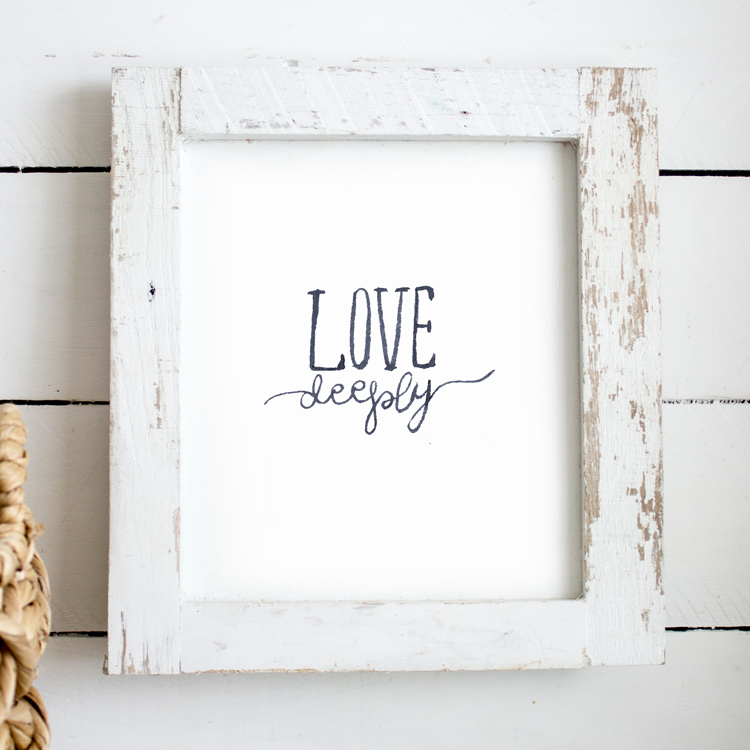
Next, write out your desired text. You can do a combination of words and images, like all of my graphic freebies, found HERE. Just make them all one consistent solid color. The fonts I used here are called “FFF Tusj” and “Freebooter Script“
Once you are happy with your design, link them all together.
Go to “Layer” and click “Merge Linked.” If you don’t have multiple layers, see the below step. Otherwise, just skip to the next step.
If you are not working with multiple layers and are only using one text layer, instead of doing the above step, just right click the layer and rasterize it.
Add your background of choice to your photoshop document. You may need to re-size it to fit your file, but you can usually do this manually by pasting it into your photoshop document and dragging the boxes on the corners to make it larger or smaller. I suggest working with high resolution backgrounds that need to be re-sized to a smaller size, that way you won’t loose image quality.
When contiguous is unchecked, you will have to only click ONCE to grab all the merged graphic, instead of multiple clicks. To see a more detailed example of how to use the magic wand tool, visit my post HERE.
Now that we have our selection, switch the layer to the watercolor texture.
Here you are making a new layer that is a perfect combination of BOTH of your two previous layers.
Press save and you are done!
But I have a few more ideas for you to play around with:
You could do this one by making the background lighter or darker than your text. And easy way to do this would be to just lower the opacity on one of the layers.
For this one I made the text and heart selections in separate layers so I could scribble into the heart without going into the texture of the text.
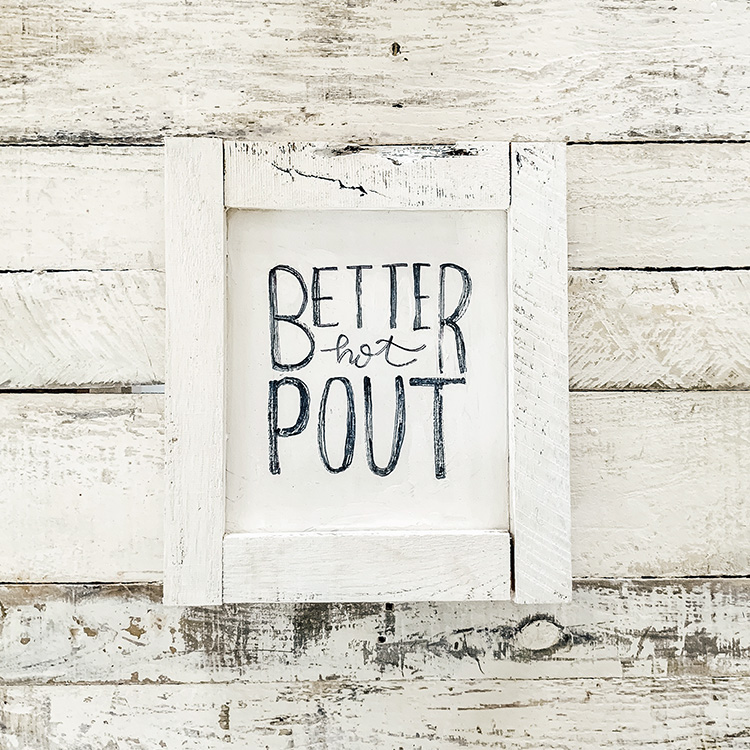
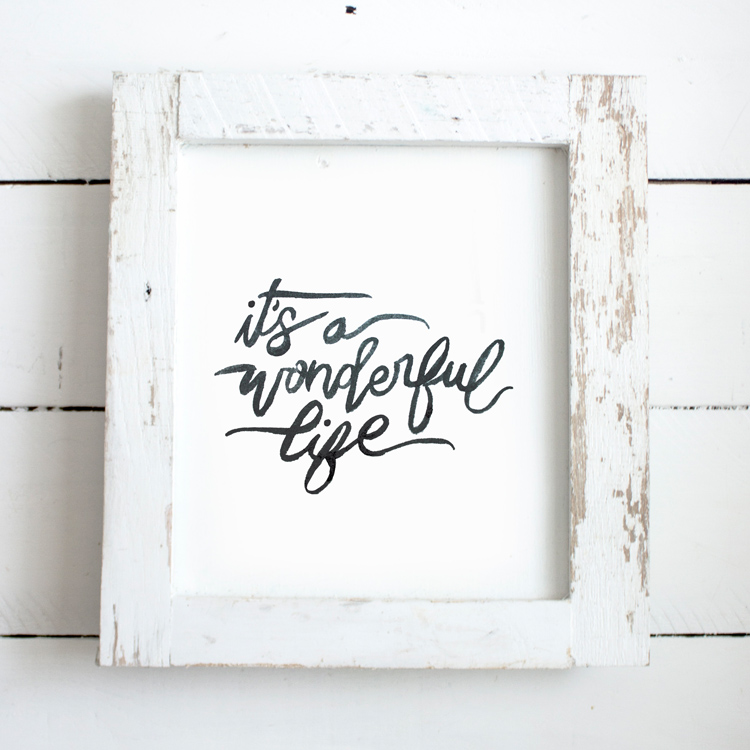
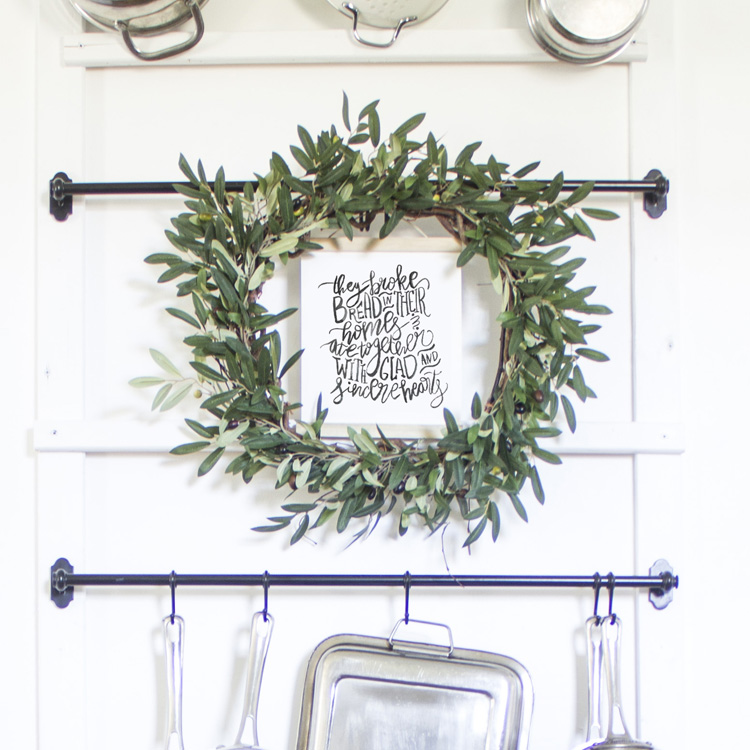
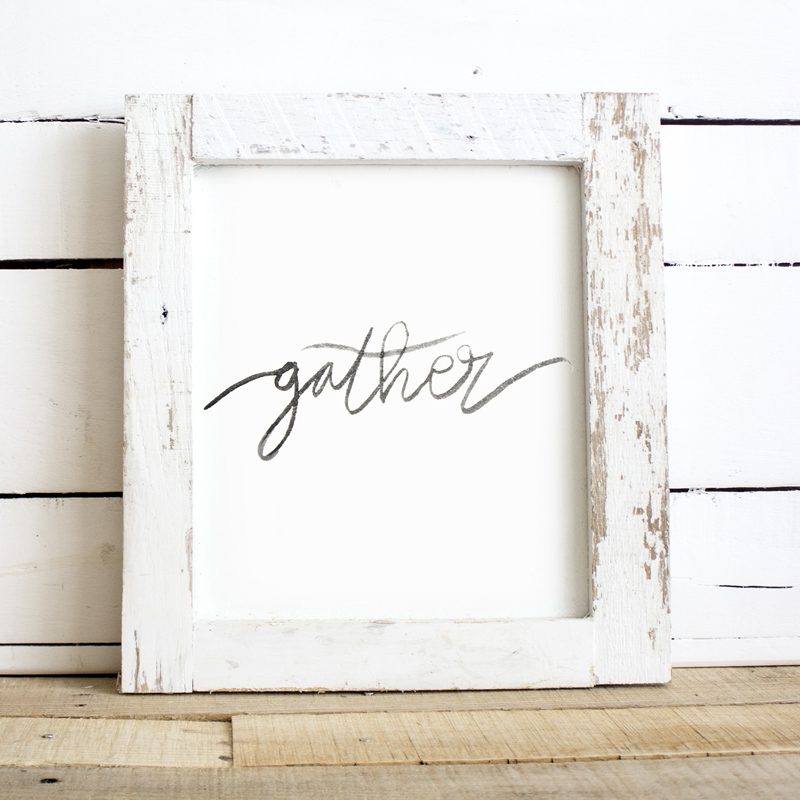
I just couldn’t stop creating with these fun backgrounds!
Can you tell that I am OBSESSED with the blue and green one?
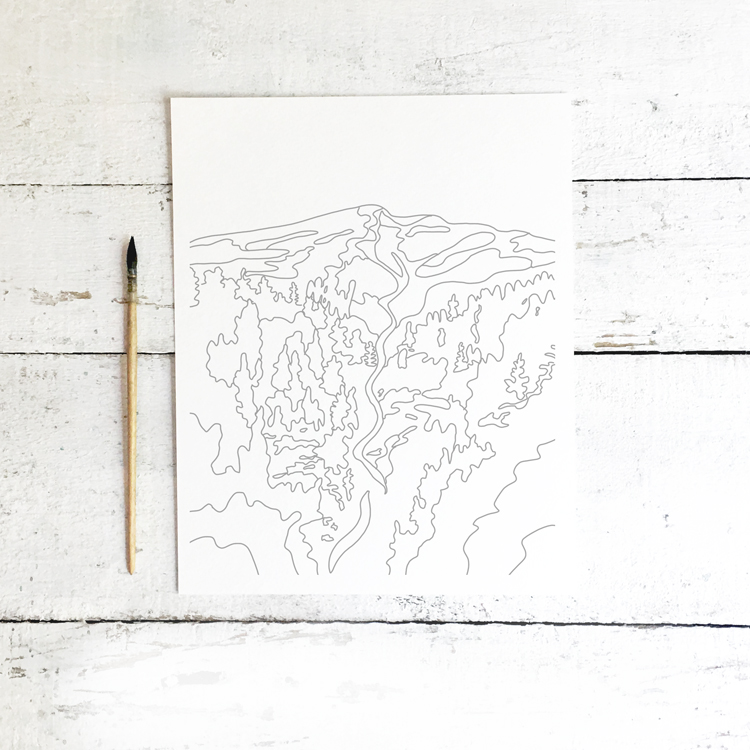
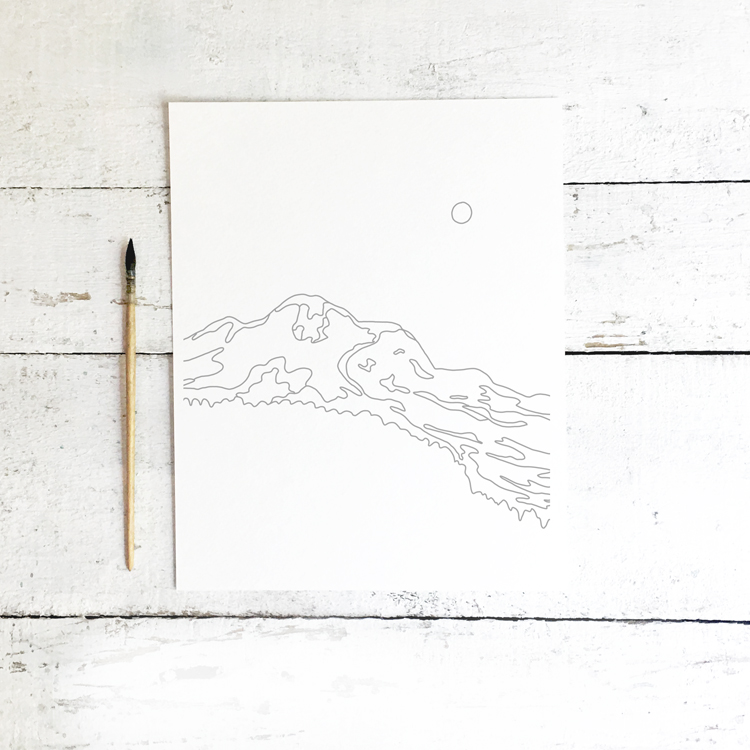
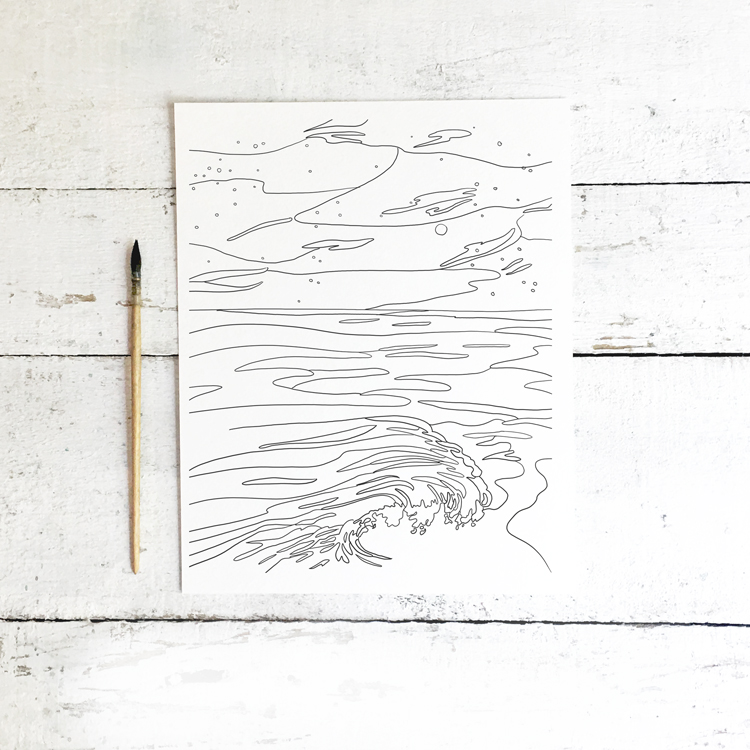
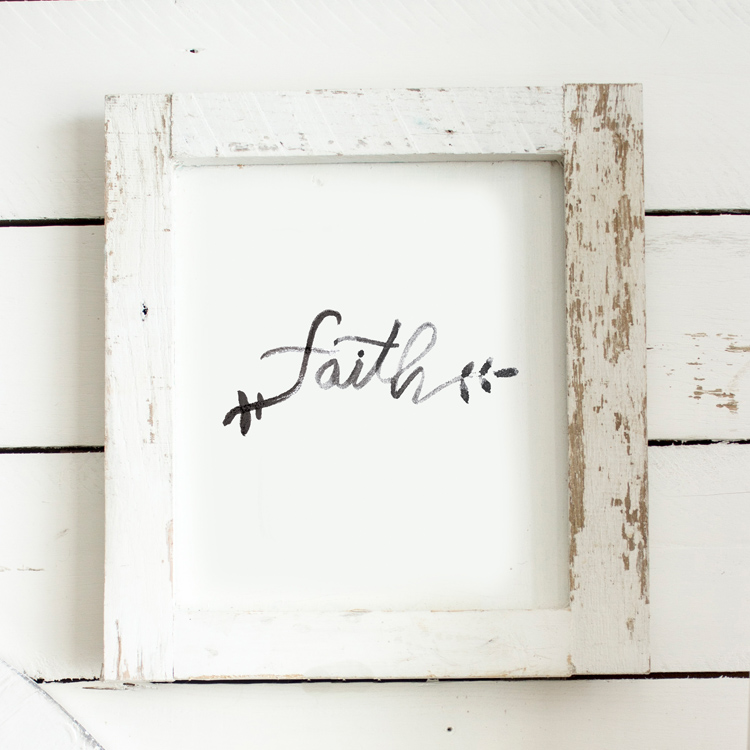
HERE are some of the above creations in free printable format! 🙂
XOXO
Make sure to stop by Lucy’s blog to grab these ADORABLE watercolor backgrounds and drop a note saying I sent you!
To start your own lovely collection of Watercolor Fonts, go HERE.
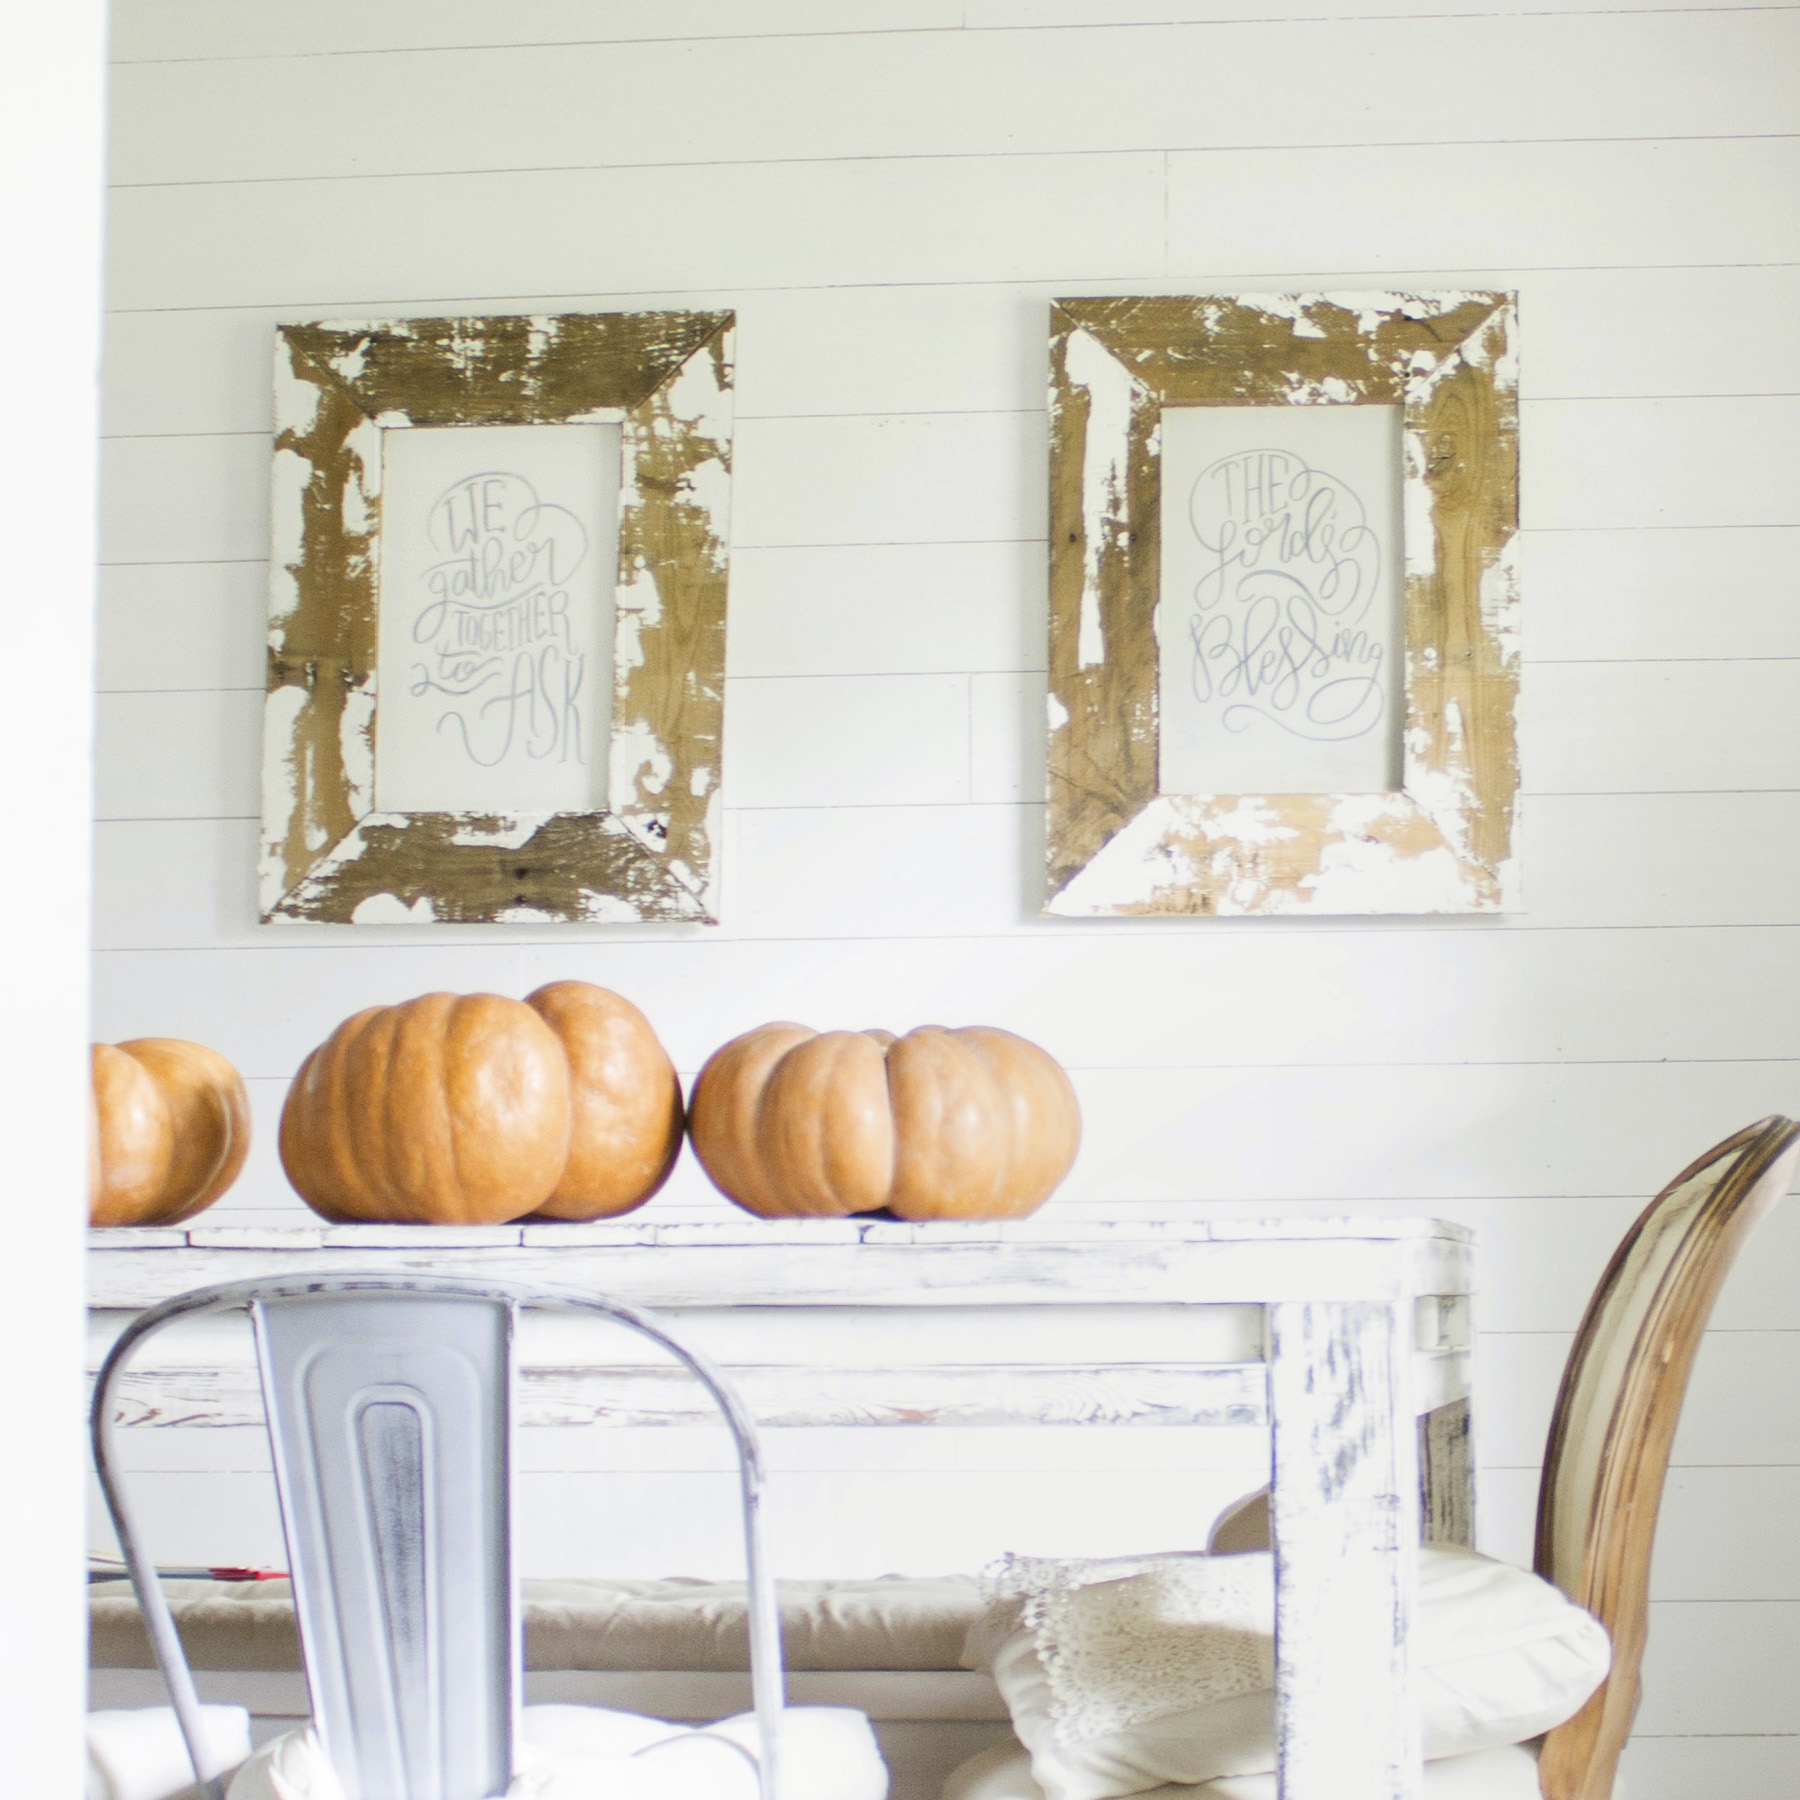
To download this adorable feather print, go HERE.




I love this SO much! I can't wait to try it out…thanks so much for sharing!
I love the way this looks!! It's adorable, the only issue is that when I got to the step to "click on the watercolor layer and click control C" it didn't do anything. I couldn't go any further with it. :-/ Any tips on whats going on? Thanks!!
Did you make sure to press the control button and c at the same time? And make sure that you are on the right layer. Hope that helps.
What version of Photoshop are you using?
It's an older version not on the market anymore- 6.0 I think. 🙂
My control C does nothing also. I am using CS6
Are you using a PC or MAC? CTRL C is just a way to copy on PC's. You have to press them at the same time. Maybe look up the correct keyboard shortcuts for your specific computer. Hope that helps.
Thank you very much for sharing! I'm hoping to use this to make personalized notepads as teacher gifts. To the earlier posting, I had the same issue at first. In the step "Using the magic wand tool, select your graphic," at first I was wrongly selecting my watercolor and not the font. Make sure you are selecting the font with the magic wand, then you can copy the watercolor layer, then hide both and paste a new layer. Hope that helps the other user!
Great tip, thanks! 🙂
Thank you for this tutorial, it was very helpful. I made a 'LOVE' card for my husband for valentines day and I can't wait to give it to him. I'm going to be a regular on your site now – you make sure lovely things!!
Aww! I am so glad it was helpful! How sweet! XO
Thank you so much for the tutorial! I followed the steps and it worked for me, but the edges of my text come out super jagged. Any idea how to correct this? Thanks again!
I had the same issue and would love to know how to fix it. Other than that, I love this!
Thank you so much for your fantastic tutorial. I feel so clever. I've printed it up and will frame it and pop it on my wall in my scrap room. I'm by no means a genius at photoshop, but your tutorial was clear and easy to follow. It's so much appreciated. Thanks so much xo
You may just need to change the tolerance when selecting with the magic wand, or the text you are selecting from may just be too pixelated. Hope that helps!
This is brilliant. Thank you so much 🙂
Thank you so much. I also got confused on which layer to select with the magic wand, but once I got it straight, its adorable. Thank you!!
thank you very very very much :* :* :* it works .
I just saw this , you did an awesome job. Thank you so much for the How to's will be pinning to save for ref.
and your new kitchen is awesome.
these are so pretty!
lazygirlideas.wordpress.com
I am sorry but I am really terrible at photoshop, the photoshop used in this tutorial is not the one I use. I have Adobe Photoshop CS6, if possible could you do a tutorial on it if you have time. Thank you so much.
Hey! Yes- the version of photoshop is an old one, since the tutorial is from a while back- but all the steps and the overall process is the exact same. Hope that helps!
Excellent tutorial, loved the effects, also great ideas.